
Hello my crafting friends! Let us welcome September 2025 – the gateway to the season that awakens the soul! True that our friends in the West are saying bye to Summer, pool parties, backyard barbeques etc. but it is the perfect month to wind down and relax, don;t you think?.
It is also the time for schools in the West to reopen ! A lot to look forward to in terms of challenges and pursuing things that will align with our goals!
In our crafting world too, we are starting to revisit the timeline and see if we can finish our holiday gifts on time!
It is also the time I come to you with another month of crochet freebies. These are part of the Global Crochet Collaboration initiated by Audrey of Canoemtn Designs. We are a group of nine crochet designers coming together from across the globe to give back to the community.
Every month , since January this year , we have brought to you 3 quick and easy crochet patterns that are forever free in the respective designer sites!
We are starting September 2025 with this cute Berry Basket crochet pattern. This pattern is brought to you by Gemma of Concretegmscrochet
Gemma says : – ” Organise in style with the Berry Baskets – an easy crochet basket pattern featuring the beautiful even berry stitch for a texture that looks just like little berries!”
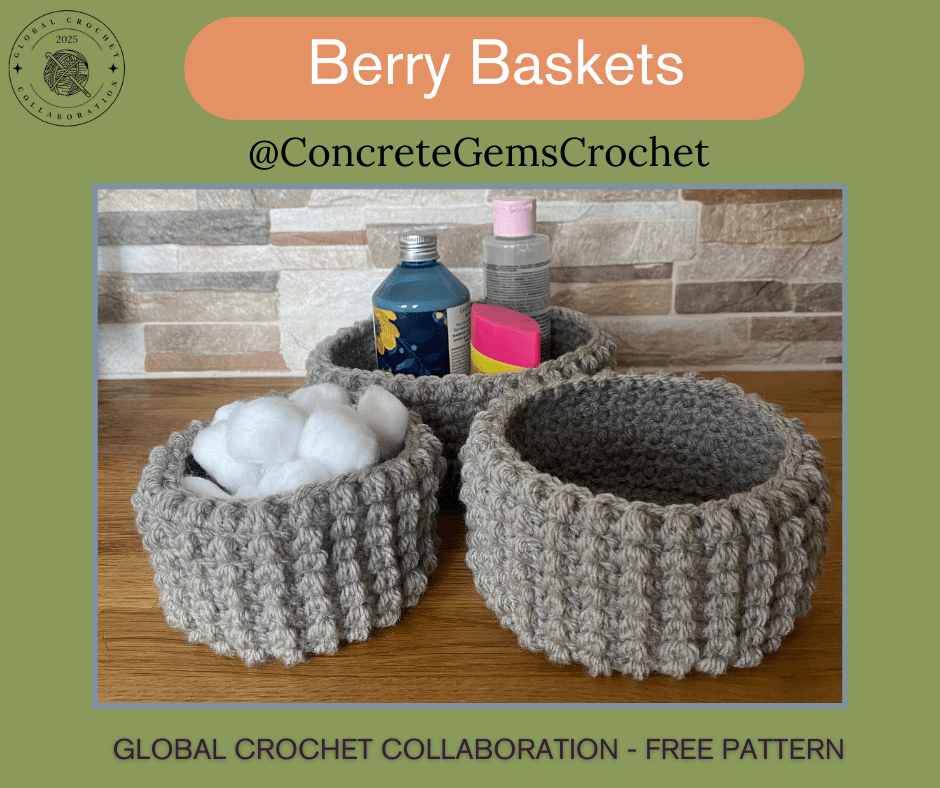
You can get to the pattern by clicking the image above!
Now this will make a perfect last minute gift for almost all occasions! So let’s get started shall we?
Don’t forget to check back next week to find out what pattern is coming to you absolutely free from my hooks:)
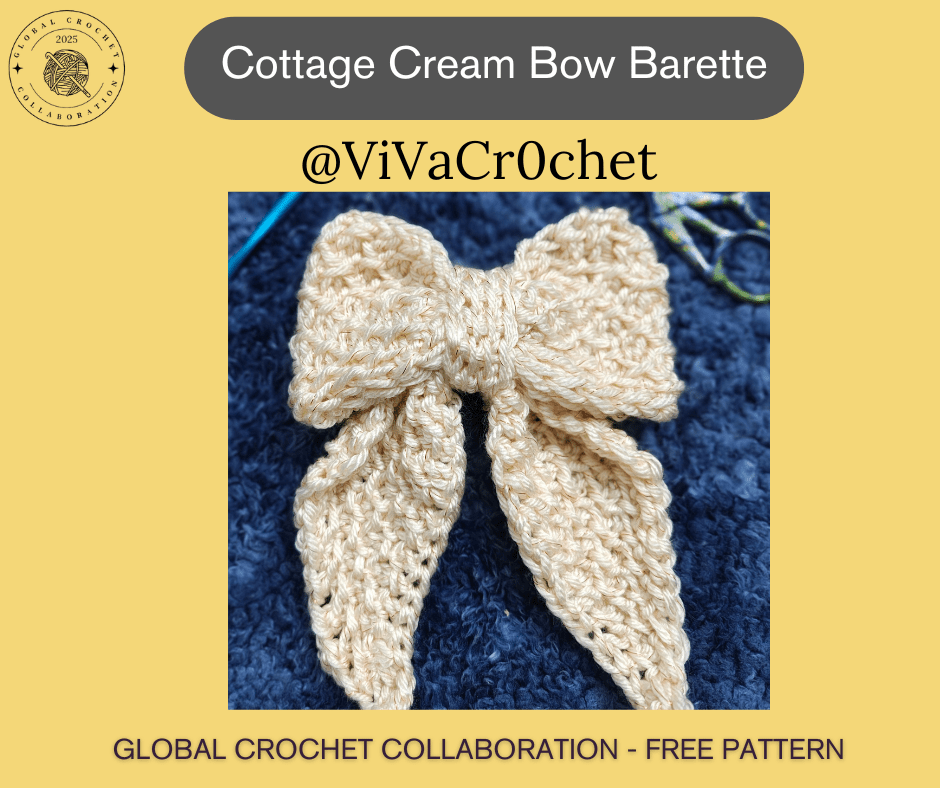
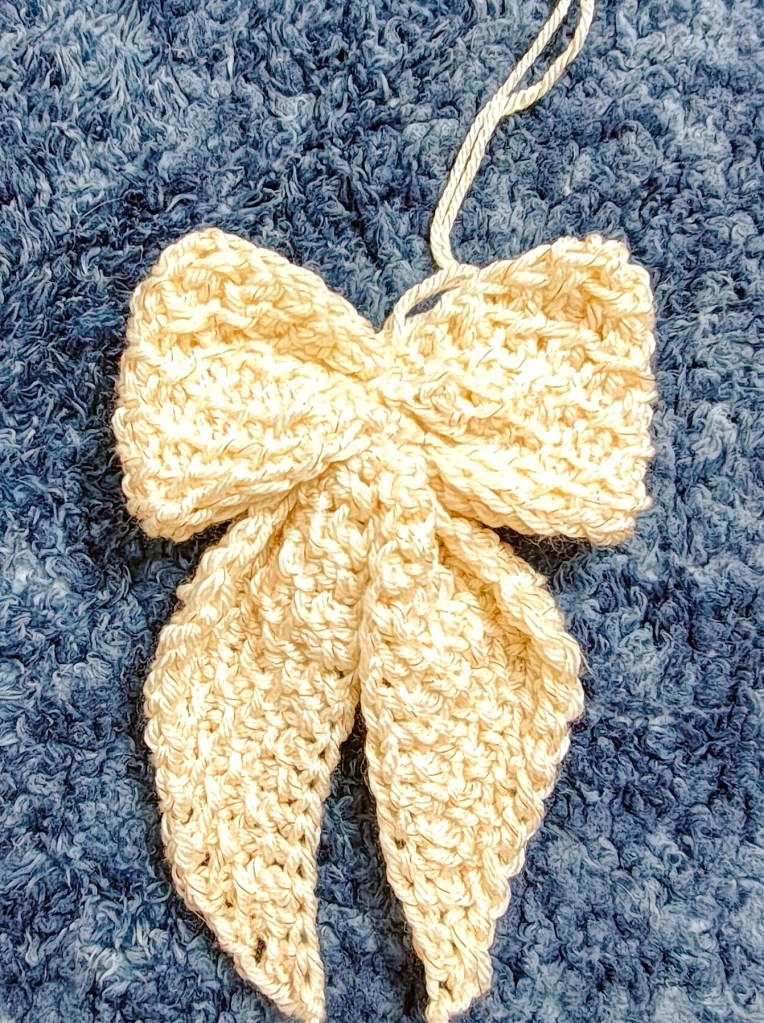
The second freebie for September 2025 is here! It is the Cottage Cream Bow Barette! The pattern is designed by my daughter but as she is busy studying, I am bringing you this pattern using the stitches I love the most inTunisian crochet – the Tunisian Simple Stitch and the Tunisian Purl Stitch.
The texture that this combination creates is just too yum:)
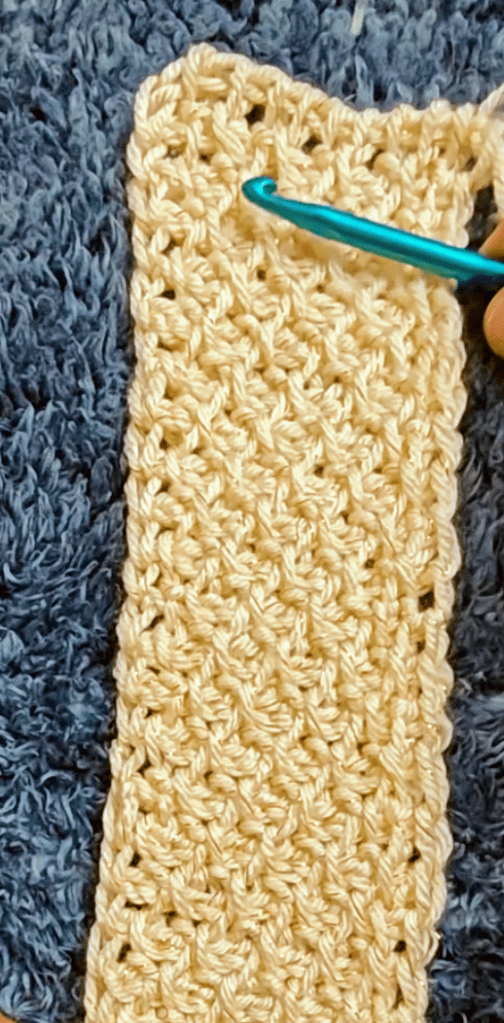
For this project , I used Ganga Starlite worsted weight yarn and a regular 5.5 mm crochet hook. I say regular because normally for working Tunisian Crochet you will need a longer hook to accomodate holding a lot of stitches. If you like Tunisian Crochet , you can check my Waffle Crunch neckwarmer or try the Belly of the Beast tote that we worked as a Crochet Along with our fellow crafters.
Let us get on with the pattern! Don’t let the length of the pattern instructions scare you! I had to write lengthily to make sure a beginner can easily make this:)
Cottage Cream Bow Barette
Materials Needed
Yarn: Any 4 ply worsted weight yarn . The sample shown was made with Ganga Starlite , a really cool acrylic yarn with a sparkly filament twisted in it. I have linked to the store where I get my yarn , no affiliation , just a happy customer.
Hook: Regular size I or 5.5 mm crochet hook.
Thread: Sewing thread or fingering weight yarn to sew the barette to the bow.
Scissors
Barette: I bought a box of barettes from here.

Yarn Needle to weave in the ends.
Gauge: Not needed for this project. Just make sure that the piece you make is bigger than the size of the barette. The barette size I used is 8cm long.
Finished Size: The Bow I made measures 5.5 inches wide and 7″ tall (including the tail)
Yo Yarn over
ESt Edge Stitch worked in the last stitch of every row as follows – Insert hook through two loops of the last stitch , yarn over and pull up a loop.
TSS Tunisian Simple Stitch worked in the chain or vertical bar as follows for the entire row – FP Forward pass Insert hook from right to left under the next vertical bar, yarn over and pull up a loop. Repeat FP until the second last stitch.
TPS Tunisian Purl Stitch worked in the vertical bar as follows for the entire row – FP Forward pass bring the working yarn in front of the stitch, insert hook from right to left under the next vertical bar, bring the yarn behind the work, yarn over and pull up a loop. Repeat FP until the second last stitch.
RP Return Pass worked as follows for all rows – Yarn over pull through 1 loop, yarn over pull through 2 loops till you have just one loop left on the hook.
Difficulty: Advanced Beginner
Notes
1: FP and RP constitute one row of pattern.
2: RP is the same for all rows.
3: The pattern is a 2 row repeat. The TSS and TPS are worked alternatingly. If there is a TSS in the pervious row, you will make a TPS in that stitch in the next row and vice versa.
4: The loop on the hook is always counted as the first stitch.
5: The last stitch is always the Edge stitch.
6: Although you can start with any number of chains, it is ideal to have an odd number so that the iincrease and decrease becomes easier.
7: The bow is made up of 3 pieces :- a rectangular piece that will be folded in half to give the width of the bow, the tail piece and a central band that covers the cinched centre of the bow.
8: All pieces are worked flat and joined.
9: You will be working only on the right side of all the pieces.
Instructions
Rectangle : Make 1
Foundation Row
Chain 11 , insert hook into the 2nd chain from the hook, yo, pull up a loop, * insert hook into the next chain, yo, pull up a loop, repeat from * till the end of the chain. 11 loops on the hook.
Work RP – 11 sts.
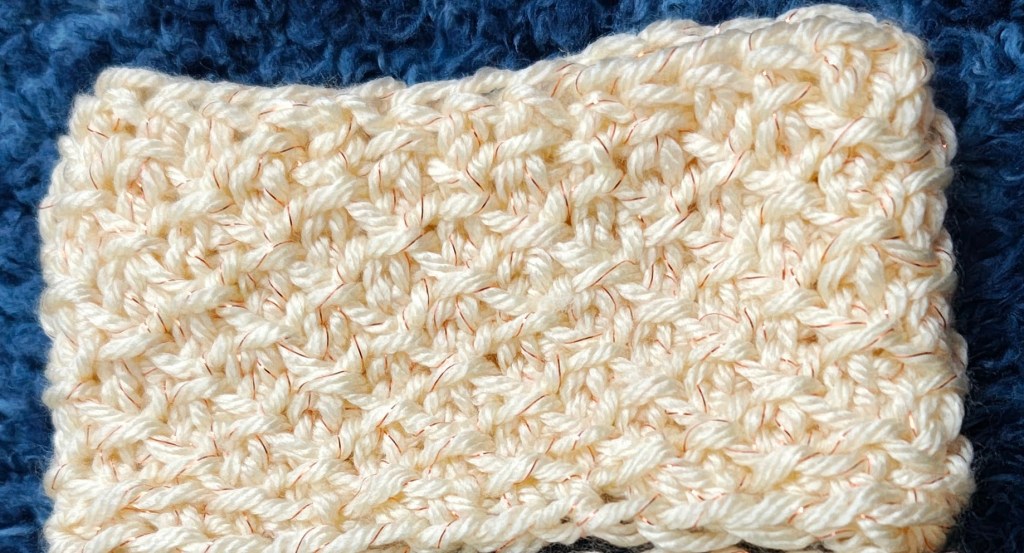
Row 1
FP : 1 TPS in the 2nd vertical bar, * 1 TSS in the next st, 1 TPS in the next st, repeat from * till the last stitch, 1ESt in the last st – 11 loops.
Work RP – 11 sts.
Row 2
FP: 1 TSS in the 2nd vertical bar, * 1 TPS in the next, 1 TSS in the next st, repeat from * until the last st, 1 ESt in the last st – 11 loops on the hook.
Work RP – 11 sts.
Repeat rows 1 and 2 till there are a total of 26 rows from the beginning.
Bind off row :
Insert hook under the second vertical bar, yo, pull through the bar and the loop on the hook,
* insert hook in the next vertical bar, yo,pull through the bar and loop on the hook. Repeat from * until the end of row.
Fasten off leaving along tail.
Fold the piece in half and seam the foundation row and the bind off row.
Tail: make 1
The Tail is split into 3 sections for better clarity. It is just one piece!
Increase Section
Chain 2, insert hook in the 2nd ch from the hook, yo , pull up a loop – 2 loops on the hook.
Work RP as follows – yo, pull through 1 loop, yo pull through 2 loops – 2 sts.
Row 1
FP: insert hook in the sp before the 2nd vertical bar, yo, pull up a loop, 1 TPS in the next st, 1 ESt in the last st – 3 loops
Work RP – 3 sts.
Row 2
FP: insert hook in the sp before the 2nd vertical bar, yo, pull up a loop, 1 TPS in the next st, 1 TSS in the next st, 1 ESt in the last st – 4 loops
Work RP
Rows 3 – 9 Repeat row 2. You will be increasing one stitch at the beginning of each row and you will repeat (1TPS in the next st, 1 TSS in the next st) until the last st in each row, 1 ESt in the last st.
At the end of RP of Row 9 you should have 11 sts.
Now you will work even (no more increase)
Row 10
FP: 1TPS in the 2nd vertical bar, *1 TSS in the next st, 1 TPS in the next st, repeat from * until the last st, 1ESt in the last st – 11 loops
Work RP – 11 sts
Row 11
FP: 1 TSS in the 2nd vertical bar, *1 TSS in the next st, 1 TPS in the next st, repeat from * until the last st, 1ESt in the last st – 11 loops
Work RP – 11 sts.
Rows 12- 22 : repeat row 10 and 11 .
At the end of RP of row 22 , the even piece of the tail should be as tall as the length of the rectangle piece.
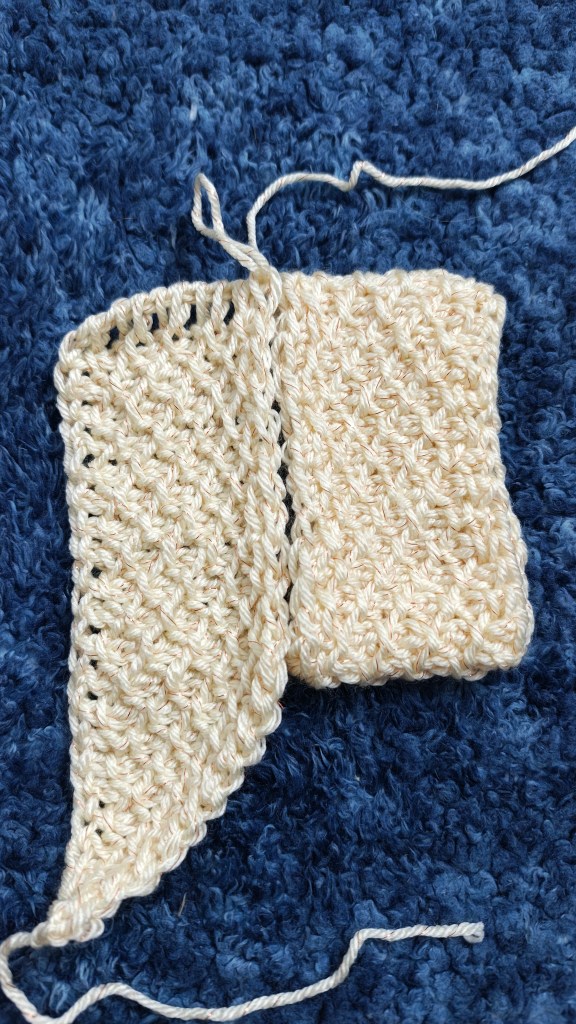
Decrease Section
Now we need to make the tail on the other side and hence we will decrease one stitch at the beginning of each row. This decrease is made by binding off one stitch.
Row 23
FP: insert hook in the 2nd vertical bar as if to make the TPS , yo , pull through the vertical bar and the loop on hook (one st decreased), * 1 TSS in the next st, 1 TPS in the next st, repeat from * until the last st,1 ESt in the last st – 10 loops
Work RP – 10 sts.
Rows 24 – 32
Repeat row 23 . The odd numbered rows will end in TPS before the ESt and the even numbered rows will end in TSS before the ESt.
At the end of row 32 , bind off the last st.
Fasten off and weave in the ends.
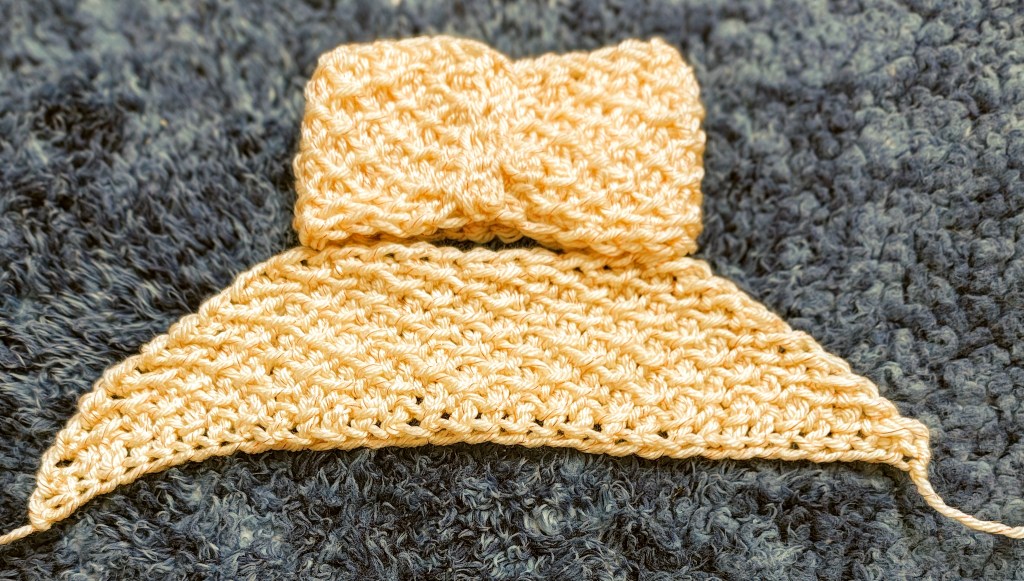
Finishing
Take a sewing thread or any light weight cotton in the same colour as the pieces. Using the yarn needle, we will first cinch up the rectangular piece.
Bring up the needle at the centre of the piece and through both thickness. Leave a 5″ tail. Make 3 running stitches across the width of the rectangular piece.
Next, hold the tail of thread you left at the beginning and pull the thread attached to the needle. This should gather the piece. next place the tail piece as shown and continue to make 3 running stitches in the tail. When you reach the edge, pull the thread attached to the needle and hold the top tail so that it doesn’t get pulled through.
Run the needle back through the back side of the rectangular piece so that the two ends are at the top of the rectangular piece. Give the threads a tight pull to make sure that the two pieces are joined. Tie an overhand double knot and trim the excess.
Center Band.
Chain 4, insert hook in the 2nd ch, yo, pull up a loop, insert hook in each of the next 2 chains and pull up 2 loops- 4 loops.
Work RP – 4 sts.
Row 1
FP: 1 TSS in the 2nd st, 1 TSS in the next 2 sts, 1 ESt in the last st – 4 loops.
Work RP – 4 sts.
Repeat Row 1 seven more times.
Bind off by working as follows : insert hook in 2nd st, yo , pull through bar and loop on hook , repeat across the row.
Fasten off.
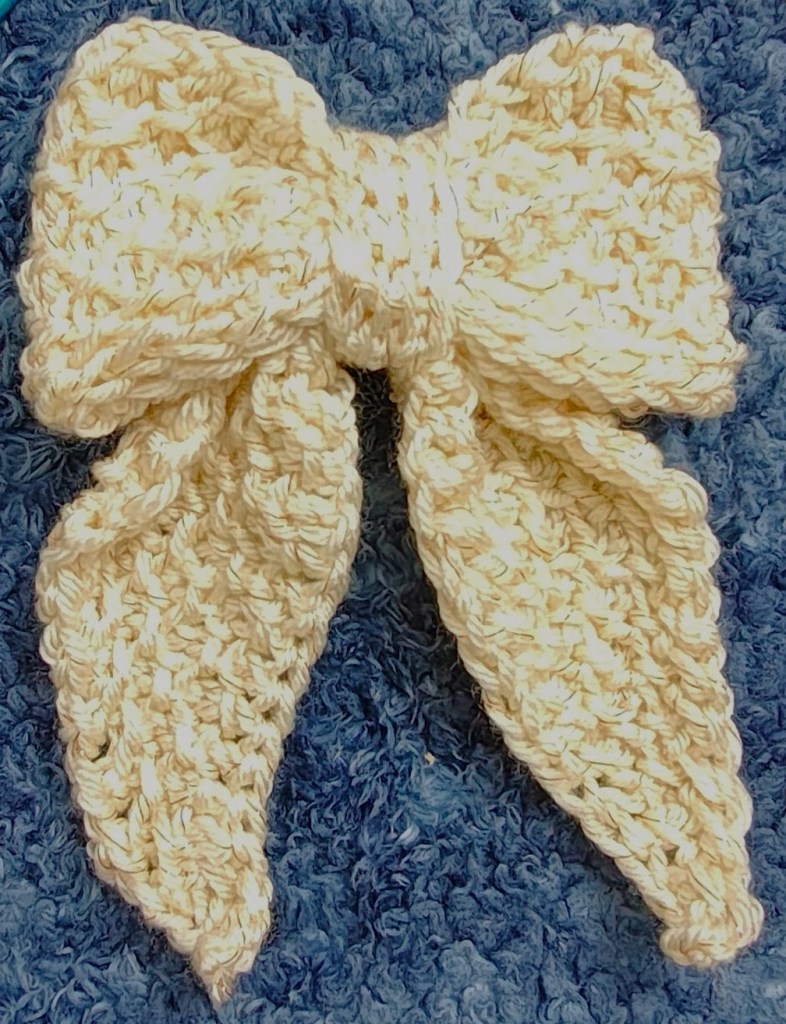
Place the centre band across the bow to cover the central area where you have cinched to form the bow. Using the yarn tails, seam the centre band securely.

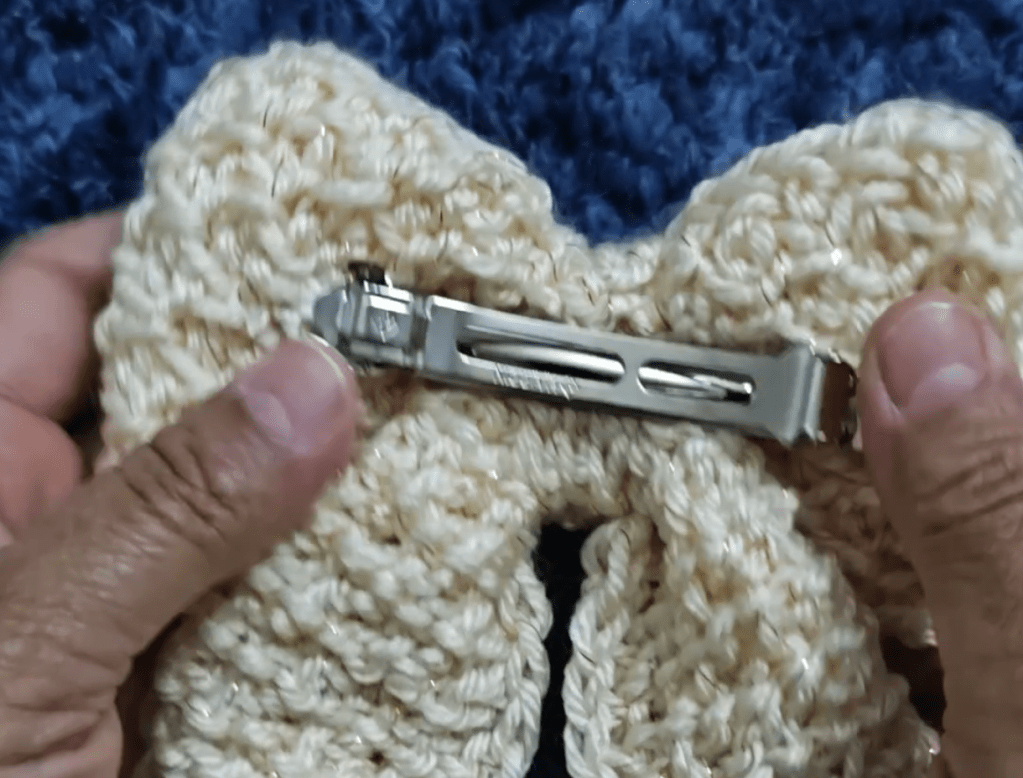
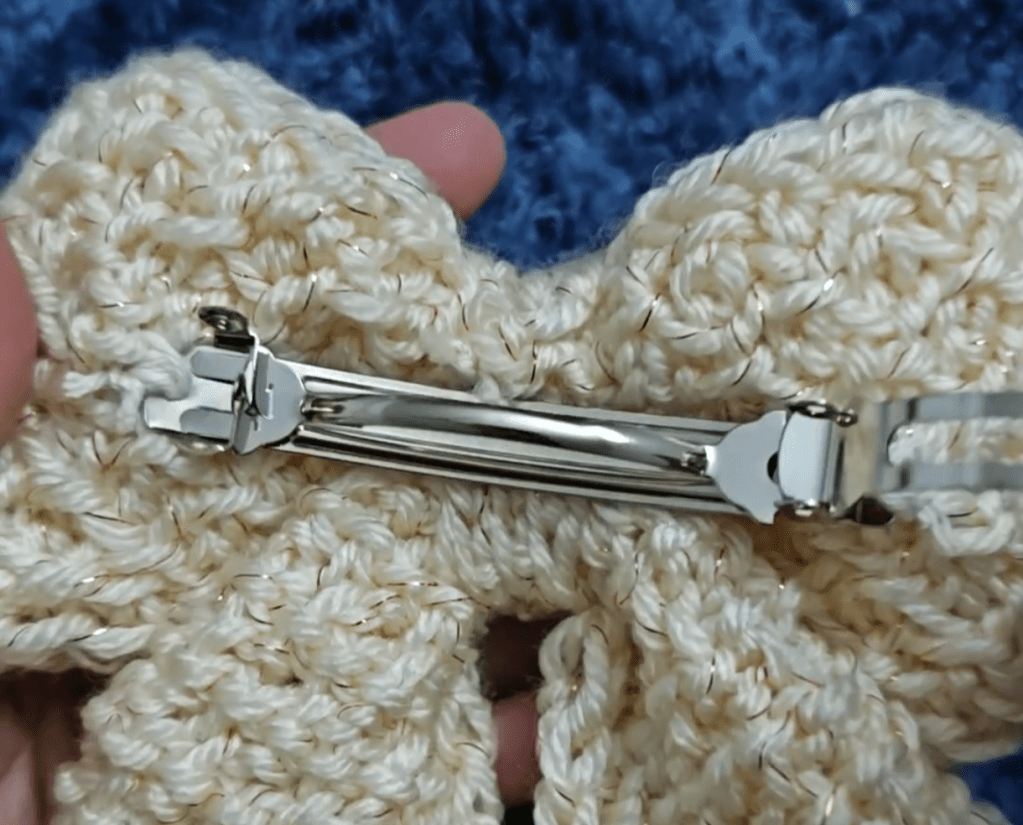
Next place the barette behind the bow and using the sewing thread or thinner yarn , sew the barette in place. I have sewed the barette in just the two ends, The base of the barette has two holes at either ends and I used that the sew it in place. I did not go through both layers of the rectangular piece.
And that’s it! You have made yourself the cutest bow ever!
Do tag ViVaCr0chet when you get a chance to make this bow! Would love to see your creations! The most joy for a designer comes when fellow crafters put their spin on the pattern to showcase their creativity. Be it in the choice of colors or interpretation!
Hope you enjoyed making this bow! See you soon with another beautiful freebie!
Until then , Stay Safe Stay Healthy!


Leave a comment