
“Whatever the mind can conceive and believe, it can achieve – Napoleon Hill”
A throwback to yesteryears when I had just started crocheting ,reveaIs that I did not pay much attention to the material I used or nor did I know the importance of a gauge swatch! I used to wonder why my projects turned out the way they did;)
Unfortunately or fortunately we only had film cameras back then so not a lot of pictures to record my misadventures :p)
After crocheting for 3 decades and designing for the past 10 years , I can say I have learnt a lot! And the learning doesn’t stop! I am learning more about how to present the projects, how to share my knowledge with others and most importantly about myself, what I love to do, what I can tolerate and what I can do without.
Crochet has given me an outlet to stay mentally agile, to conjure up designs , to translate what my mind sees into words so my fellow crafters can benefit from my learning! Let us be bold to dream that we can do it and then begin it. There is magic in that!
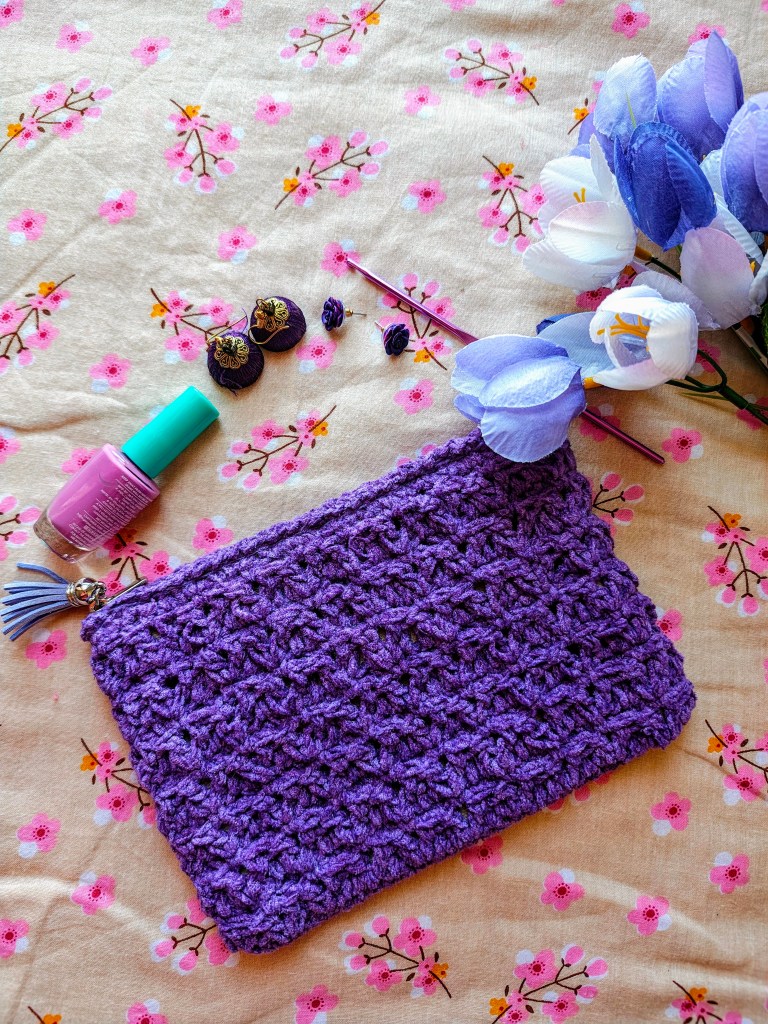
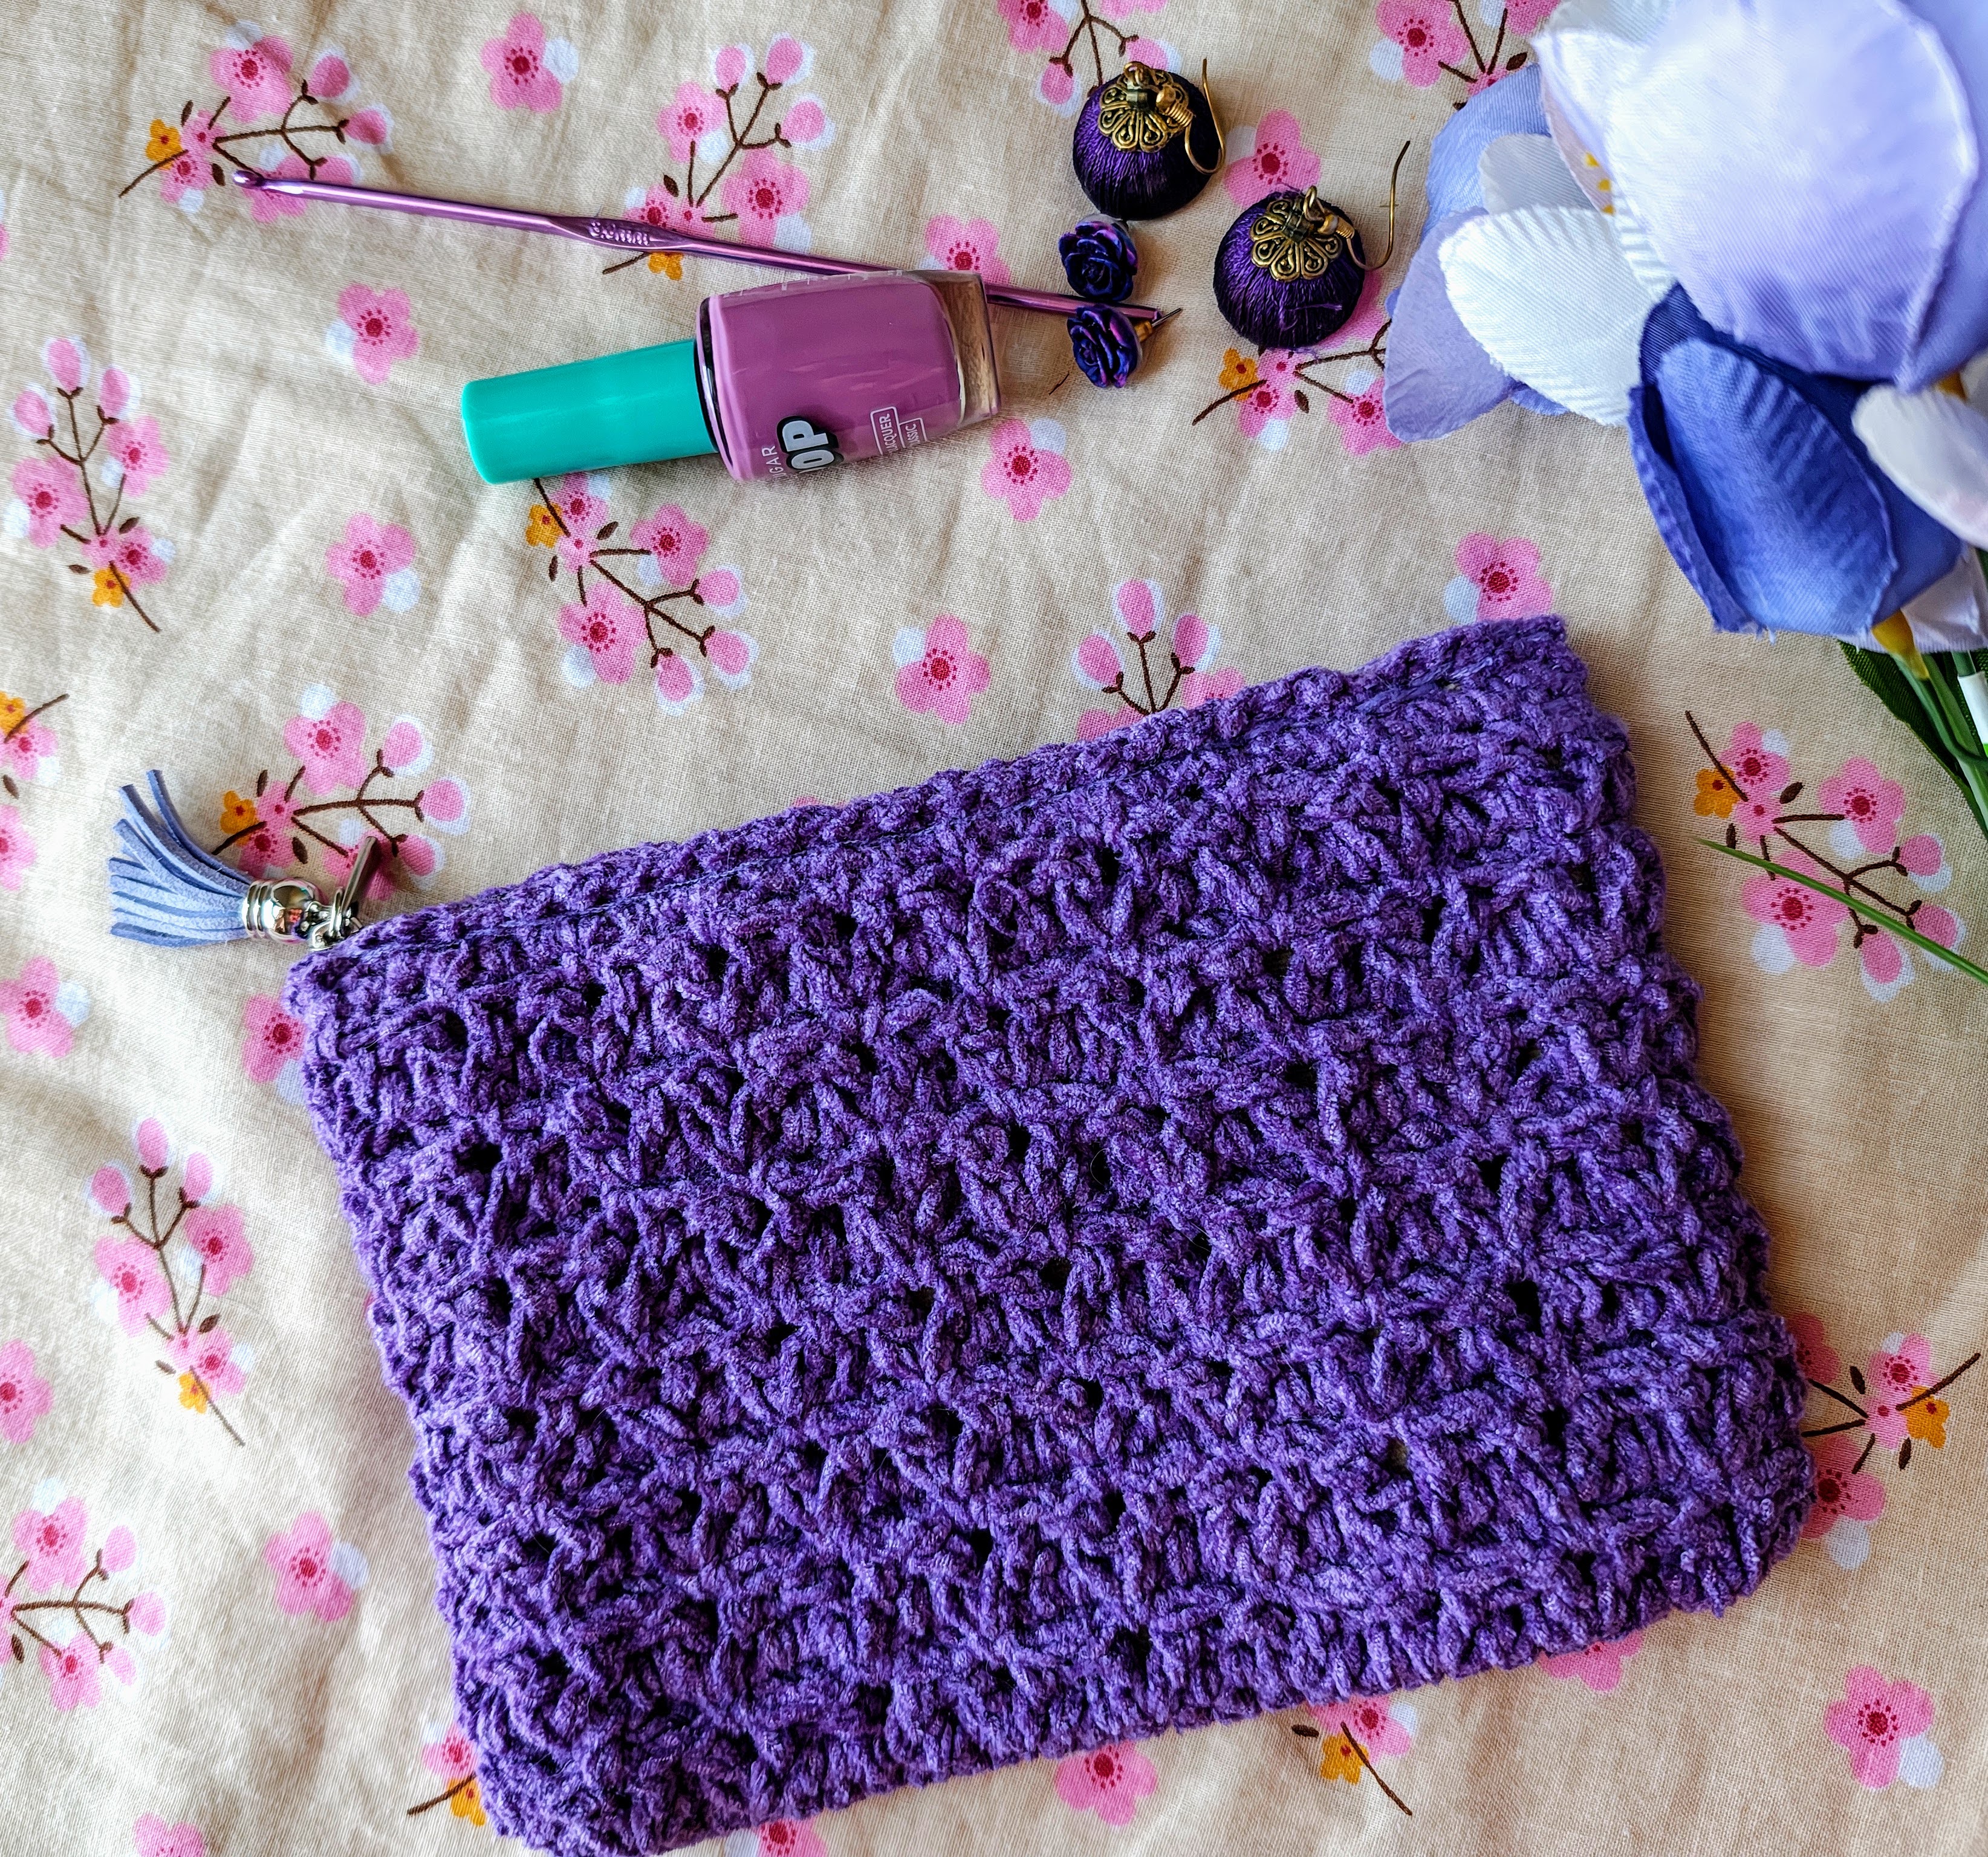
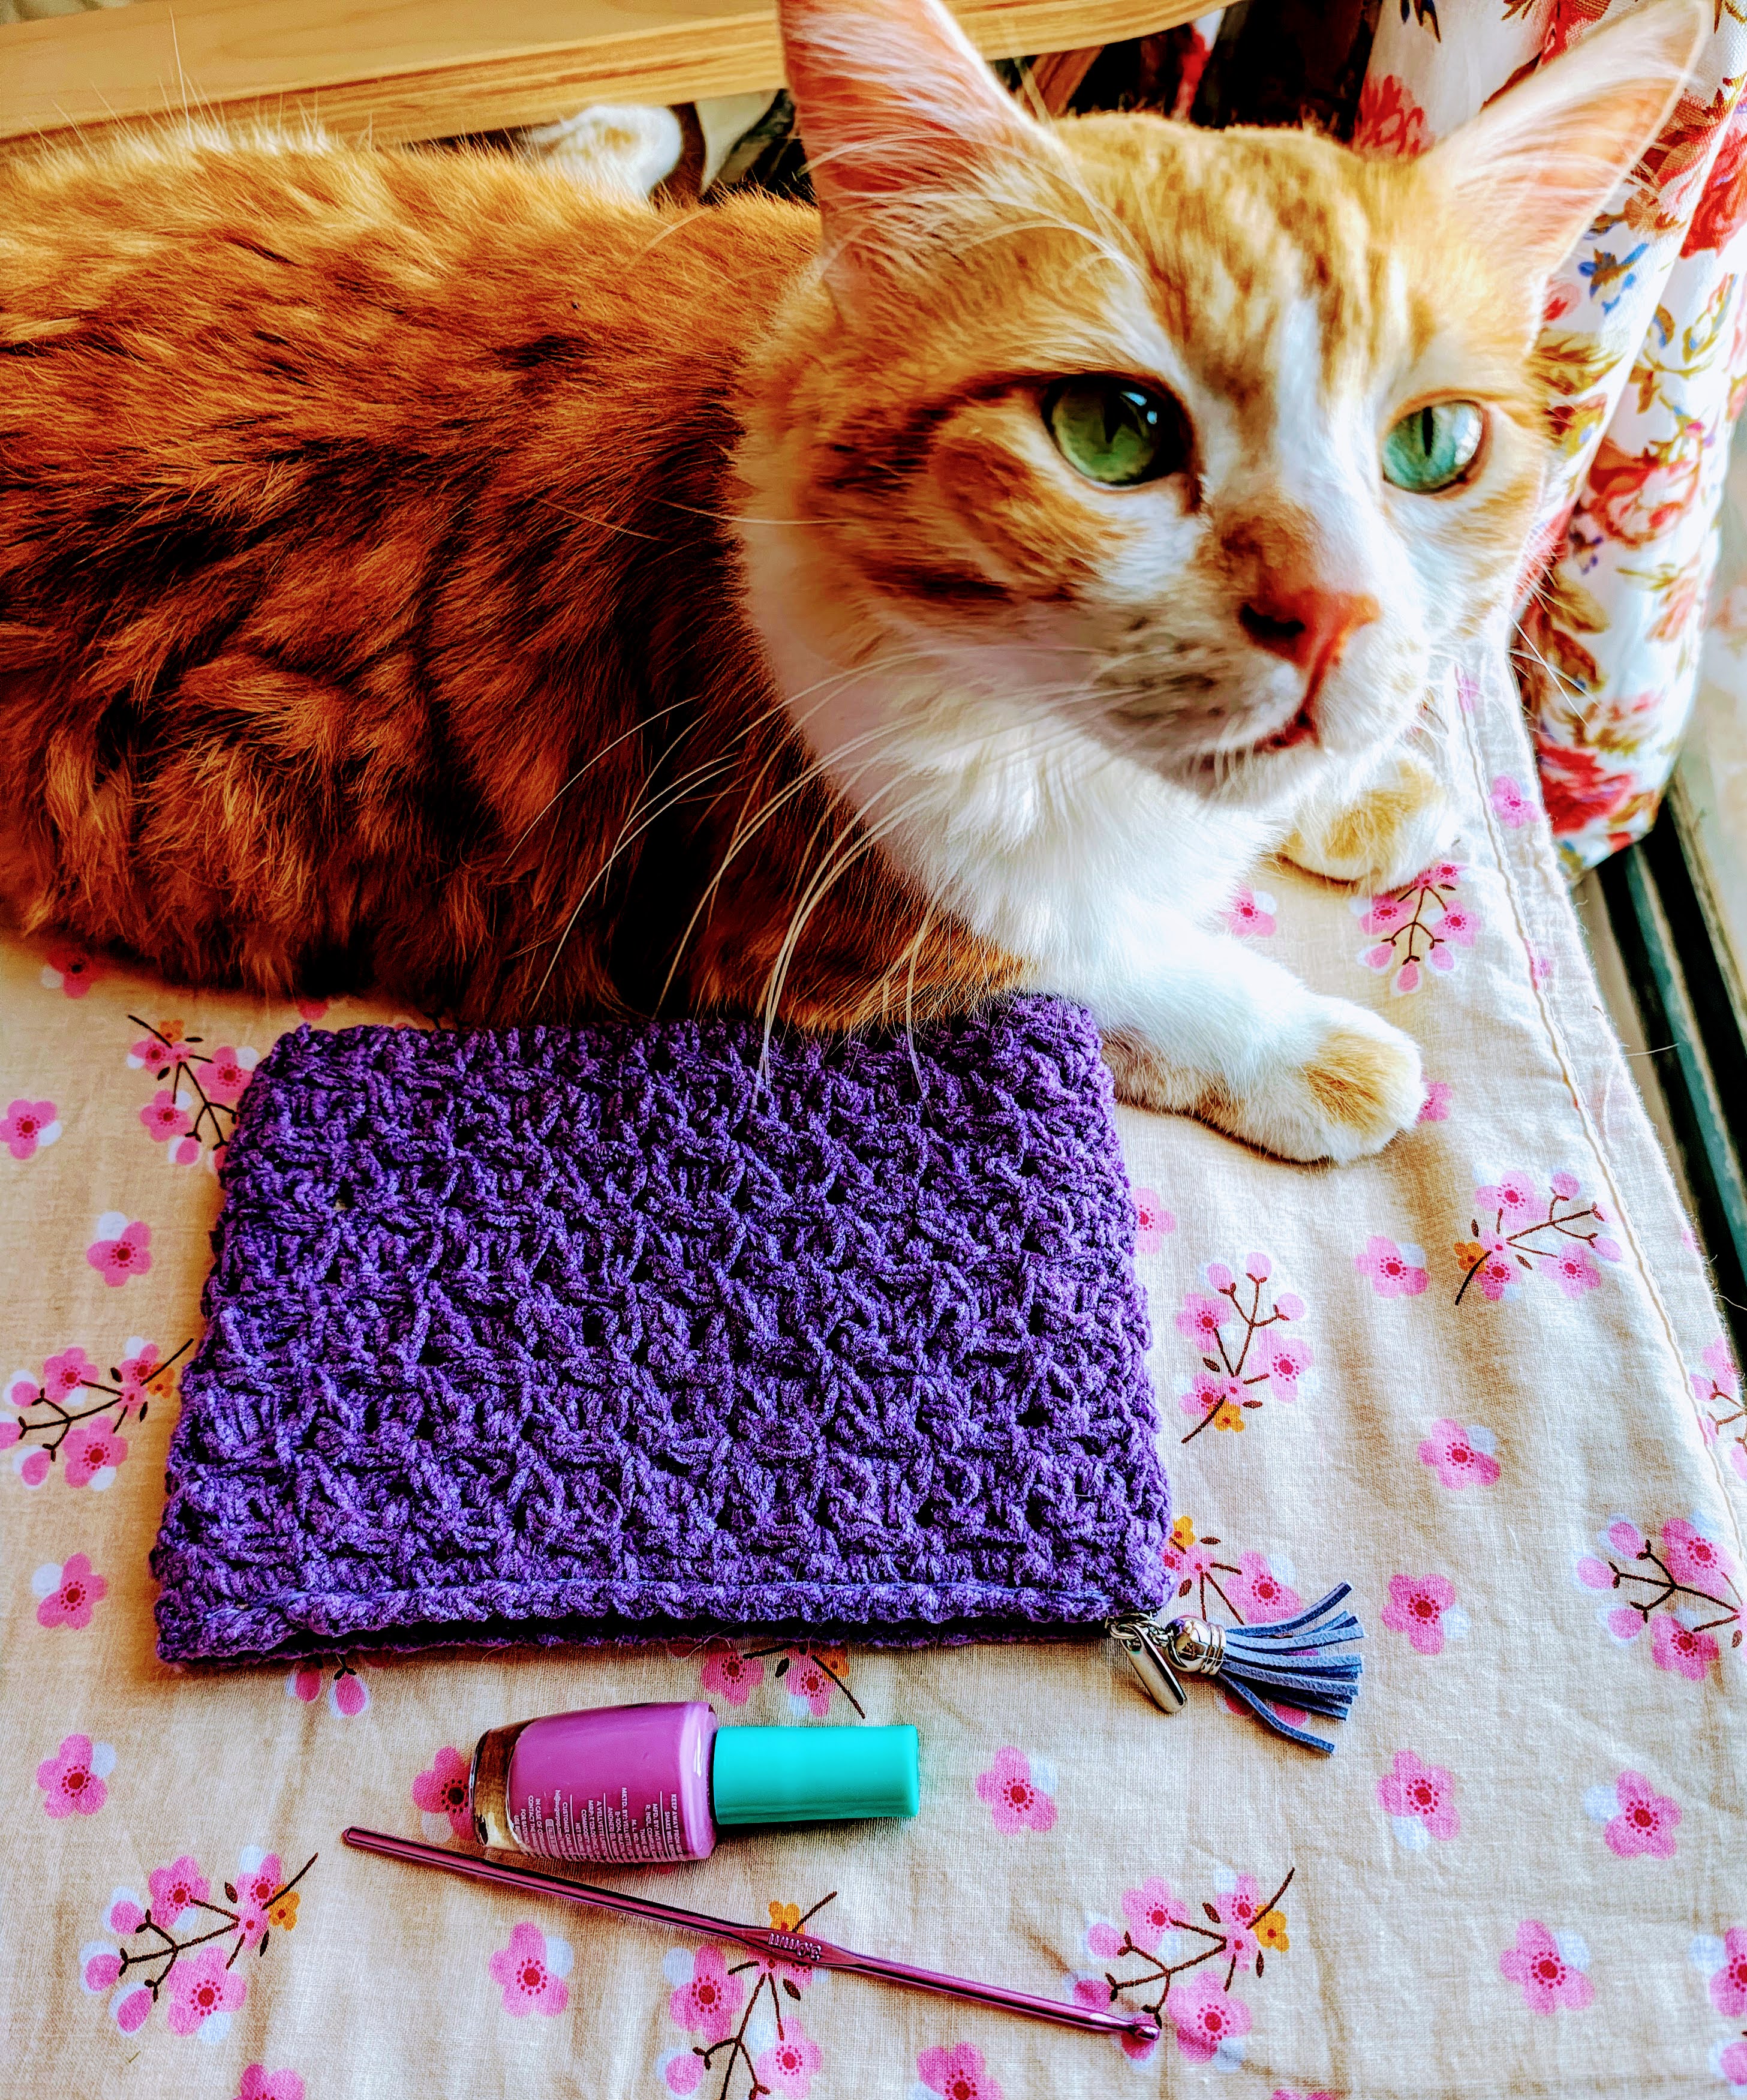
Let’s get to the last purse pattern , Resplendent Star!
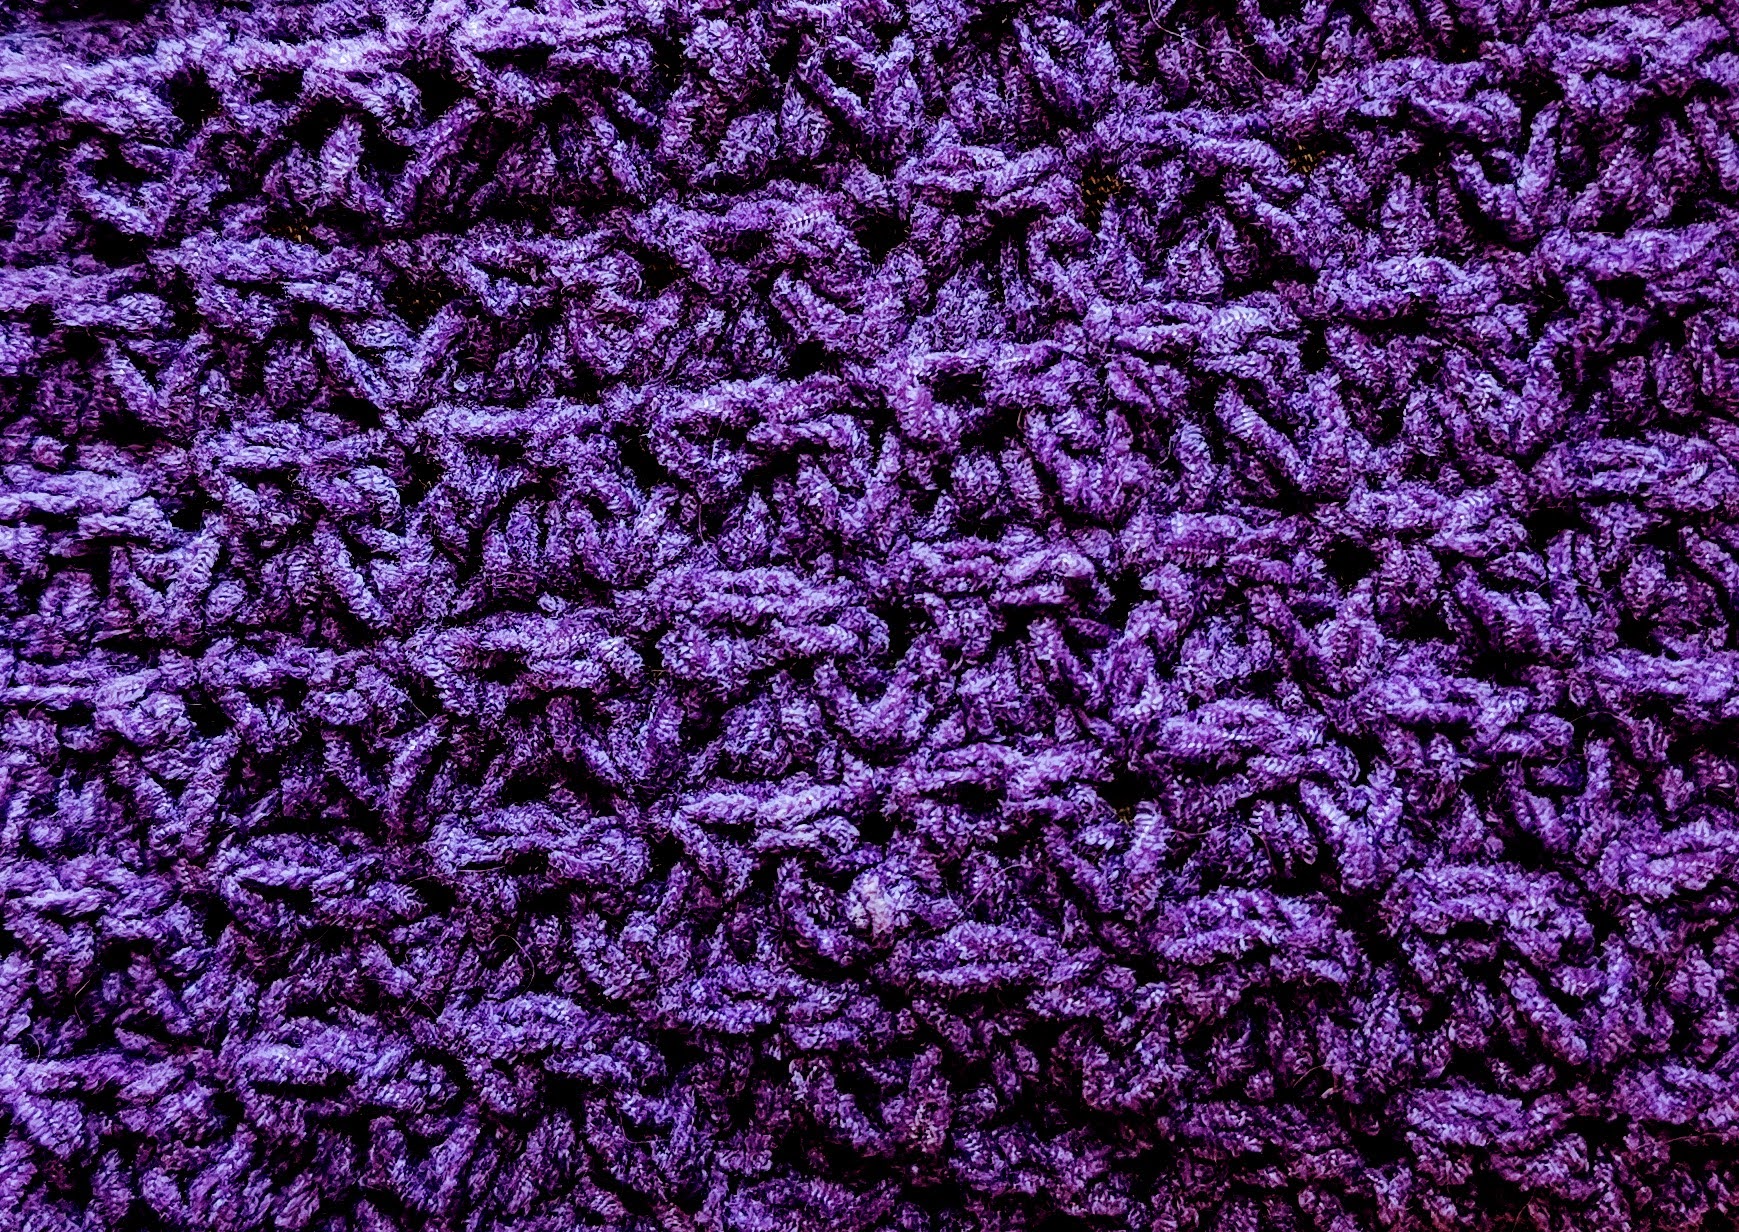
The V stitches I used in this pattern makes me think of a wishing star hence the name !
Materials
4 Ply Purple Cotton Chenille yarn from YarnKart . The yarn comes in 100 gm hanks and yardage is 200 yds per hank. (1 sample was made with 44 gms of yarn approx 90 yds)
No affiliation here:) just loved using this yarn
Crochet hook size 3mm
Yarn needle to weave in the ends
Sewing needle and matching sewing thread to hand stitch the lining
A pair of scissors
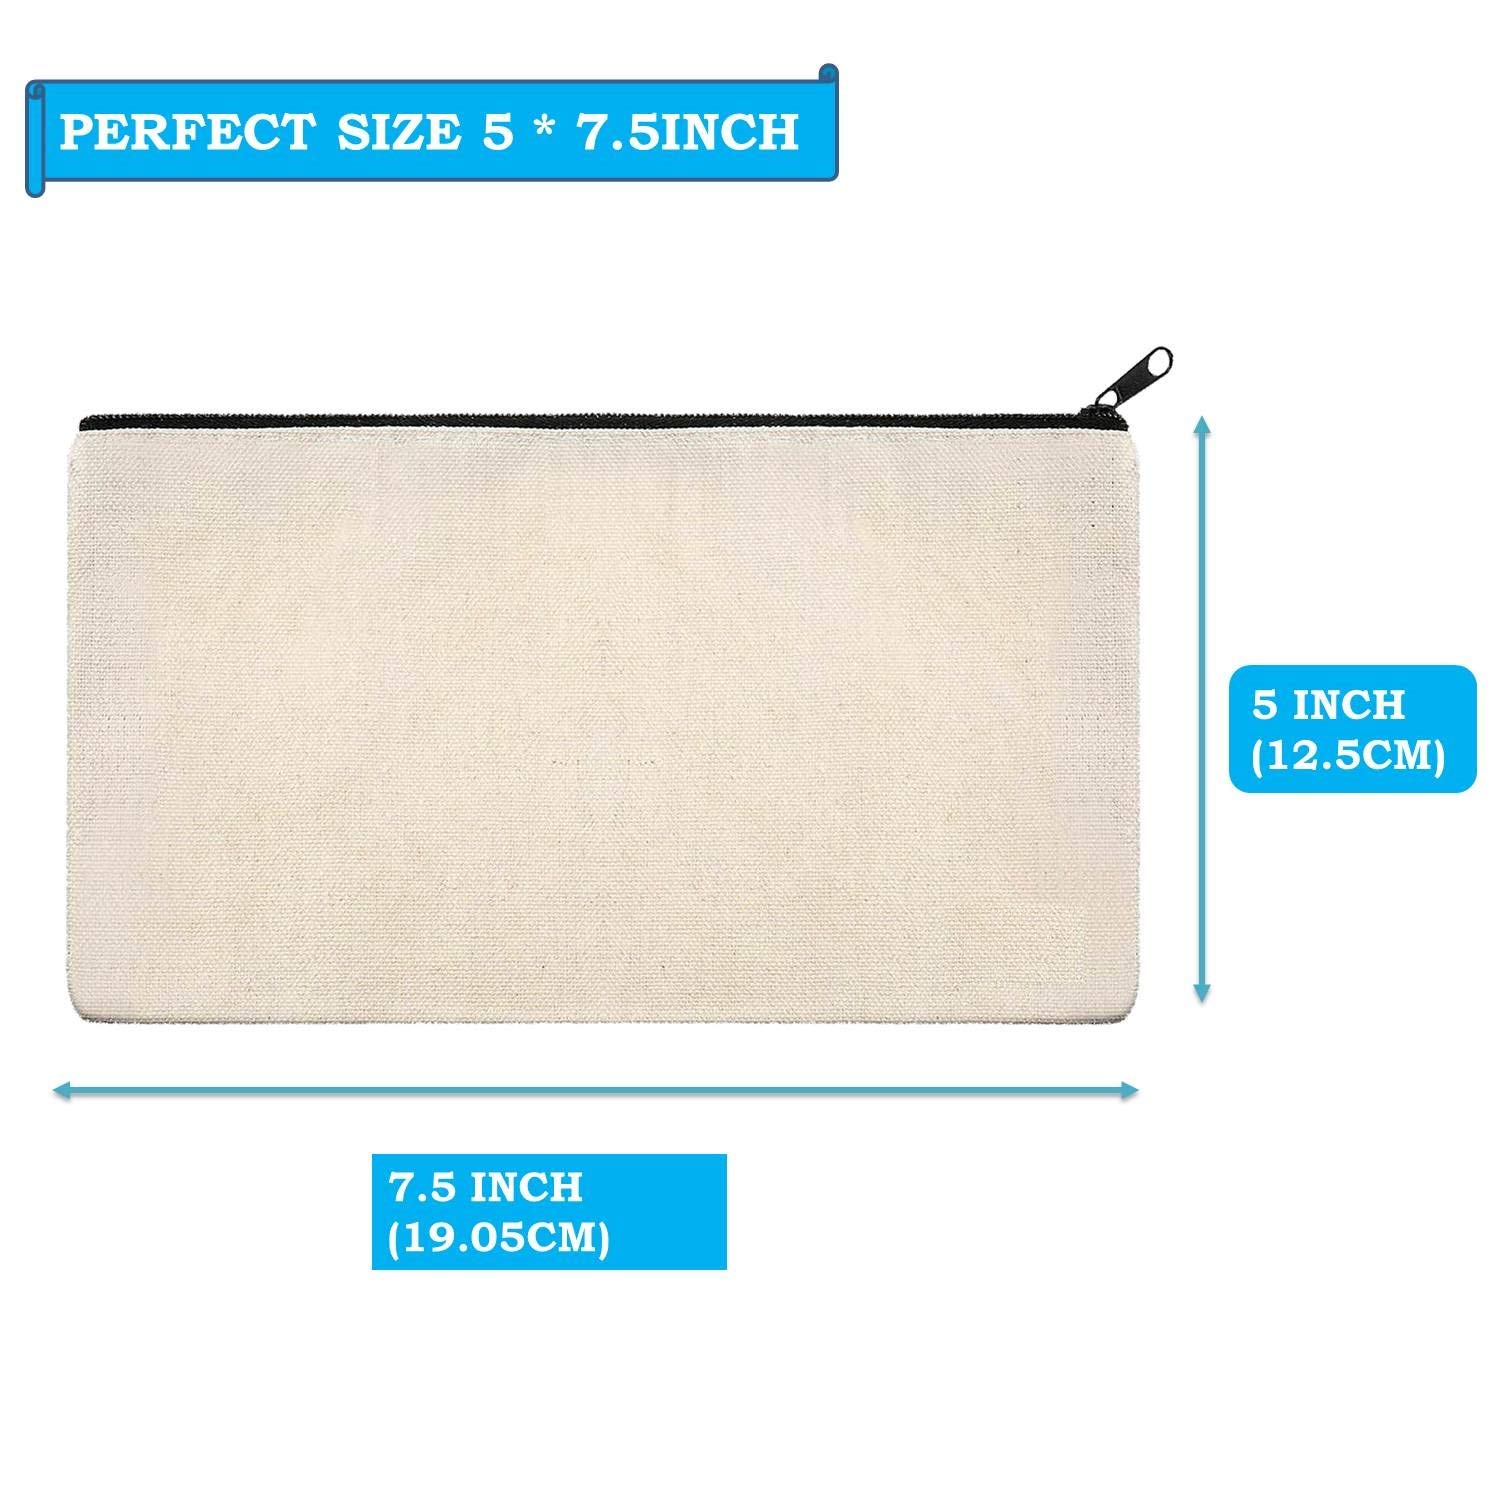
Finished size 7.5″ wide by 5″ tall
Gauge: 6 Vsts in a row = 4″ and 6 pattern repeats = 4″ tall
Stitches and Abbreviations
Yo – Yarn over
St – Stitch
Sp – Space
Beg – Beginning
Ch – Chain
Sl st – Slip stitch
Sc – Single crochet
Dc – Double crochet
Vst – V stitch (dc, ch1, dc) in the st indicated
Notes
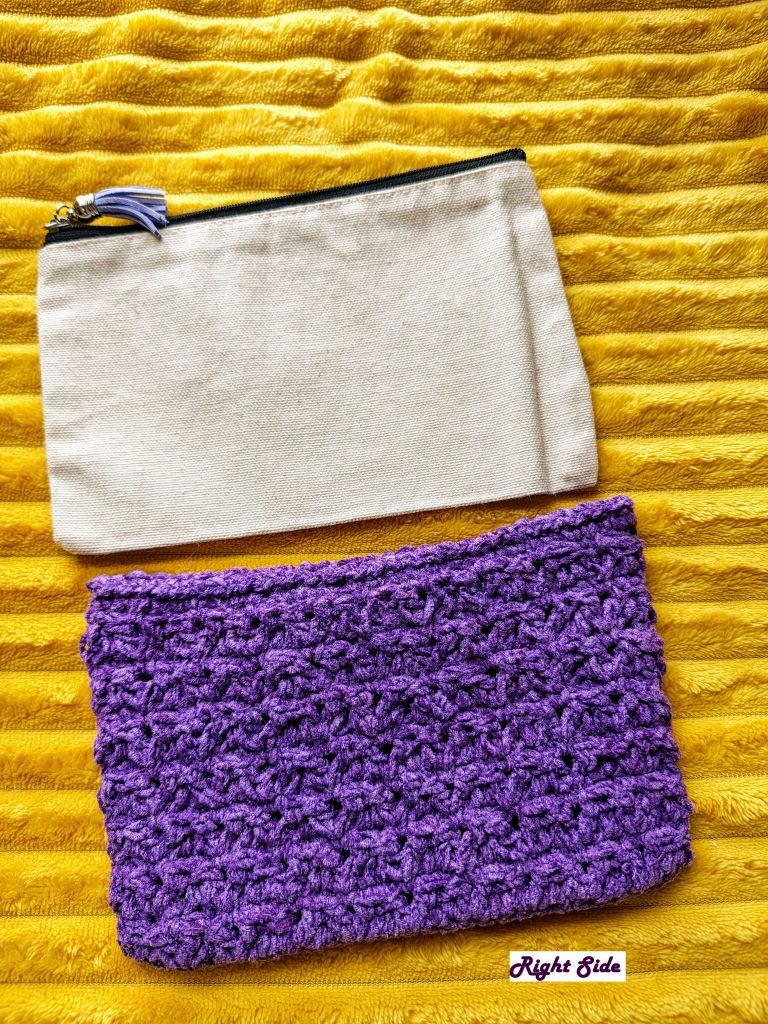
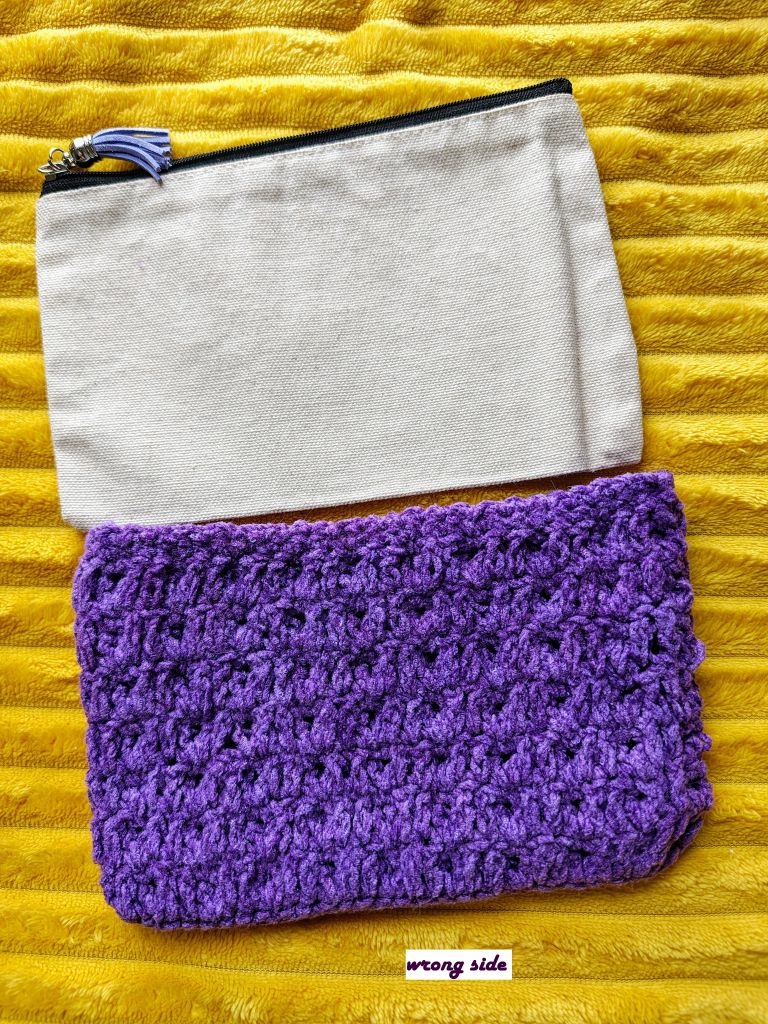
1: The instructions are given to match the canvas pouch that I used for the lining. If you are using something different or are sewing your own lining, you can change the width by changing the starting chain. Bear in mind to have the starting chain to be a multiple of 3+1.
2: You can use any yarn of your choice but the final product may not fit the readymade canvas pouches.
3: Make more repeats of rounds 3 and 4 to increase the height of the purse or make fewer repeats to get a smaller purse. The sample consists totally of 7 repeats plus 2 rounds of edging.
5: Stitch count is given at the end of each round.
6. Whatever yarn you intend to use, I would suggest to go down a hook size or two to get a tighter weave of the stitches.
Difficulty level : Advanced Beginner
Instructions
Round 1: Ch 28, 3 sc in the second chain from the hook (working into the back bump of the chain), 1 sc in each of the next 25 chains, 5 sc in the last chain, working on the other side of the foundation chain, 1 sc in each of the next 25 chains, 2 sc in the same st as the first 2 sc. Join with sl st to the first sc – 60 sc.
Round 2: Ch4 (counts as first dc + ch1 as part of the beg Vst), 1 dc in same st, sk next 2 sts, *Vst in the next st, sk next 2 sts, repeat from * around. Join with sl st to the 3rd ch of the beg ch3 – 20 Vst.
Round 3: Sl st into the ch1 sp of the Vst, ch1(does not count as st), sc in the same ch1 sp, working from behind,1 dc in each of the 2 skipped sts from one round below, * sc in the next ch1 sp, working from behind,1 dc in each of the 2 skipped sts from one round below, repeat from * around. Join with sl st to the first sc – 40 dc, 20 sc.
Repeat rounds 2 and 3 for desired height ending with round 3.
Edging
Round 1: Ch1 ( does not count as st), sc in each st around. Join with sl st to the first sc – 60 sc.
Round 2: * Ch1, sl st in the next st, repeat from * around.
Fasten off and weave in the ends!
Finishing
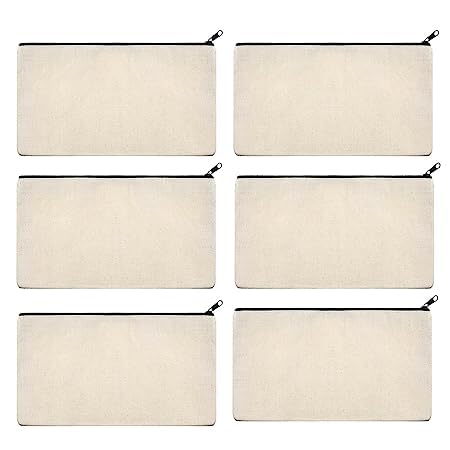
The Canvas pouches such as these or these are the ones that I used for lining. I bought them from Amazon. This is an affiliate link ! Pictures are from Amazon!
Weave in the starting end if you haven’t already done so while working the first round of the purse.
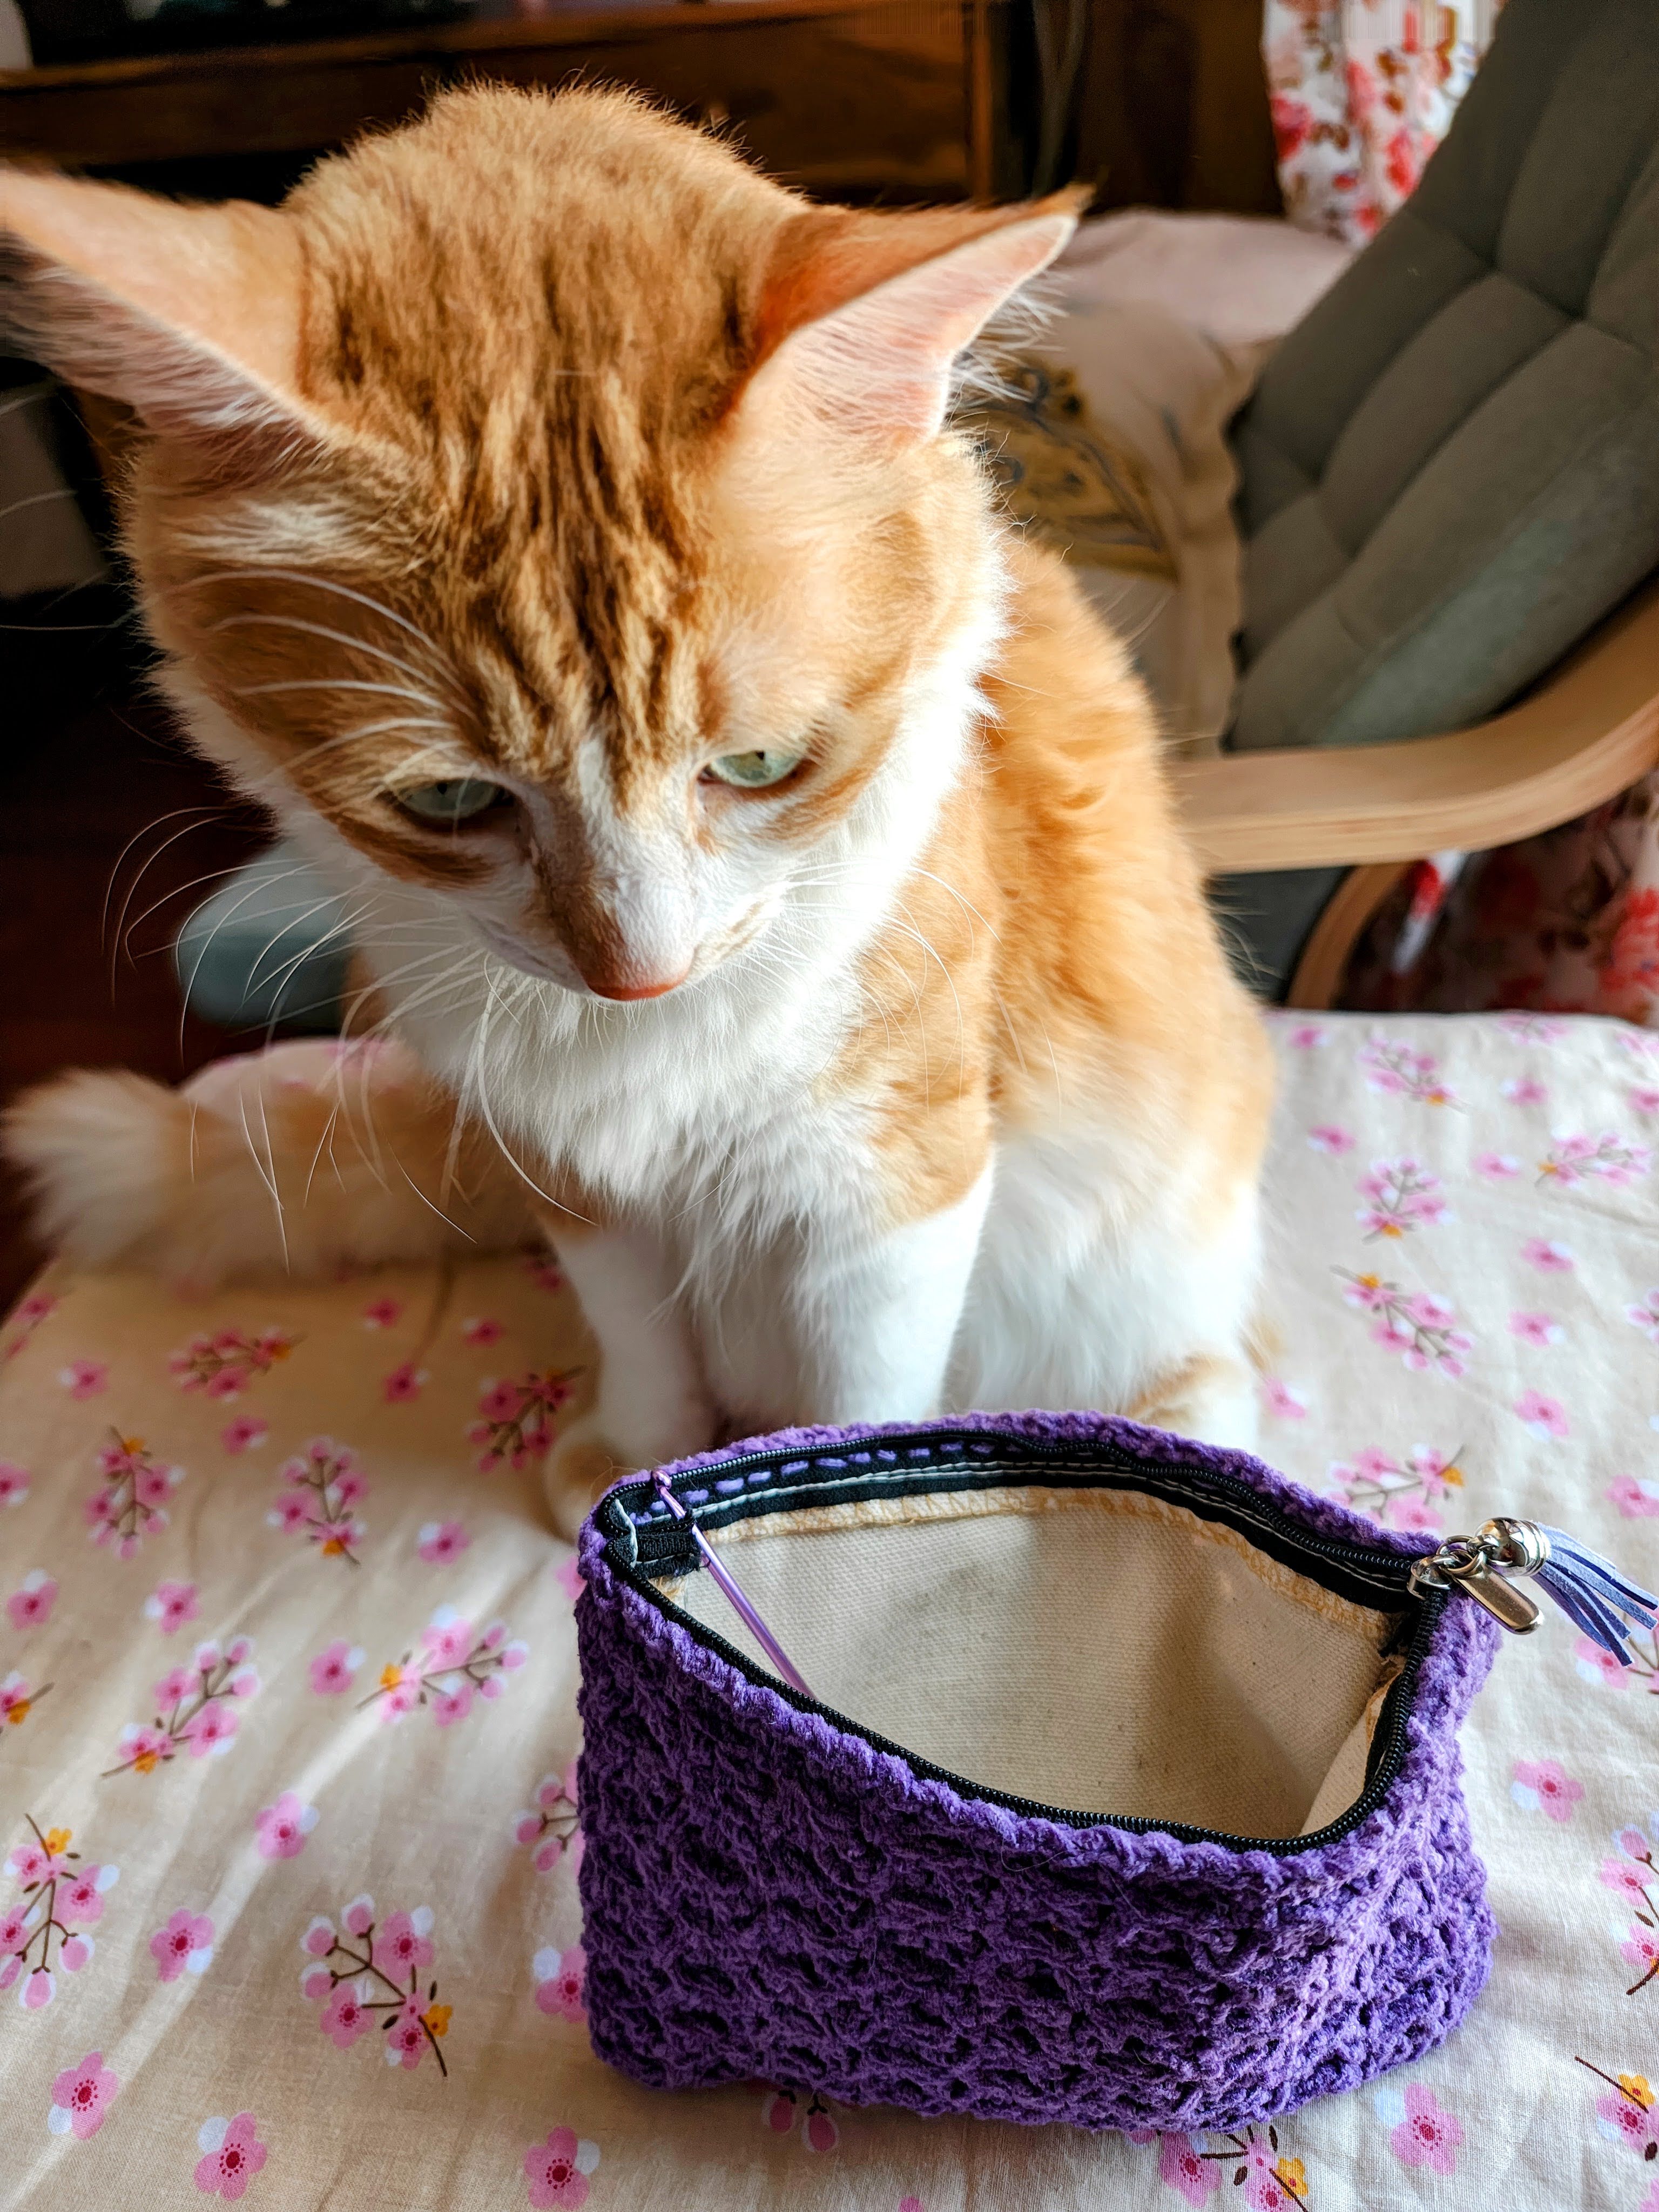
Insert the pre-made canvas pouch into the crochet purse , making sure to line up the pouch just below the slip stitch round. Thread the sewing needle with matching sewing thread and hand stitch the lining to the crochet purse. I also made sure to stitch under the zipper so that the stitches are not visible when you open the purse.
Weave all ends and you are done!
Optional : you can add a tassle to the zipper pull to make it more attractive.
Hope you enjoy making this cute little purse. I am going to leave you with some additional pictures. Do drop a comment if you need anything clarified!


Leave a comment