A week turned into more than a week ! It is going to be 2 weeks! Eeeks! Where did the time go??
A niggle , a poor/ intermittent internet connection and me bungling some settings in my blog are some of the reasons for the delay in part 2 coming up!
I am very happy to see folks participating enthusiastically for this crochet along ! Many have finished their panels and are waiting patiently for the second part. As this is quite verbose I will limit this post to just seaming and adding extra length . Ribbing and finishing to follow on Monday Sept 16th!
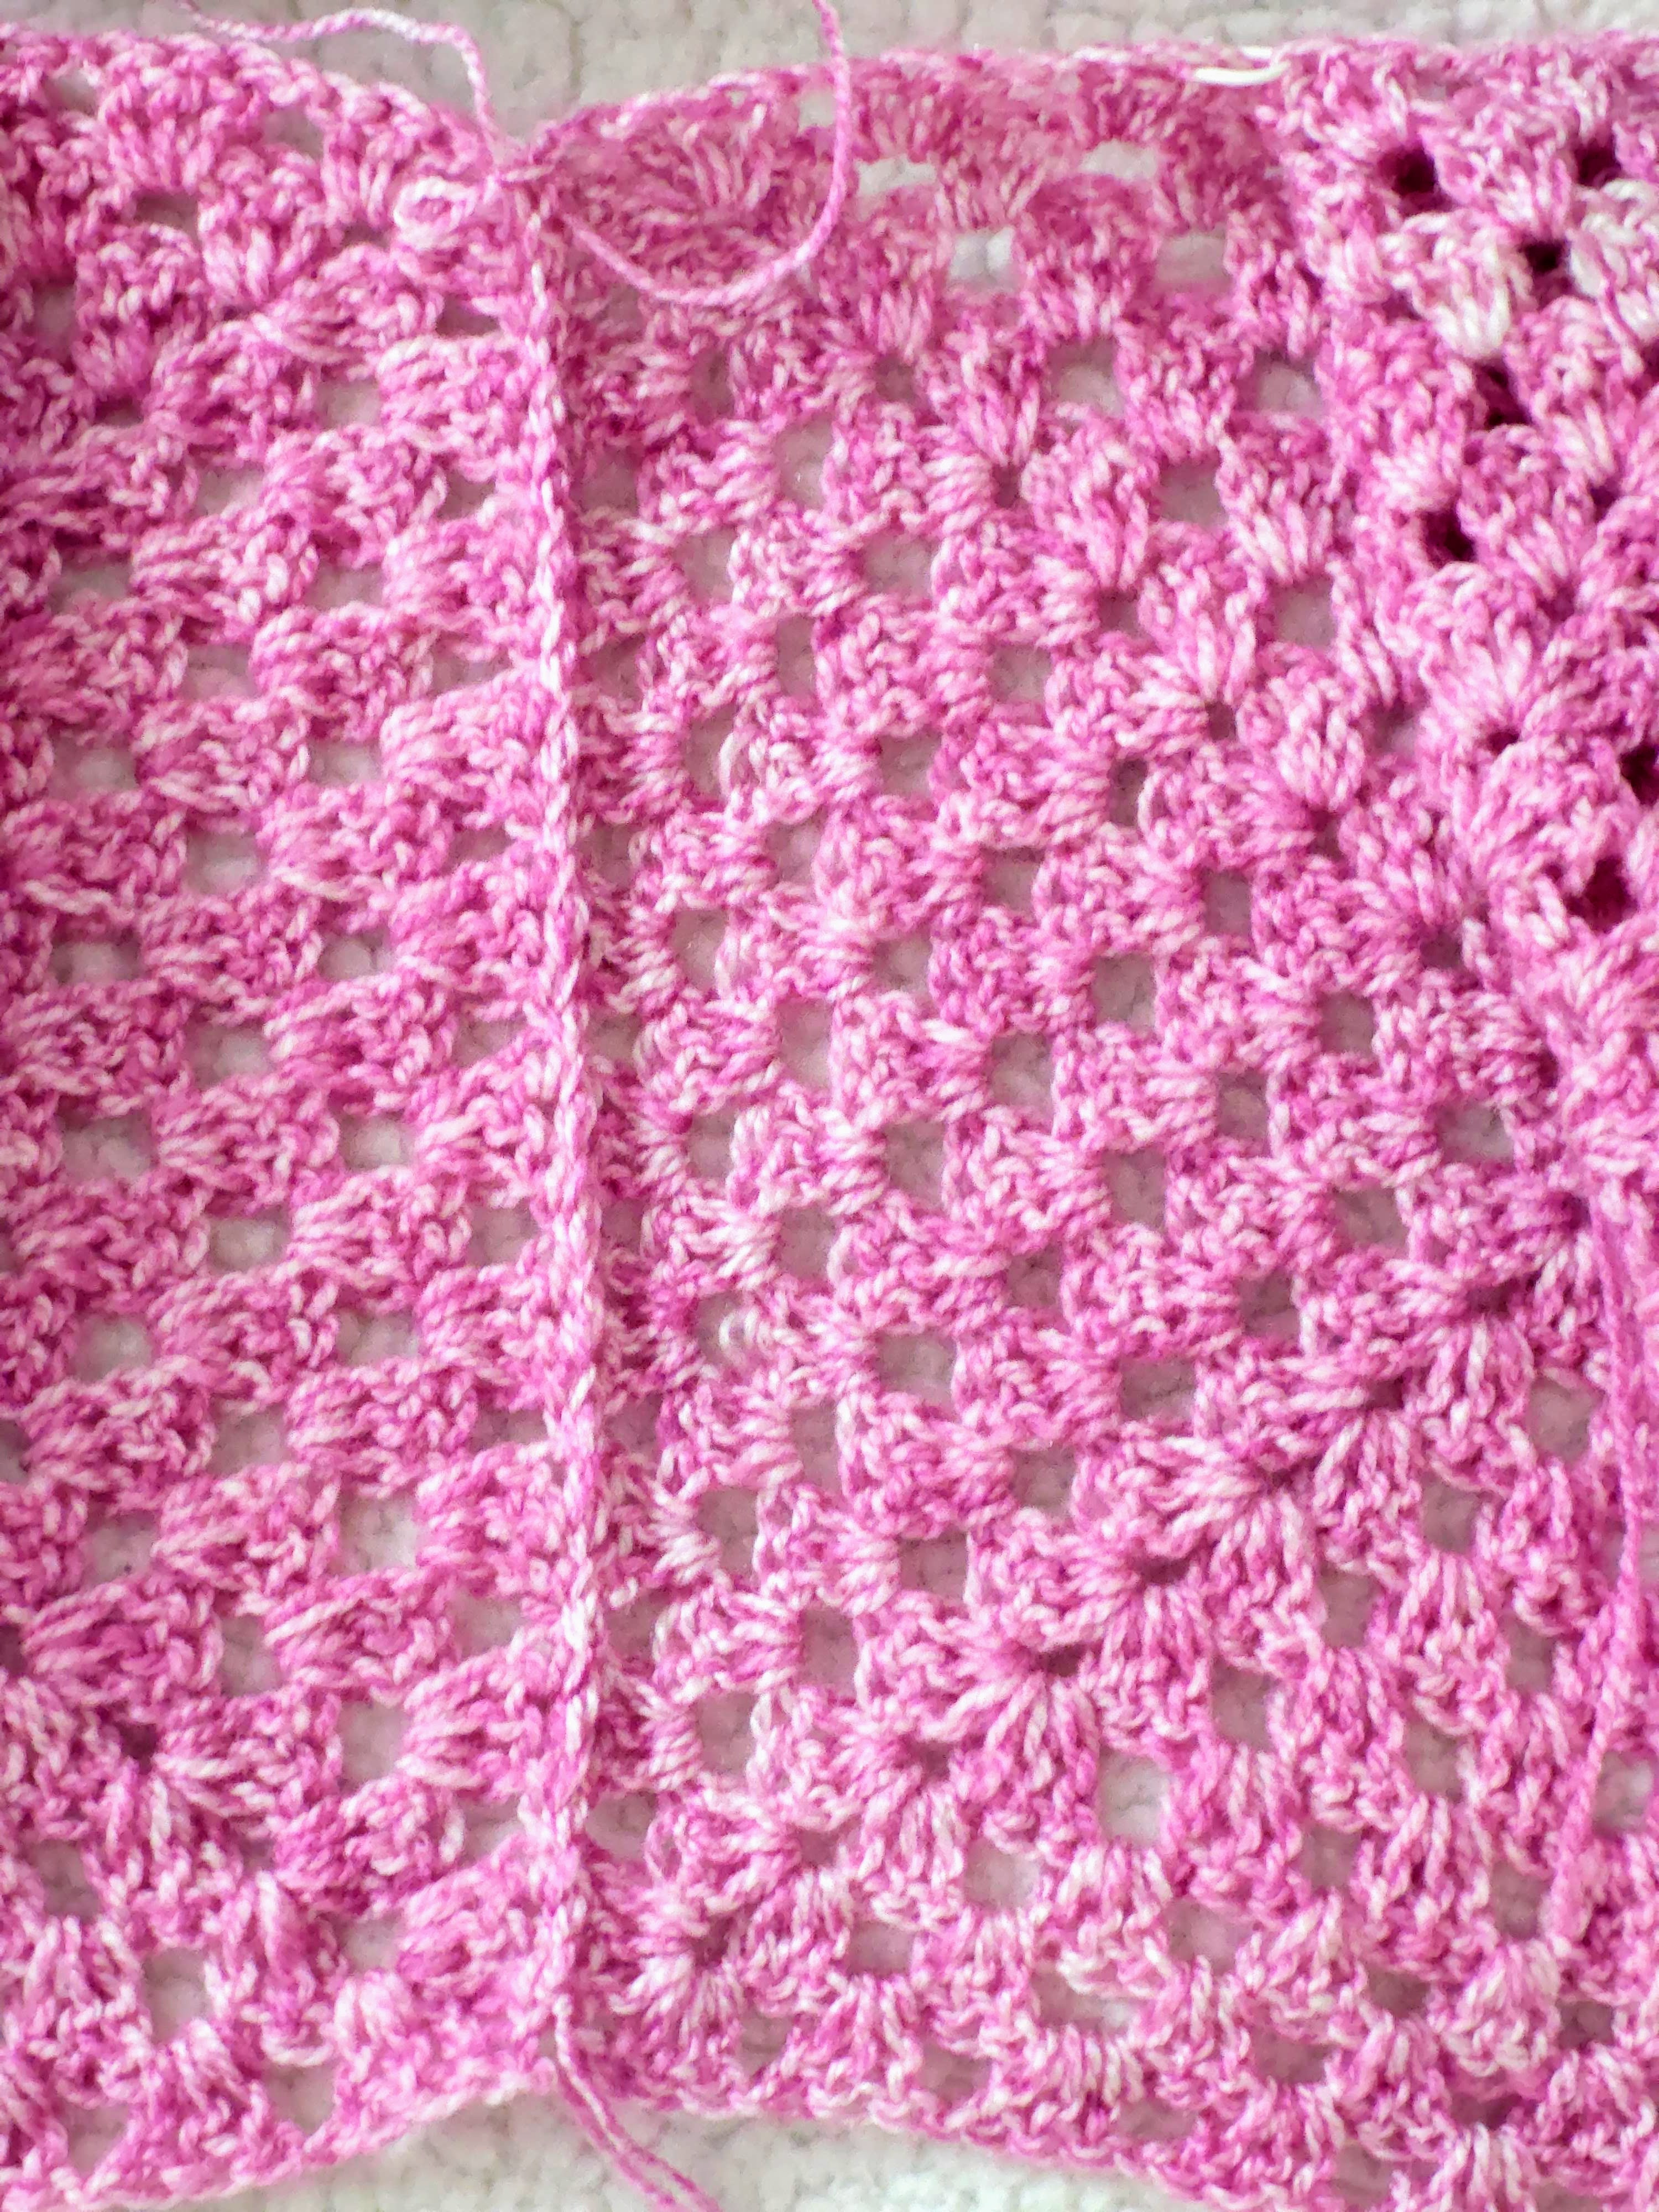
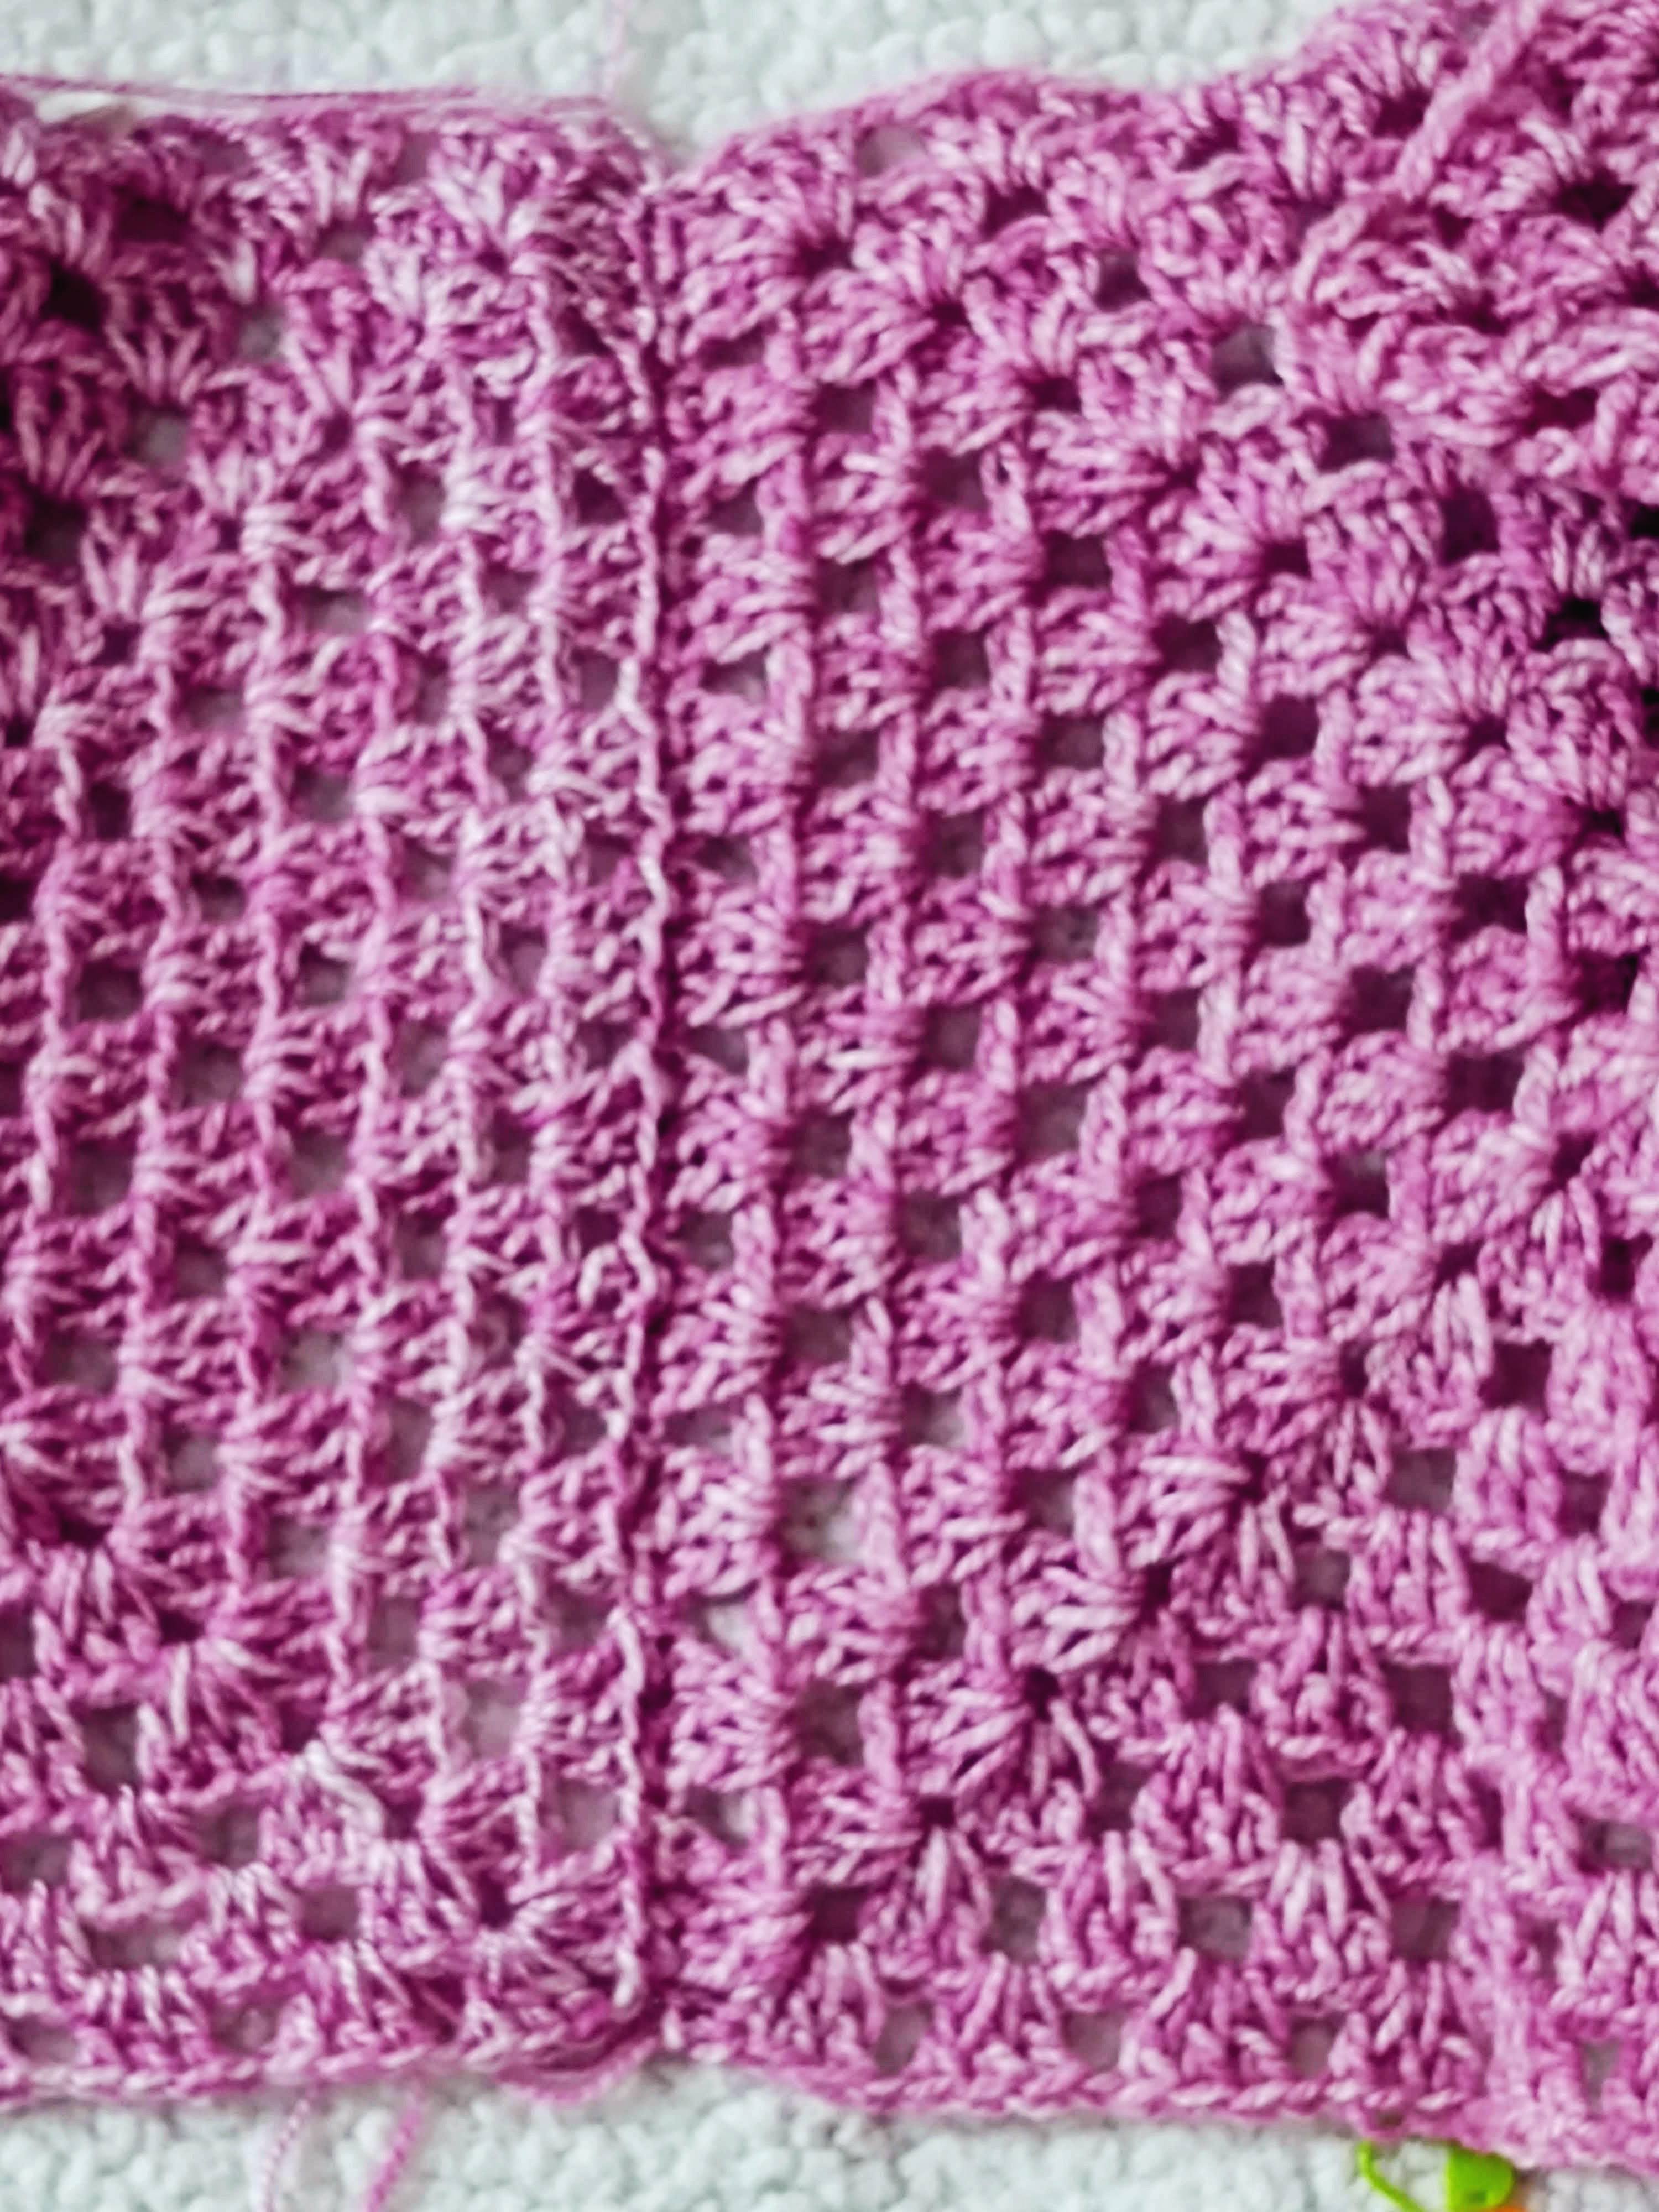
Let us see how the others have fared shall we?


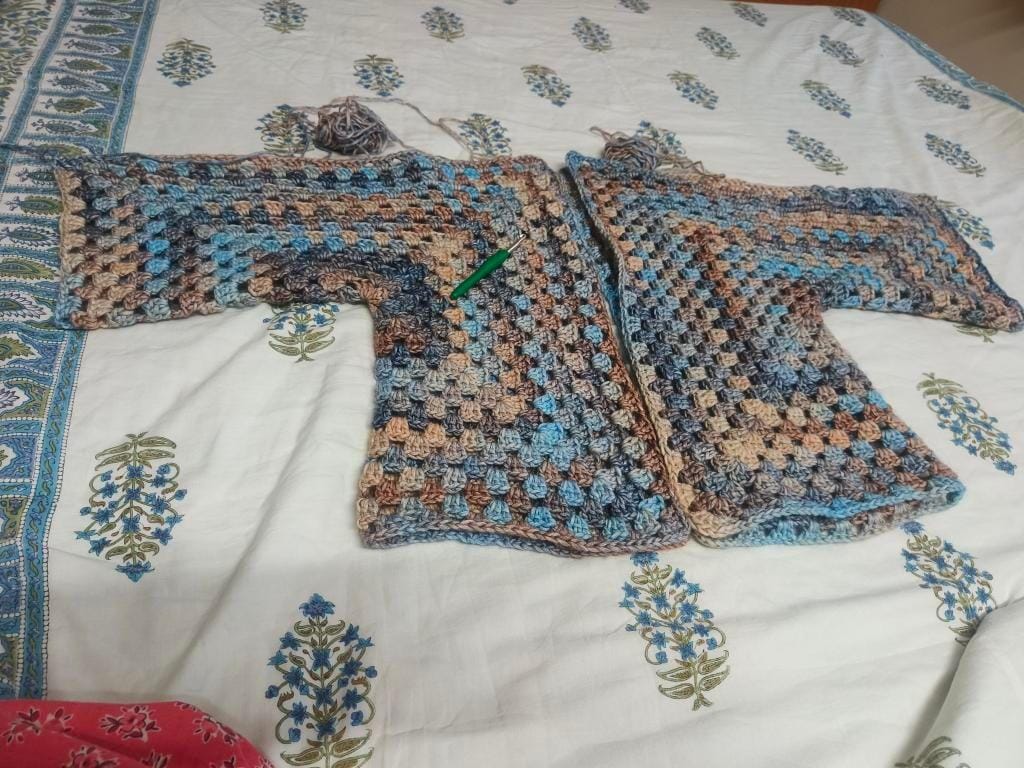


Except the first picture , all others are made in Rosella yarn !
Let’s get started with the seaming and forming the cardigan.
Here you have 2 options. You can call it a day and keep the length of the cardigan as it is or you can increase the length to suit your needs. Similarly, you can stop with the length you have arrived at for the sleeves or you can increase it.
Let us first start with seaming. I am going to call this Seaming
If you are going to increase the length of the cardigan or going to increase the length of the sleeves, then go straight to that part, do not pass go , do not collect 200 🙂 ! I am going to call this Customization which is posted in a separate page:)
Seaming
Note: Please Read!
1: We are going to use slip stitch , chain 1 to join the pieces. You will be going into the chain to make the sl st and not the chain space when required. When you work with the stitches in the shell , you will only be using one set of 3 dc of the corresponding shells of the two pieces for the seaming.
2: The portion where there is no join you will be working sc, ch1 as mentioned in the steps below.
3: We are going to start joining at the back hem , reach up to the back neck midpoint , and proceed to join one shoulder.
4: We will next rejoin yarn at the back neck midpoint and proceed to join the other shoulder.
Instructions
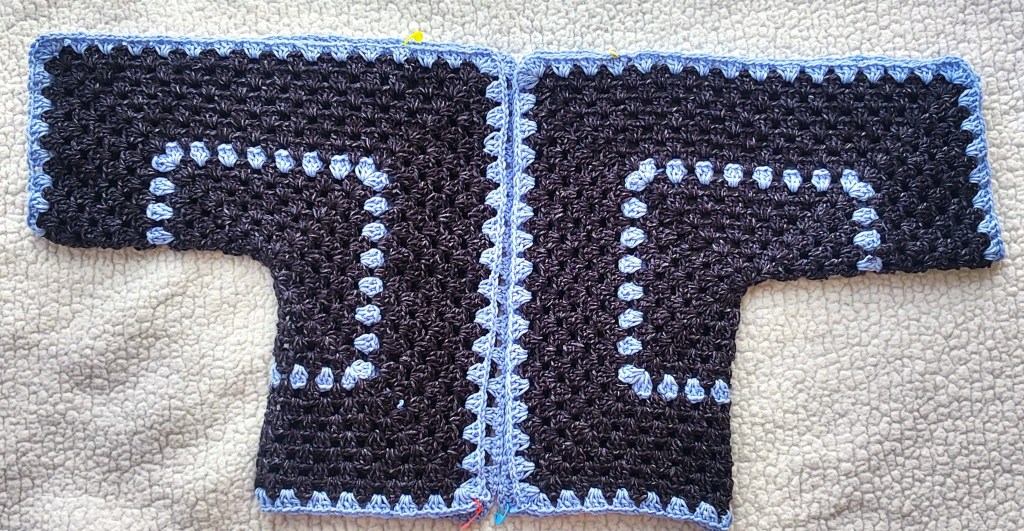
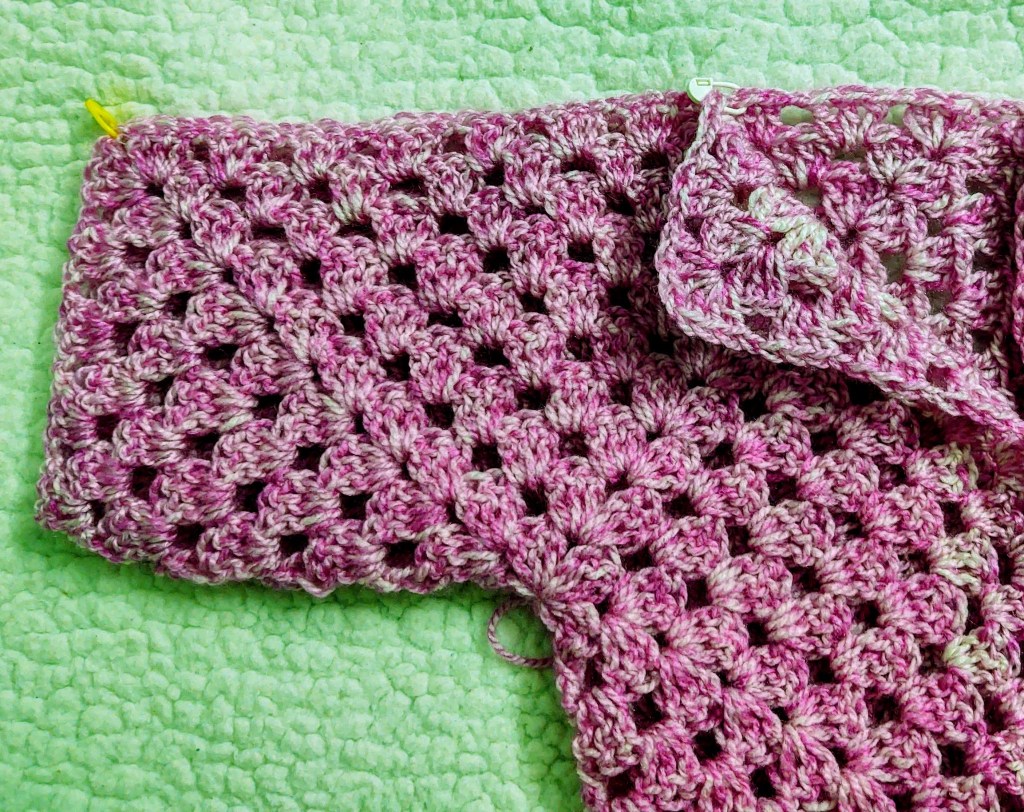
This part is going to be image heavy. Placing stitch markers helps us to easily identify the start and end of the seaming.
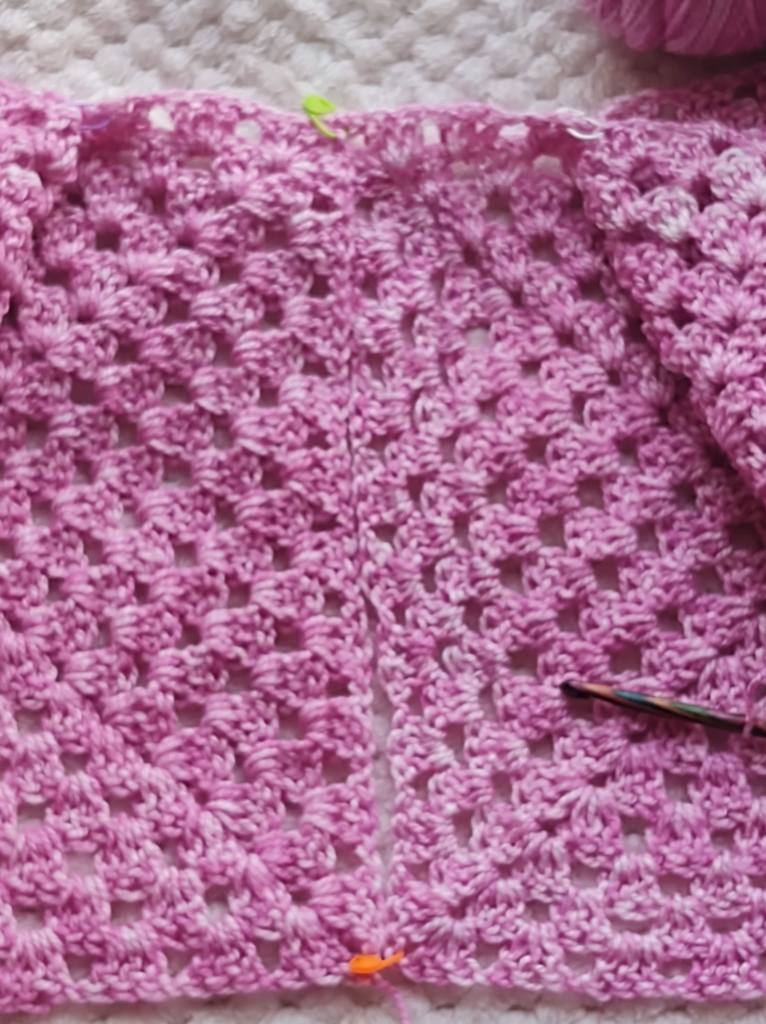
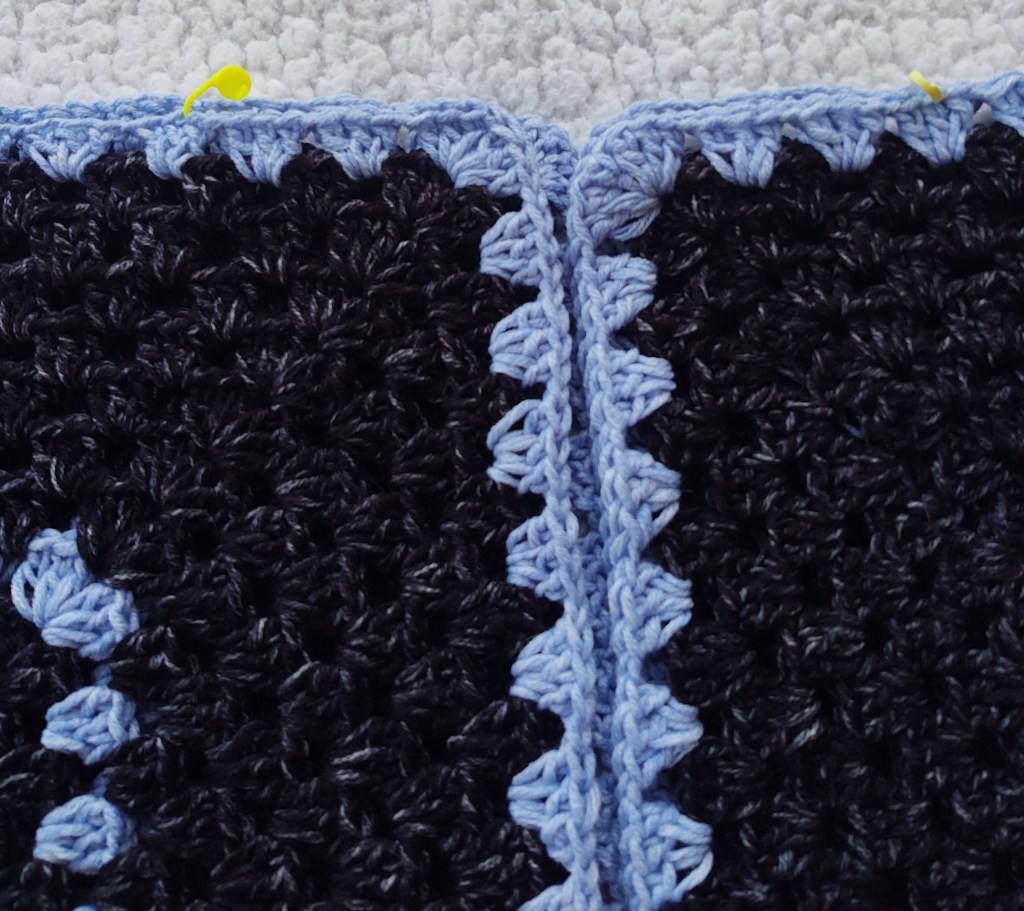
Step 1 : With the wrong side facing you and holding both panels together, join yarn with sl st into the ch1 of both corresponding shells at the lower back hem(shown with an orange st marker in the pic), ch1, sk the next dc , sl st into the next dc on both panels( this will be the center dc ), ch1, sk next dc , *sl st into corresponding ch1 of both pieces, ch1, sk next dc, sl st into the next dc on both panels, ch1, sk next dc, ch1, repeat from * until you reach the top of the back (shown with a yellow stitch marker). The pictures below show the wrong side and the right side of the seam. Sorry about the color correction:(
Step 2: For this step you will need 2 stitch markers to help you mark from which point you are going to seam the shoulders.
As this sample is a smaller size, I am going to leave the 2nd 3dc group of the shell that was just joined at the back neck midpoint, the next ch1 sp, the next 3dc group and proceed to join from the center dc of the next 3dc group. Place a stitch marker in the center dc of both panels. Place another stitch marker the same way on the other side. I have used white stitch marker on one side and lavender on the other.

For the adult L/XL size , we left three 3 dc groups (including the 3dc group from the shell as one) and proceeded to join from the center dc of the next 3dc group. In the picture below , you will proceed to join the shoulder seam from the little yellow marker to the end of the line.
A close up of the neck opening ….
For each of the larger sizes you can skip one additional 3 dc group before proceeding to join the shoulder.
Place stitch markers joining the center dc of both panels to help mark the neck opening on both sides of the cardigan. Also place stitch markers at the corresponding sleeve edges , the point until which you will be seaming.
Phew! Now that the placement of the stitches is clear, let us proceed to seaming! But before that turn the piece inside out so that the wrong side is facing you. you should be able to do this because you have joined the panels at the shoulder and sleeve edge with stitch markers.
After the last sl st join at the ch1 of both the shells at the top center of the back, we will now choose to go left . *Sk the next dc, sc in the next dc (you are now working only in the stitches on the back panel and not joining), ch1, sk next dc, sc in ch1(work into the chain and not the space, ch1, repeat from * till you reach the marker. At the marked stitch, you will now sl st and join the center dc of the two panels, ch1, sk next dc of both panels, *sl st into the corresponding ch1 of both panels, ch1, sk next dc, sl st next dc of both panels, ch1, repeat from * till you reach the end of the shoulder and sleeve. You will have now reached the sleeve opening at the elbow.
Are you looking to increase the sleeve length or the length of you cardigan?? Proceed to Customization.
Step 3: If you are not increasing the sleeve length, you can proceed and set up the row for the ribbing.
You would have seamed the corner shells at the ch1 , * sk next dc, sc in next dc , ch1, sk next dc, sc in the next ch1( work the sc into the chain and not the ch space), repeat from *around till you reach the point where the shoulder / sleeve were joined. If you have extra yarn ball, you can leave this yarn without fastening off to continue with the sleeve ribbing.

Step 2A
This step is going to mirror the shoulder seam on the second side. Join yarn with sl st into the sl st that joined the ch1 of the shells at the top back , ch1, * sk next dc, sc in the next dc, ch1, sk next dc, sc in the next ch1 ( work into the chain and not chain space), ch1, repeat from * till you reach the stitch marker. At the marked stitch, you will now sl st and join the center dc of the two panels, ch1, sk next dc of both panels, *sl st into the corresponding ch1 of both panels, ch1, sk next dc, sl st next dc of both panels, ch1, repeat from * till you reach the end of the shoulder and sleeve. You will have now reached the sleeve opening at the elbow.
Step 3A
Repeat Step 3 for the other sleeve edge to prep for the ribbing if you are not increasing the sleeve length. Do not fasten off . We will continue and work on the sleeve ribbing soon.
Yay! You have successfully seamed your cardigan! Give yourself a pat on the back! The seaming is done quite seamlessly (pun unintended) , The instructions became quite lengthy only to explain the process!
See you all on Monday with the ribbing and finishing instructions! Oh and do put in your ends after you have seamed!
Happy weekend!