Optional

Let us see how we can increase the length of the celebration cardigan sleeve!
Sleeve length Increase
This is the easiest to do! Once you have seamed the shoulder/sleeve,, turn the piece inside out. You will now be working in the rounds with the right side facing you.
Round 1: Ch3(counts as first dc) at the point of last join for the shoulder/sleeve edge, 2 dc in the same sp, ch1, * 3 dc in the next ch1 sp, ch1, repeat from * around omitting the last ch1 and join with sc to the top of beg ch3.
Round 2: Ch3, 2dc in the same sp, ch1, * 3 dc in the next ch1 sp, ch1, repeat from * around omitting the last ch1 sp and join with sc to the top of the beg ch3.
Repeat Round 2 for the desired length minus 1 inch. The ribbing will add an inch.
Edited to add : At the end of your required sleeve length, refer back to the seaming page to set up the round for the sleeve edge ribbing that is to follow.
Note : I would suggest using the same hook size, as reducing the hook size to make the lower arm slimmer makes the upper arm to balloon up. After all this is a boxy cardigan with no shaping whatsoever!:)
Body Length Increase
Now let us move on to increasing the length of the cardigan without adding extra inches at the chest!
Once you have made the two panels, fold them and lay out as shown :-
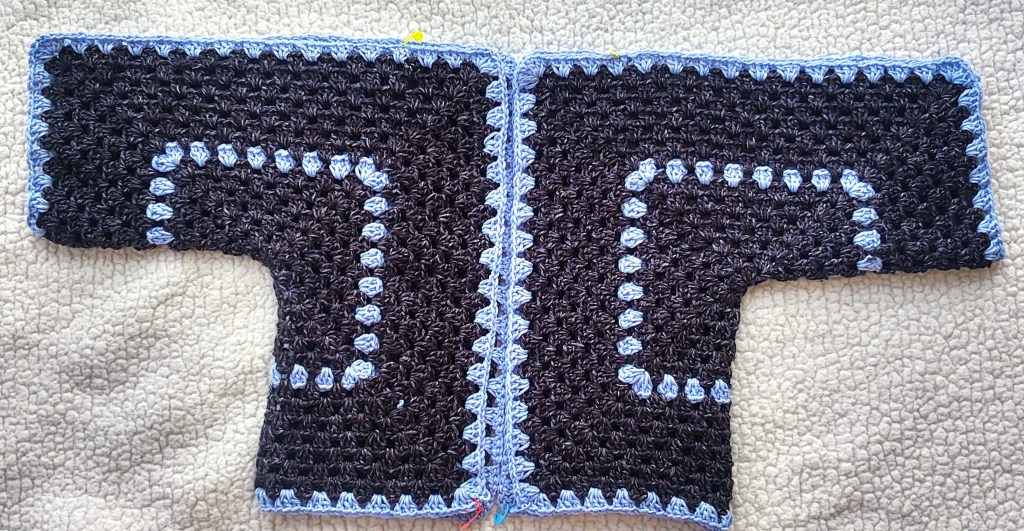
Now we need to increase the lower portion of the cardigan. You can do it by first seaming the back and then going around the entire bottom hem following the granny stitch pattern . However, I find that this gives a skirt like construction and I am not a fan of this. That said if you prefer to do it that way, do go ahead and skip the following instructions.
Hence we will do the increase at the bottom hem for both panels separately and then use a single center back join from the hem to the center of the back neck.
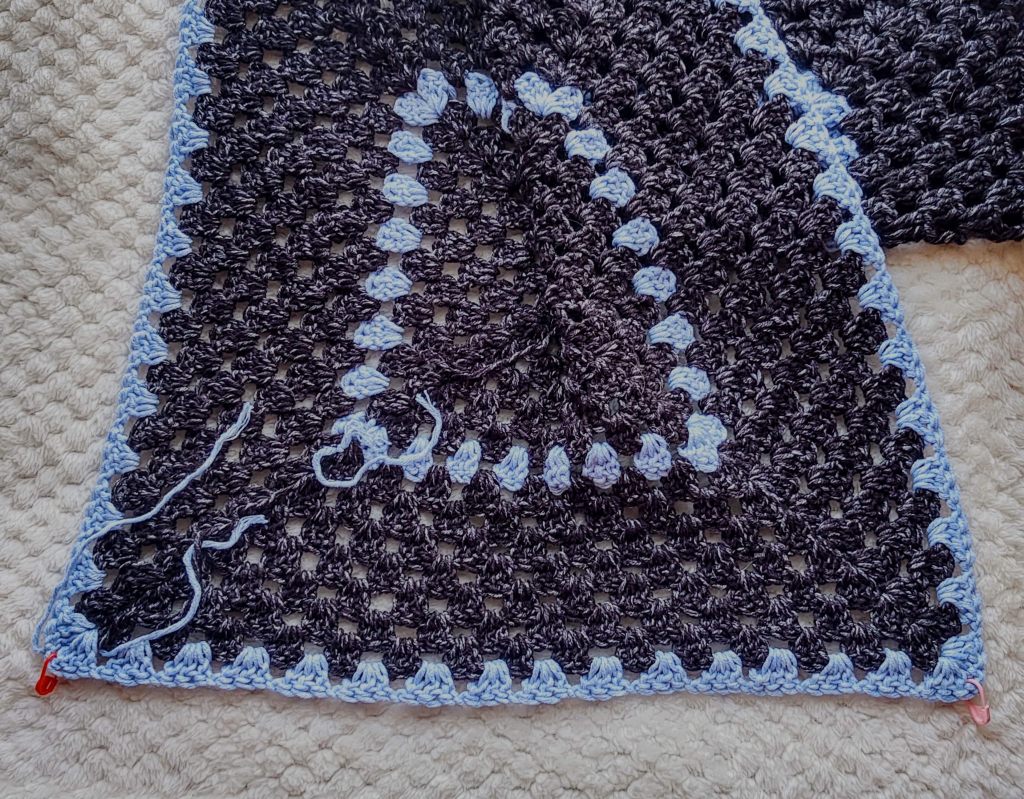
Let us begin:) Place stitch markers as shown below at the bottom hem of one piece.
Panel 1
With right side facing work the following instructions.
Row 1 RS: Join yarn with sl st in the Ch1 sp (where the red marker is), ch4(counts as first dc +ch1), *3dc in the next ch1 sp, ch1, repeat from * till you complete the 3dc in the ch1 sp before the marker(the pink one in my picture), ch1, 1 dc in the ch sp with the marker. Turn
Row 2 WS: Ch3 (counts as first dc), 2dc in the first ch1 sp, *ch1, 3dc in the next ch1 sp, repeat from * till you reach the last ch sp. In the last ch sp , work 2dc, 1 dc in the last st. Turn.
Row 3 RS: Ch4(counts as first dc +ch1), *3dc in the next ch1 sp, ch1, repeat from * till the last ch1 sp, 1 dc in the last st. Turn.
Repeat Rows 2 and 3 for the desired length.


Panel 2
Repeat panel 1 instructions .
Once the length has been increased on both panels , head back to the seaming instructions to complete the seaming.
Now as you have increased the length , the lower portion will be seamed just a tad differently because you have the legs of the dc on the extended portion instead of the 3dc groups and ch1 sp that were there in the hexagon. Hence in order to seam this bit , you will *sl st the top of the corresponding dc, ch1, sl st through the corresponding posts/legs of the dc, ch1, repeat from * till you reach the bottom of the hexagon and then proceed to seaming page and follow the steps outlined.
Don’t hesitate to ask me questions if I have not been clear or if you find any inconsistencies:)
Have a great weekend!
Will meet again for the ribbing and finishing on Monday Sept 16th!