As promised , the final part of the Celebration Cardigan is coming up right on cue!
First of all I wish to express my gratitude to all those who have participated and progressed thus far. You made it! Yay!!!
Let us get together one last time for September and finish this baby and get ready to keep ourselves cozy!
Regardless of whether you have customized the cardigan or made it just like we did, there are two more steps to follow through before we can say “DONE!”
First is the Ribbing and second is Blocking and adding buttons.
Ribbing
Around the sleeve edge
Round 1: With the right side facing and using the same hook you used for the hexagons, join yarn with sl st to the first sc of the ribbing set up row that you did when you finished the seaming. (If you have not fastened off the yarn , just continue). ch1 (does not count as stitch), sc in the first st, *ch1, sk the next ch1, sc in the next st, repeat from * around. (You will be making sc in sc , chain 1 and skipping the previous ch1 sp). Join with sl st to the first st.
Round 2: Ch1(does not count as stitch), sc in same st, * ch1, sk next ch1 sp, sc in next st, repeat from * around. Join with sl st to the first st.
Repeat Round 2 two more times.
Including the setup round you should have 5 rounds in total.
Fasten off . Weave in the ends. Repeat for the other Sleeve Edge

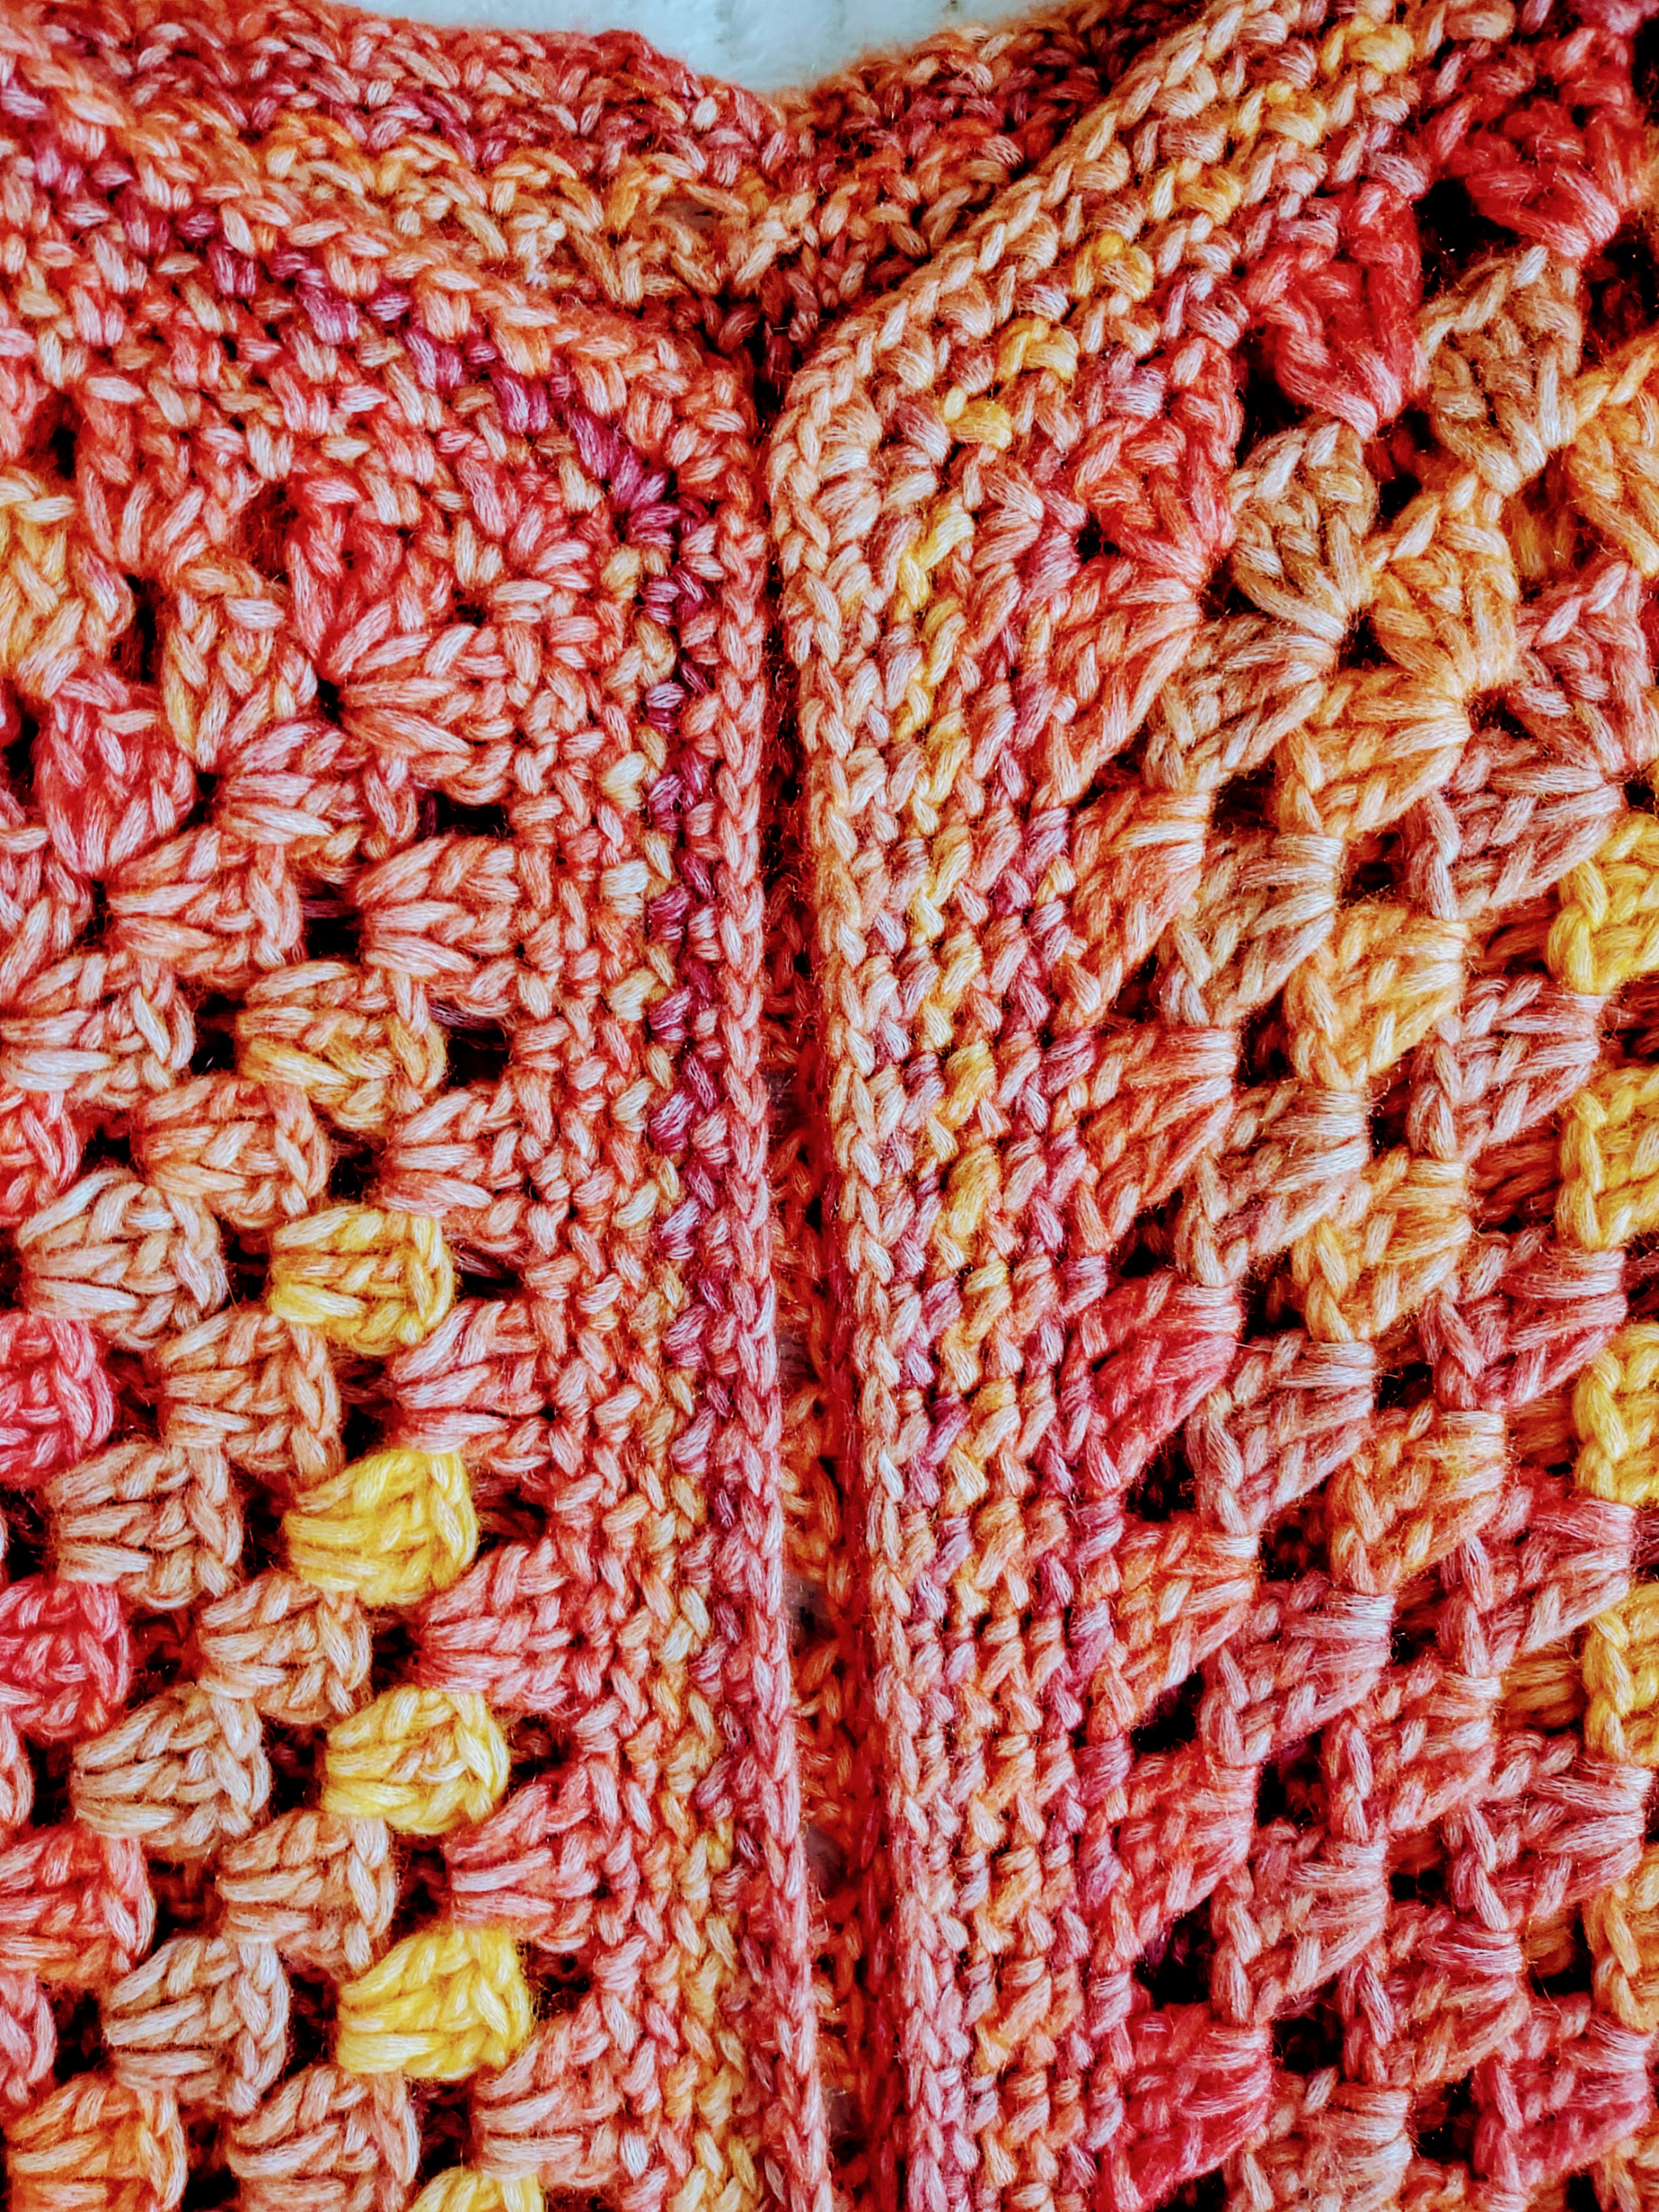
Ribbing around neck, front and bottom hem
Note: You will be working from the top of the center back, left back neck, left front neck opening, left front, left bottom hem, back bottom hem, right bottom hem, right front, right neck opening, right back neck and join back at the top of the center back.
The corners are set up in row 1 by making (sc, ch1, sc) in the corner ch 1 spaces of the shells. Additionally the seams at the center top back and the center bottom back also have a (sc, ch1 sc) to prevent the back from puckering but these two are not considered a corner.
Round 1: With the right side facing , join yarn with sl st at the top of the center back , ch1 (does not count as stitch), (sc, ch1, sc) in the same st, # ch1, sk next ch1 sp, sc in next sc, repeat from # till you reach the start of the shoulder seam, ch1, sc in the seam join , * ch1, sk next dc, sc in next dc, ch1, sk next dc, ch1, sc in the next ch1 sp,* repeat from *..* till you reach the ch1 sp of the shell at the top left front, ch1, (sc, ch1, sc ) in the ch1 sp of the shell, repeat the instructions from *…* till you reach the shell at the left bottom hem, ch1, (sc, ch1, sc) in the ch1 sp of the shell, repeat the instructions from *…* along the entire back hem [making sure to make (sc, ch1, sc) at the seam join at the lower center back] , and reach the shell ch1 sp at the right bottom hem, ch1, (sc, ch1, sc) in the ch1 sp of the shell, repeat the instructions from *…* till you reach the ch1 sp of the shell at the right front bottom hem, ch1, (sc, ch1, sc) in the ch1 sp of the shell, repeat the instructions from *…* all the way up the right front till you reach the shell at the right front neck , ch1, (sc, ch1, sc) in the ch1 sp of the shell, repeat the instructions from *…* across the right front neck opening till you reach the shoulder seam , ch1, sc in the seam join, # ch1, sk next ch1 sp, sc in next sc, repeat from # till you reach the center back, join with sl st to the first sc.
Please pay attention to how the corner (sc, ch1, sc) are worked in the subsequent rounds! You will be making sc in sc, (sc, ch1, sc) in the ch1 sp, sc in sc.
Round 2: Ch1(does not count as st), sc in sc, {* ch1, sk ch1 sp, sc in next sc*, repeat from *..* till you reach the corner, ch1, sc in next sc, (sc, ch1, sc) in the ch1 sp, sc in next sc}, repeat from {..}all the way around. Join with sl st to the first sc.
Before you start the next round , keep your cardigan flat and mark the sc where you would like to have the button holes placed. We have 3 button holes placed evenly starting from the right front lower hem corner.
Round 3: Ch1 (does not count as st), sc in sc, {* ch1, sk ch1 sp, sc in next sc*, repeat from *..* till you reach the corner, ch1, sc in next sc, ch1, sc in the corner ch1 sp, ch1, sc in next sc}, repeat from {..}all the way around till you reach the right front bottom corner, ch1, sc in next sc, ch1, sc in the corner ch1 sp, ch1, sc in next sc, (ch1, sk next ch1 sp, sc in next sc) till you reach the sc where you would like to place your button hole, ch3, sk the ch1 , sk the marked sc , sk the ch1, sc in the next sc, + (ch1, sk next ch1 sp, sc in next sc) till you reach the next marked sc, ch3, sk the ch1 , sk the marked sc , sk the ch1, sc in the next sc, repeat from + till you have taken all the marked sc for the button hole placement, repeat the instructions from {..} till you reach the end of the round. Join with sl st to the first sc.
Round 4: Ch1 (does not count as st) sc in sc, {* ch1, sk ch1 sp, sc in next sc*, repeat from *..* till you reach the corner, ch1, sc in next sc, (sc, ch1, sc) in the ch1 sp, sc in next sc}, repeat from {..}all the way around. Join with sl st to the first sc.
Round 5: Repeat Round 4.
Fasten off. Weave in the ends.
We steam blocked our cardigans. We do recommend steam blocking but if that is not a viable option you can wet block and let the cardigan air dry by laying it flat. Do this before you add buttons so that you can get the right sized buttons to match the button holes.
Sew buttons on the left front ribbing to correspond with the button holes that you created.
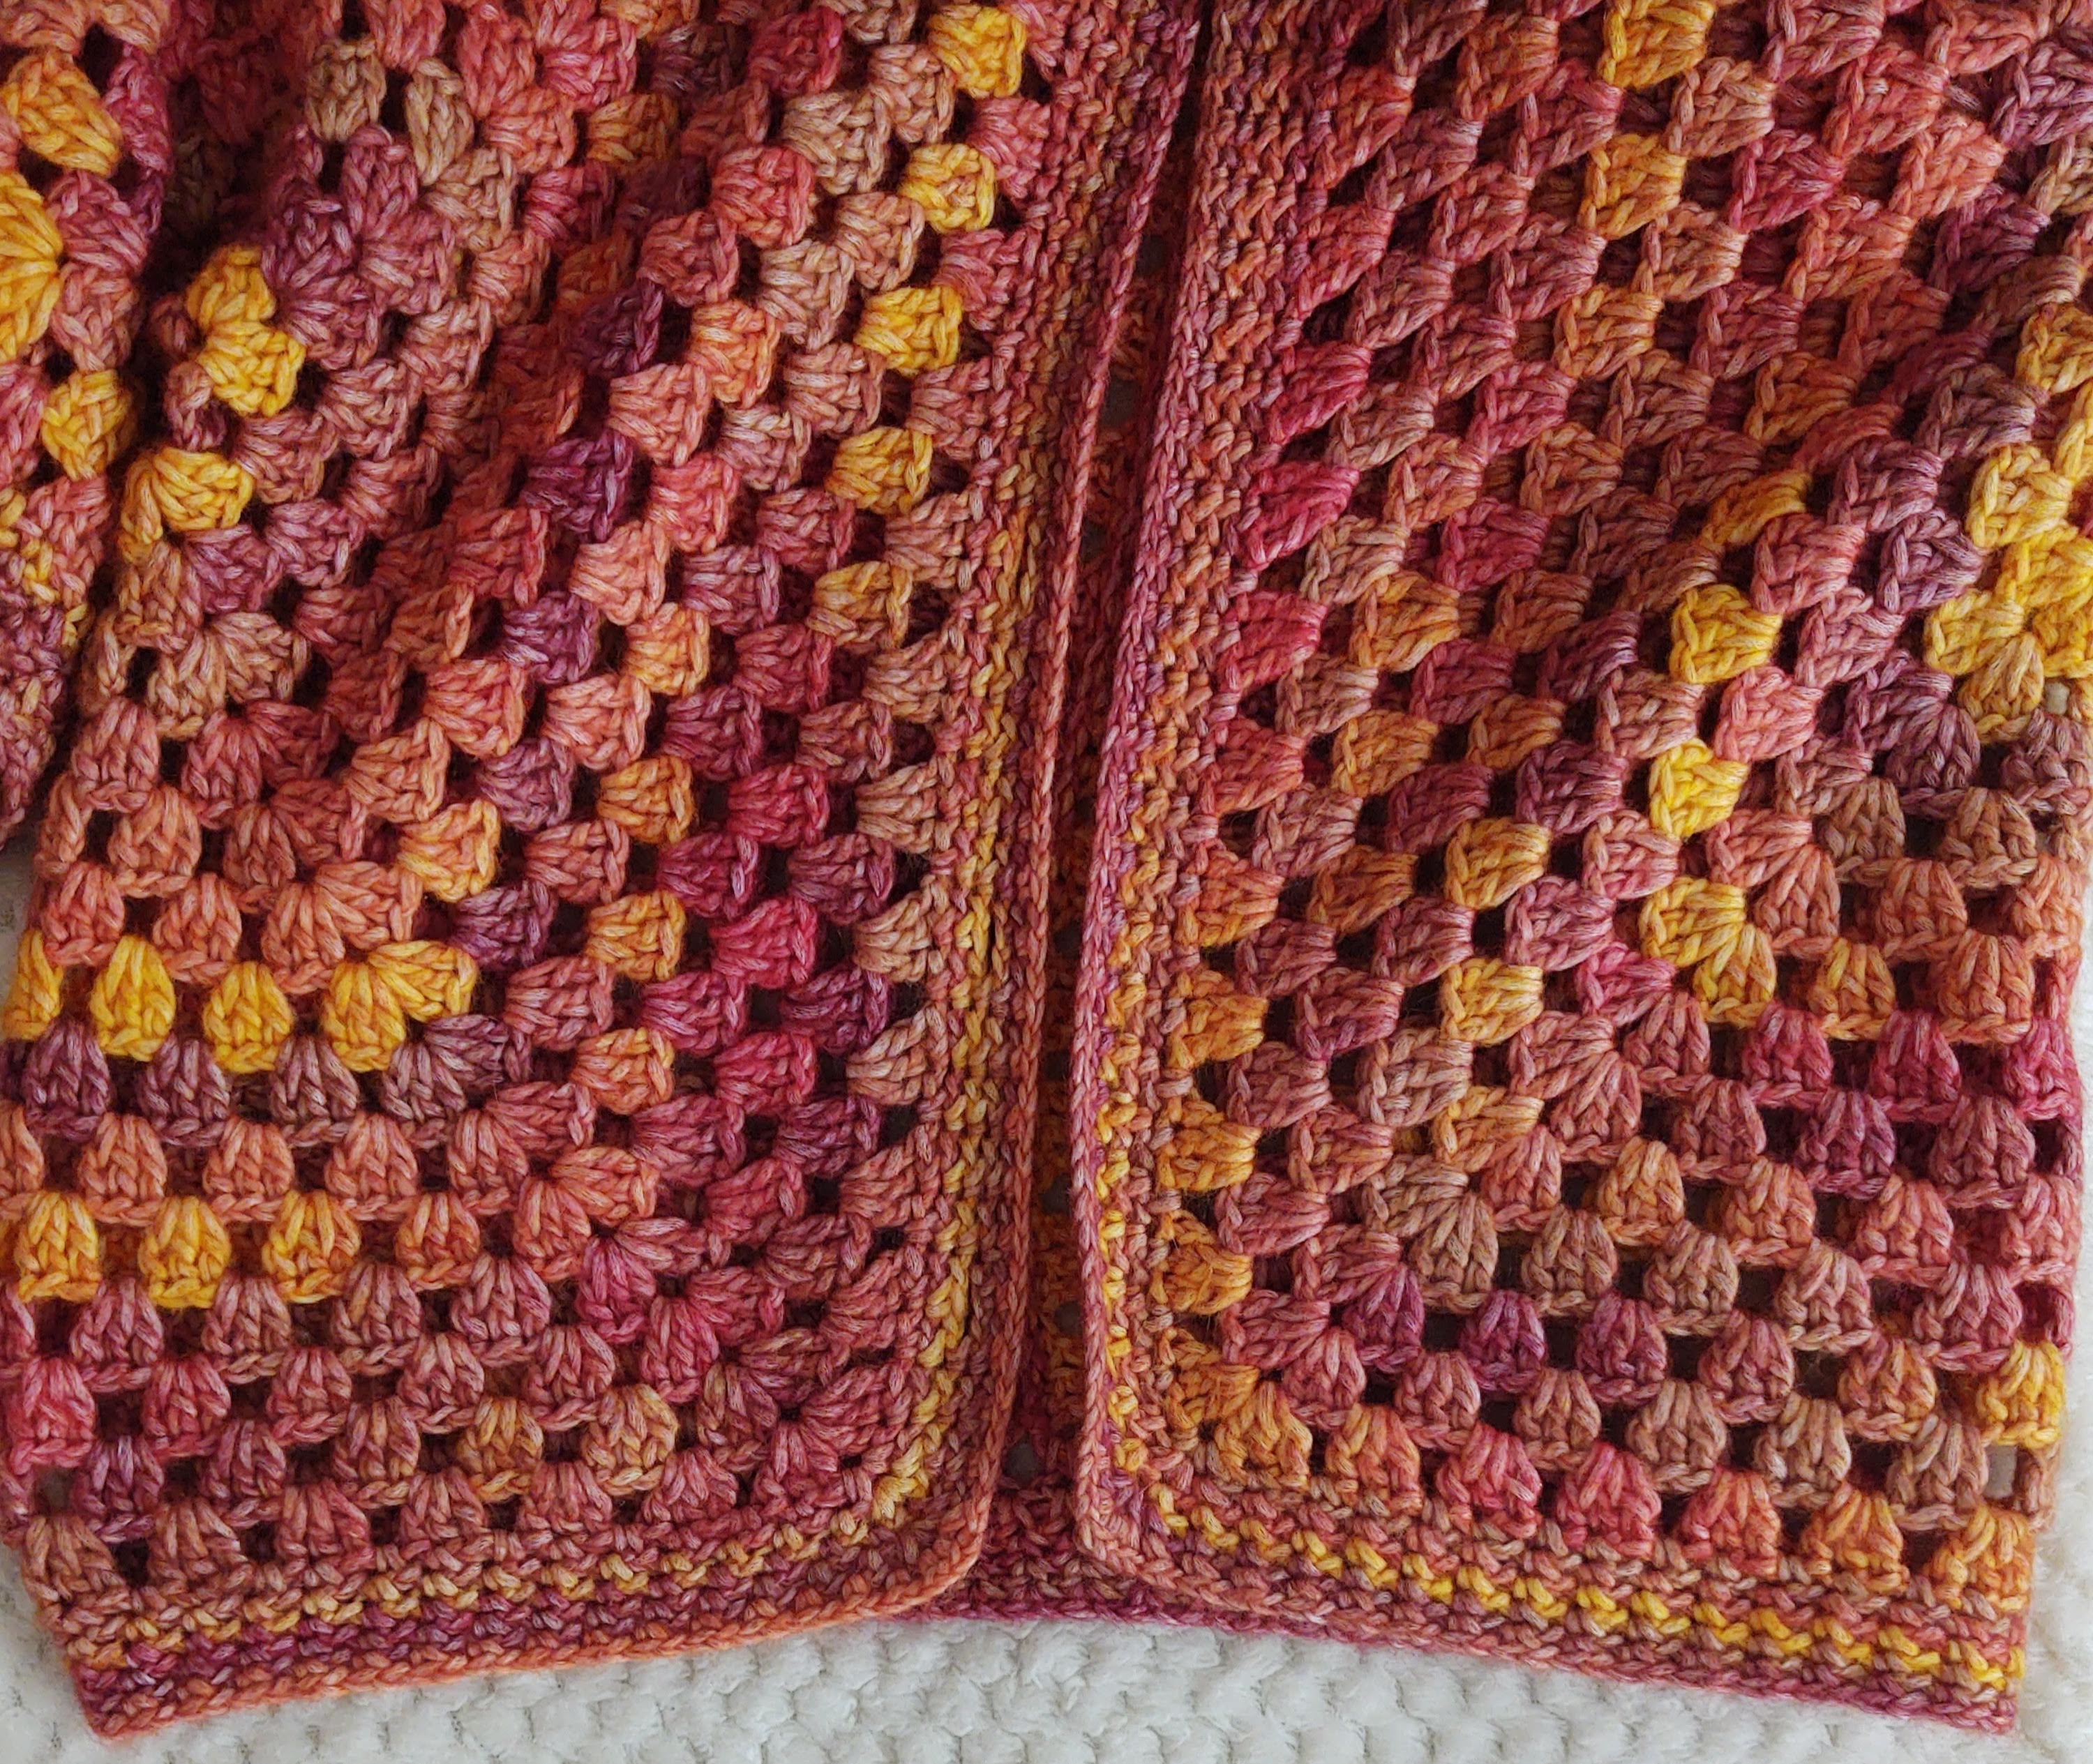
As you can see , I am yet to attach buttons 😉
And that’s it folks! We are done with the Celebration Cardigan! Do show off your work so we can ooooh and aaaah over them. Don’t forget to tag me (vimalavignesh) or ViVaCr0chet ( that’s a zero in the spelling of crochet) , we love admiring your creations!
Thanks once again! Join our Facebook group to know about our next adventures in crochet! You could also follow us on Instagram if Facebook is not your thing:)
Have a great week ahead!