
Hello Everyone! I read this quote onlline and it resonated so well with me that I thought it would be nice to open this blohg post with that.
“December, the last month of the year, brings a time to close chapters and start anew.” – Unknown
2025 has been a tough but I am looking forward to sunny skies and good tidings for when it rains , the Sun cannot be too far behind, right?
As I sit in my cozy comfort, typing out the post, there has been utter chaos at airports around the world. Flights being cancelled and or delayed. I sincerely hope and pray that order is restored soon and those travelling can continue on their journey without any further trouble.
This is the last month for the Global Crochet Collaboration which brought 9 designers from around the world to come together to offer you 3 awesome free patterns each month.

For this month we have 3 patterns brought to you by Gemma of Concretegemscrochet, yours truly representing ViVaCr0chet and Farrah of TheCrochetFix
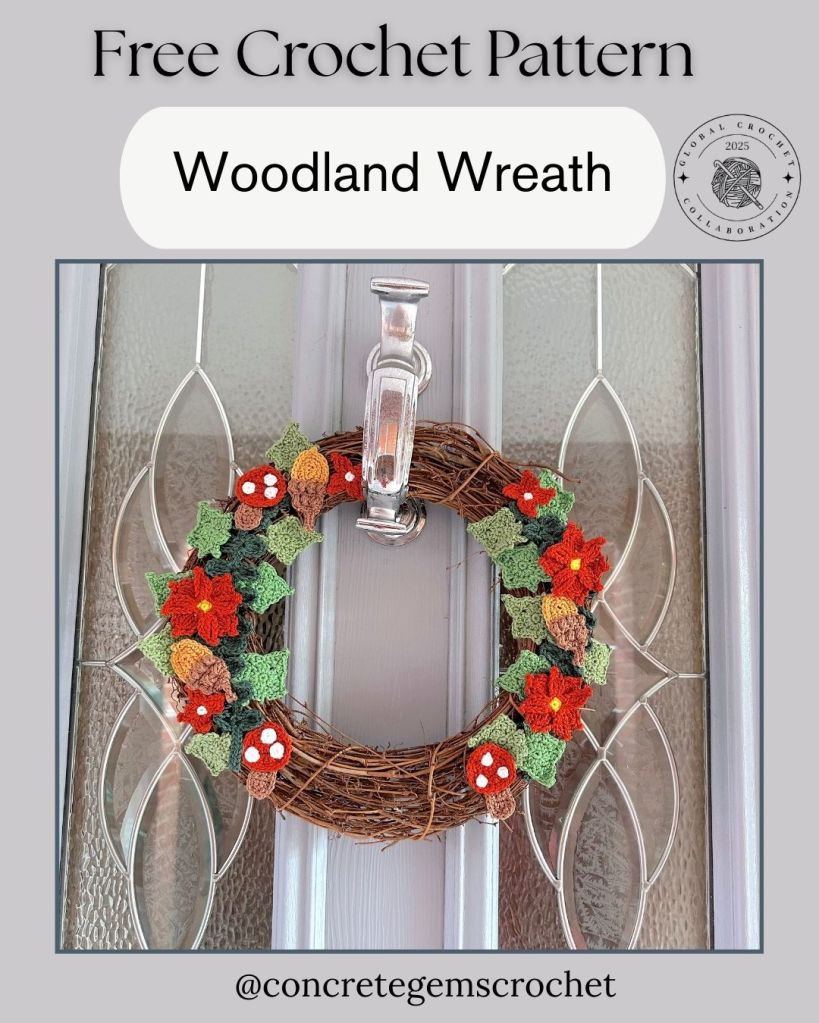
First up is this lovely Woodland Wreath by Gemma. “Welcome to the Woodland Wreath — a cosy, nature-inspired make filled with tiny leaves, acorns and toadstools for a touch of forest magic in your home. 🍂✨” says Gemma and I can’t agree more! Clicking thw image will take you to the pattern!
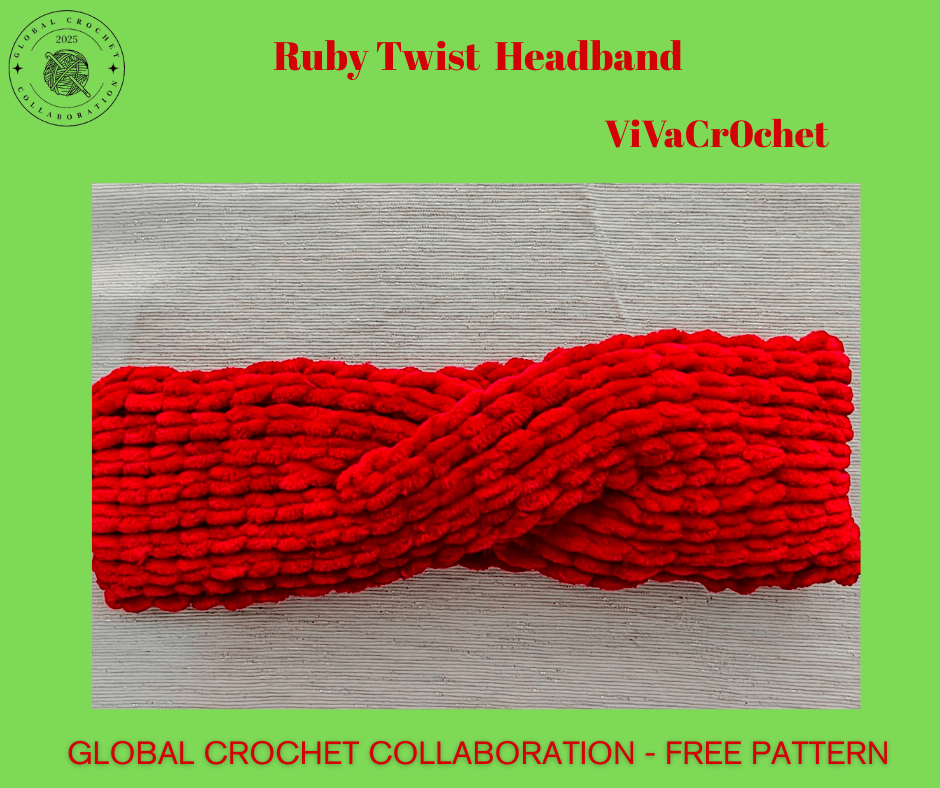
Next up is our Ruby Twist Headband ! I had made this twist headband way back in 2018 and had used moss stitch to create it. This time I wanted to recreate it using Tunisian Crochet!
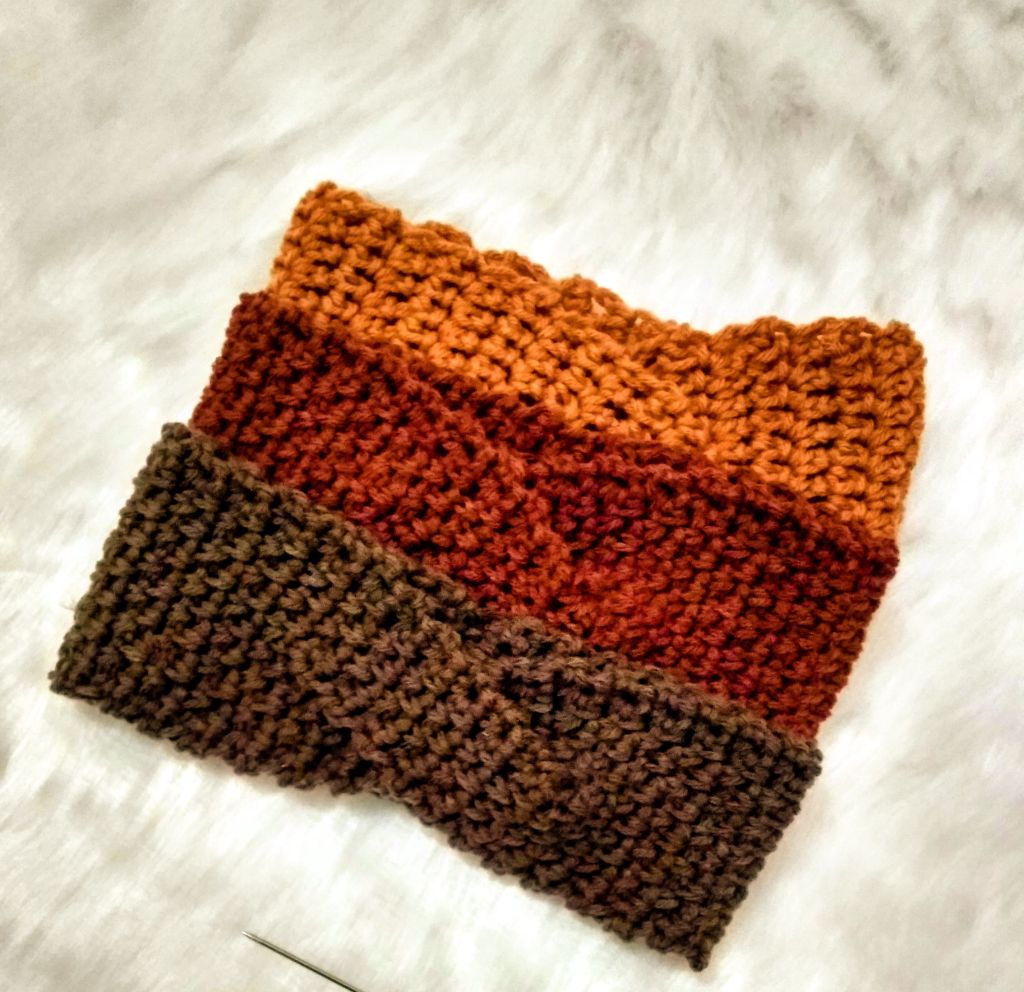
And this gave rise to today’s free pattern – Ruby Twist Headband
Let us jump straight into the pattern , shall we?
Ruby Twist Headband
Materials
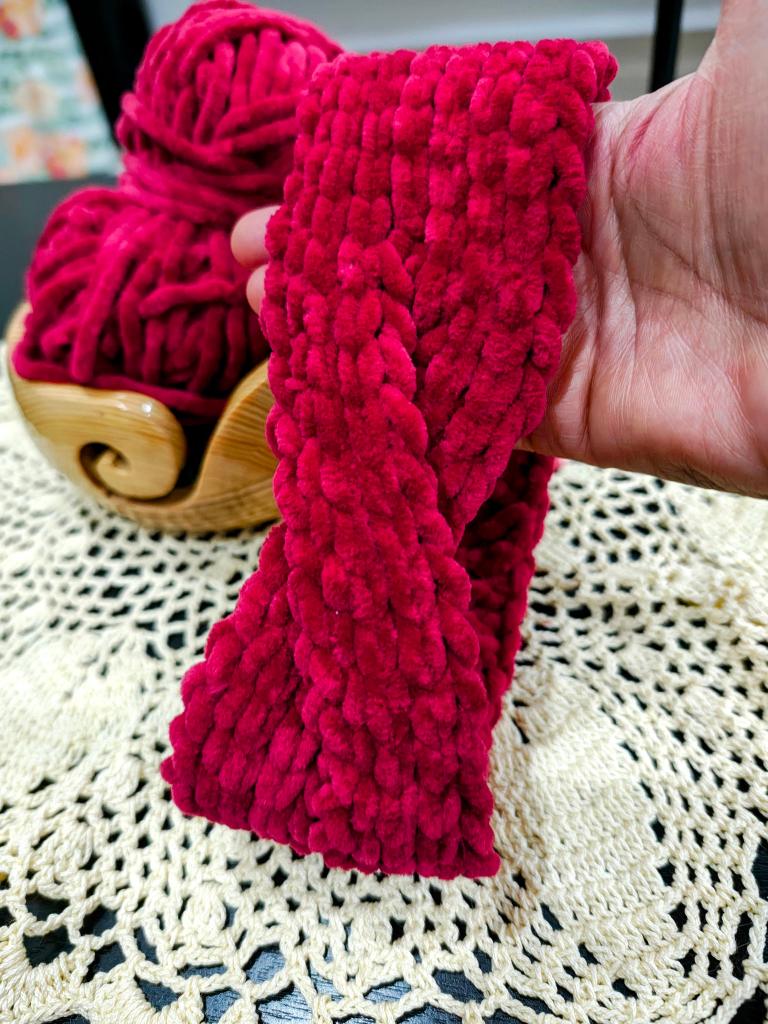
Yarn : Chunky Chenille yarn 100 gms 120 mts/ 131 yds. The sample used Lux Velvet purchased from YarnAddict. You will be using just 36 mts /40 yds for the size given
Regular crochet hook : 6mm
Yarn needle to weave in the ends.
Finished size : 18″ in length by 3″ in width
Note: If you wish to make it wider add more to the starting chain and if you need it longer add more rows. Just keep in mind that if you increase the rows, you will need to adjust where you will start and end making the strips. A good rule of the thumb is to make each section 1/3 rd the total length.
Gauge : 10 TKS and 12 rows = 4″ square
Stitches and Abbreviations
YO – Yarn Over
Ch – Chain
SC – Single Crochet
Sl St – Slip Stitch
TKS – Tunisian knit Stitch Insert hook from front to back in between the vertical bar, YO and pull up a loop
E St – Edge Stitch (the last st in a row) is made as follows :- Insert hook, through two loops, YO and pull up a loop.
FP – Forward Pass When you work TKS in each st of the row it is called forward pass
RP – Return Pass – YO pull through 1 loop, YO pull through 2 loops till you have just one loop is left on the hook.
Instructions
Section 1
Set up Row : Chain 8 , insert hook in the 2nd chain from the hook, yo, pull up a loop, (insert hook in the next ch, yo , pull up a loop) 6 times – 8 loops on the hook.
RP – yo, pull through 1 loop, (yo, pull through 2 loops)7 times. 8 sts.
Row 1 (Note the loop on the hook at the start of the FP is counted as the first stitch)
FP : 1 TKS in the 2nd vertical bar and in each of the next 5 stitches, 1 E st in the last stitch – 8 loops.
RP : Yo, pull through 1 loop, (yo, pull through 2 loops)7 times. 8 sts.
Row 2 – 14 : Repeat Row 1.
At this point the piece measures 6″
Section 2
Now we will create 2 strips by working half the number of stitches.
Strip 1
Row 15
FP 1TKS in the 2nd vertical bar and in each of the next 2 vertical bars – 4 loops on the hook.
RP Yo, pull through 1 loop, (yo, pull through 2 loops) 3 times – 4 sts.
Row 16
FP 1TKS in each the 2nd and 3rd vertical bars, 1 E st in the last st – 4 loops on the hook.
RP Yo, pull through 1 loop, (yo, pull through 2 loops) 3 times – 4 sts.
Rows 17 -28 : Repeat Row 16. Fasten off . At this point strip 1 measures 6″ from row 15 until row 28
Strip 2
Rejoin yarn in the 5th st of row 14.
Make strip 2 just like strip 1 except you will be making the edge stitch from row 15 itself.
At the end of row 28 of strip 2 do not cut yarn.
Section 3
Place the strip 2 on top of strip 1 in such a way the working yarn is at the start of the row.
Row 29
FP 1 TKS in the 2nd vertical bar and in each of the next 2 stitches, 1 TKS in each of the next 3 sts from strip 1, 1 E st in the last stitch of strip 1 – 8 loops.
RP : Yo, pull through 1 loop, (yo, pull through 2 loops)7 times. 8 sts.
Row 30
FP : 1 TKS in the 2nd vertical bar and in each of the next 5 stitches, 1 E st in the last stitch – 8 loops.
RP : Yo, pull through 1 loop, (yo, pull through 2 loops)7 times. 8 sts.
Rows 31 – 42 : Repeat row 30. This section also measures 6″ long.
Seaming the headband
Place the short ends of the rectangle together so that the wrong side is facing you.
Using the working yarn, sl st into the corresponding st of the begining chain of the set up row, continue seaming by slip stitching the last row stitches and the chains on the foundation row. Fasten Off and Weave in the ends.
Turn right side out and there you have it, a beautiful headband just in time for the soirees !
Some of you have messaged me asking if there’s a video tutorial for the written patterns.
I have made one such video tutorial for this headband. Here’s the link.
As always if you have any doubts don’t hesitate to message me.
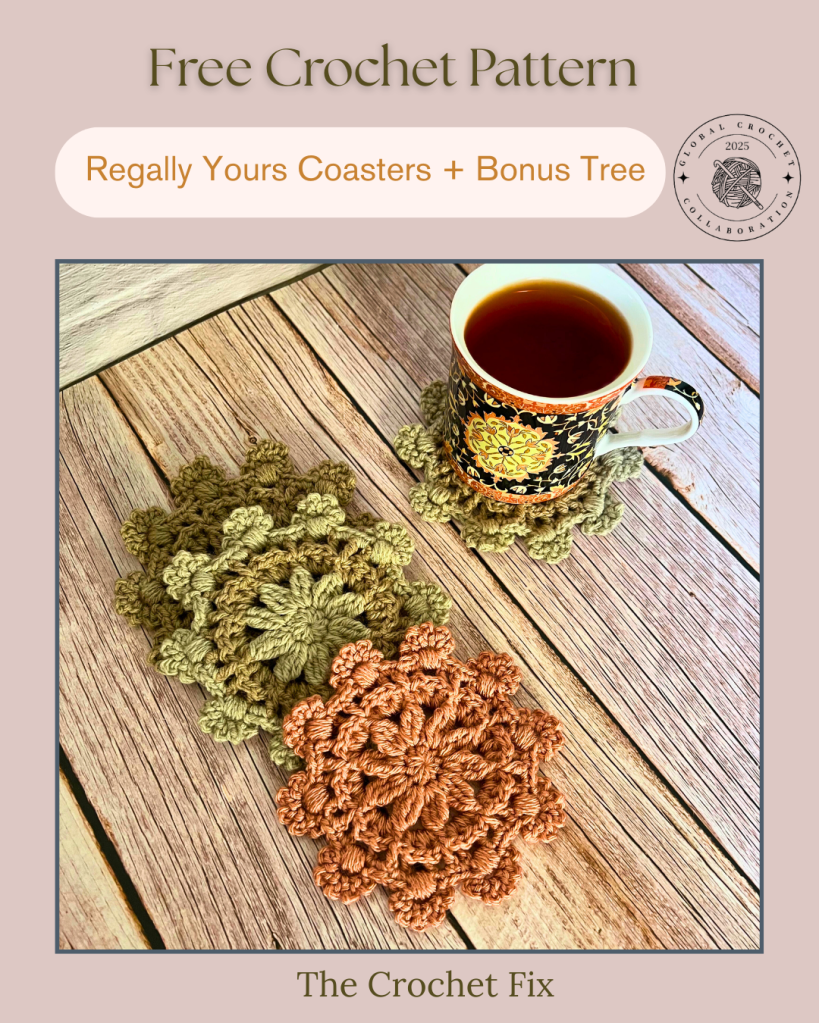
The last pattern coming up is Regally Yours Coasters from Farrah . “Ornate coasters that add a decorative touch to your dining room, living room or bedroom. Perfect gifted paired with a pretty mug or keep cup, or tea for one teapot and cup set. Bonus uber cute Christmas Tree option included.”
That’s it from the Global Crochet Collaboration for December! Do check back to see what else is happening in my corner:)
Until then …
Stay Safe
Stay Healthy


Leave a comment