Let us get ready for some Halloween magic!
I have been designing for 10+ years but only recently got entrenched into the world of Mosaic crochet! I must say that it is addictive!
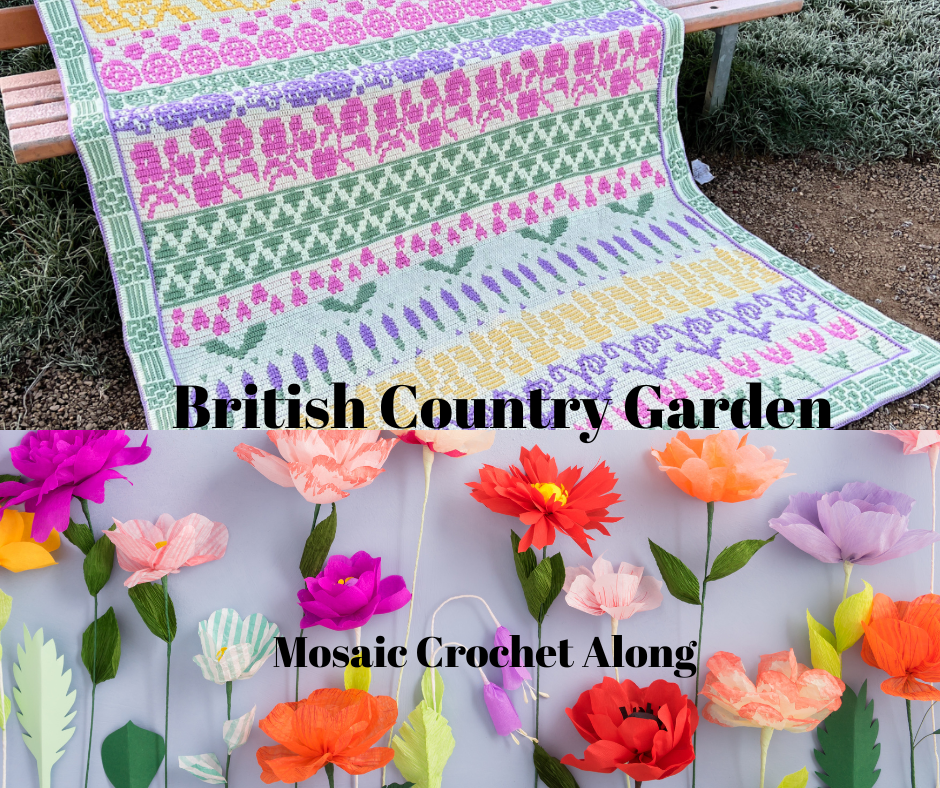
This was one of the first mosaic crochet strip that I designed. It was part of the Cottage Core Mosaic crochet along ! You can read all about it on this post linked to the image below!

Jamie of Remington Lane has teamed up with some of the most beautiful designers in the crochet world and has graciously accepted me , a newbie to Mosaic crochet design !
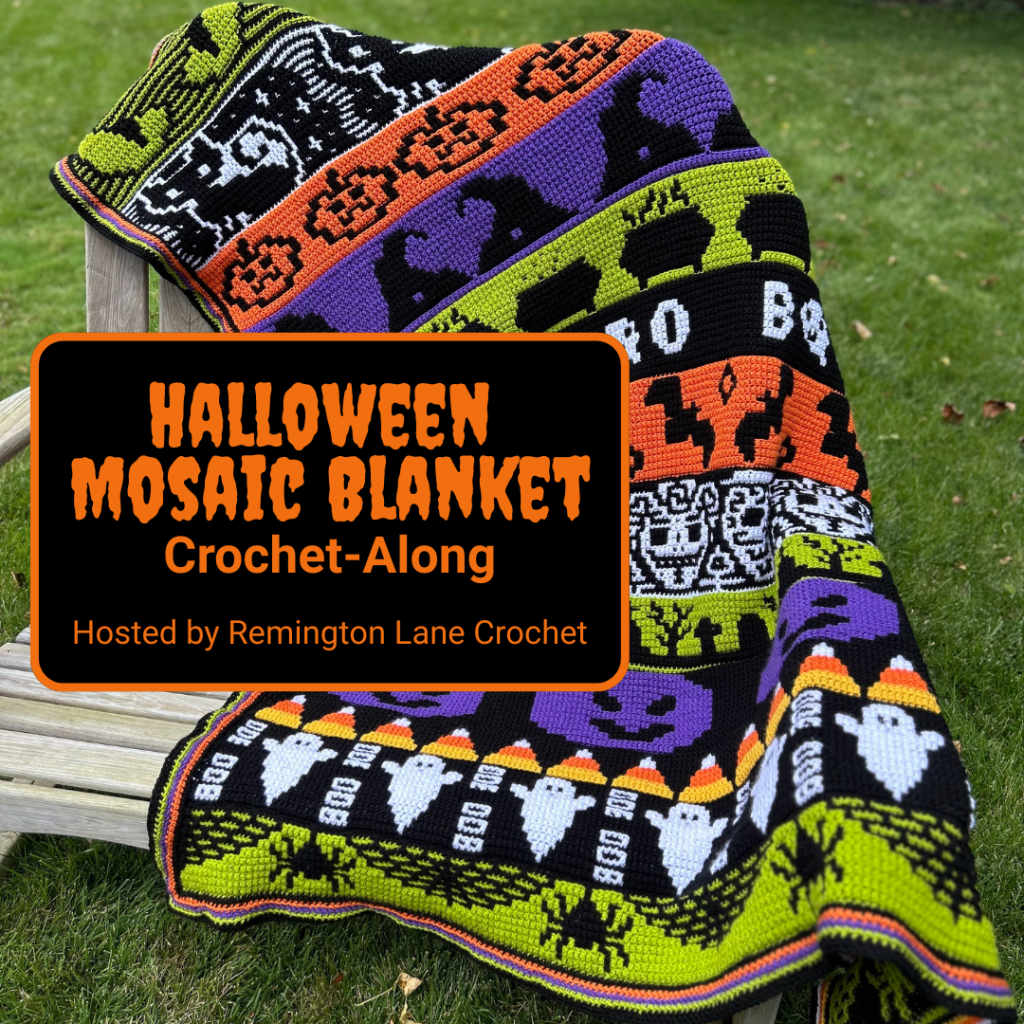
You can find each of these sections posted with the links to where you can get the free charts from Jamie’s page!
Alternately , if you are in a hurry to finish the blanket , you can also purchase the e-book which comes with charts and written instructions! The ebook is available at a special price throughout the CAL period and will go back to full price once the CAL ends!
So what are you waiting for ???? Hurry , run , don’t walk and get yourself the best Hallpween Mosaic crochet pattern book for this amazing blanket pattern!

I have always loved friendly ghosts ever since Casper came out in the movies! So my section for this Halloween Mosaic Crochet Along is BOO with one of the O’s featuring the friendly ghost!
This chart will remain free here on my blog post and you can also download the chart from my Ravelry Store. Mind you it is only the chart and does not include written instructions!!!
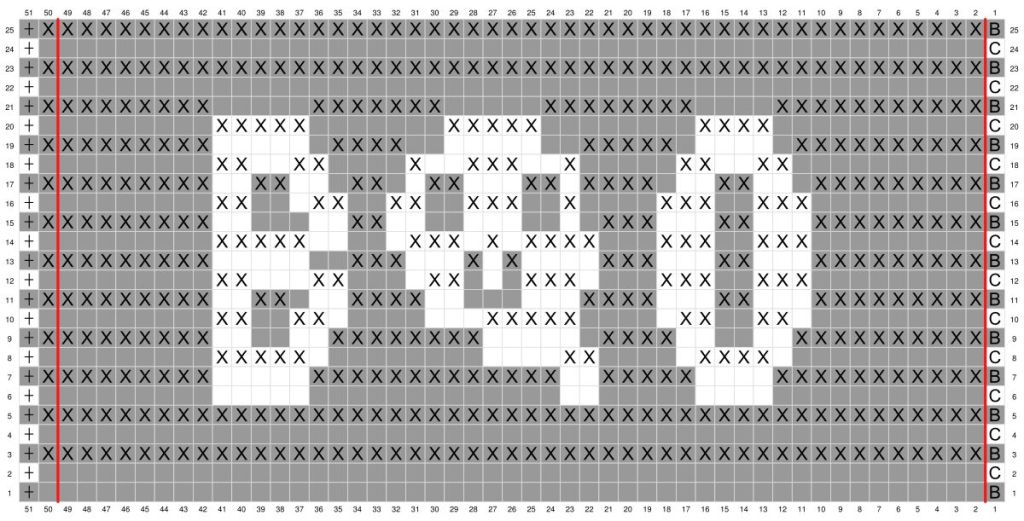
Please note that the Border stitch for this chart is represented by the letters B or C as the row may be and not as A or B.
You can download the chart from the link below

Materials:
- Size 3 Weight, Stylecraft Special DK 100% Acrylic Yarn (Alternate: Hobby Lobby I Love This Yarn! Sport 100% Acrylic, Patons Astra 100% Acrylic, King Cole Big Value DK 100% Acrylic)
- Color A – Black– 69 yards
- Color B – white – 50 yards
- G-6 (4mm) Hook
- Scissors
- Yarn Needle
Gauge: 15 st x 20 rows = 4″ in a swatch of overlay mosaic crochet
Finished Dimensions: Approximately 3.8″ high (9.7 cm) and length will depend on how many pattern repeats are used.
Stitch Abbreviations:
- sl st – slip stitch
- ch – chain
- sc – single crochet
- bs – single crochet border stitch
- dc – double crochet
- fsc – foundation single crochet (optional)
- Watch the right-handed video tutorial
- Watch the left-handed video tutorial
- BLO – back loop only
- FLO – front loop only
Special Stitches
- bs – single crochet border stitch – work a regular single crochet stitch as the first and last stitch of each row (designated on the pattern chart). When inserting your hook to make this stitch, I recommend inserting it between the two vertical bars of the stitch below rather than under the top loops. This can help make it easier to crochet into these stitches when you’re working the envelope border
- FLO dc – worked into the front loop of the stitch that is two rows below. For example, a FLO dc in row 3 will be worked into the front loop of the designated stitch in row 1.
- Pattern Notes:
- US Terms (US to UK terminology conversion)
- Multiples of 48 + 3
- You may choose to repeat the pattern as many times as you wish. Make sure your Foundation Row is made up of any multiple of 48 plus 3 extra stitches.
- If you are following along with the Halloween Mosaic Blanket CAL, the blanket uses 4 repeats, so your foundation row is (4×48) + 3 = 195 stitches.
- The foundation row for the blanket size uses FSC stitches. As an alternate option, ch 196, sc in second ch from hook, sc to end of the chain.
- Each row is worked in a different color.
- Fasten off at the end of each row.
- Single crochet stitches are worked in the Back Loop Only of the previous row unless otherwise noted.
- Double crochet stitches are worked in the Front Loop Only of the stitch 2 rows below, skipping the stitch behind unless otherwise noted
- There is a chart and written instructions for right-handed and left-handed crocheters.
- All FLO dc stitches are made in the front loop of the stitch two rows below.
- Recommend using the negative stitch to eliminate gaps on the wrong side of the blanket.
- Do not weave in your ends at the end of each row. The envelope border will hide them.
You can get this section and all the other wonerful sections that make up this CAL by heading over to the event page and following the schedule!

Happy crocheting and I hope to see all your spooktacular blankets soon!
Stay Safe and Stay Healthy!


Leave a comment