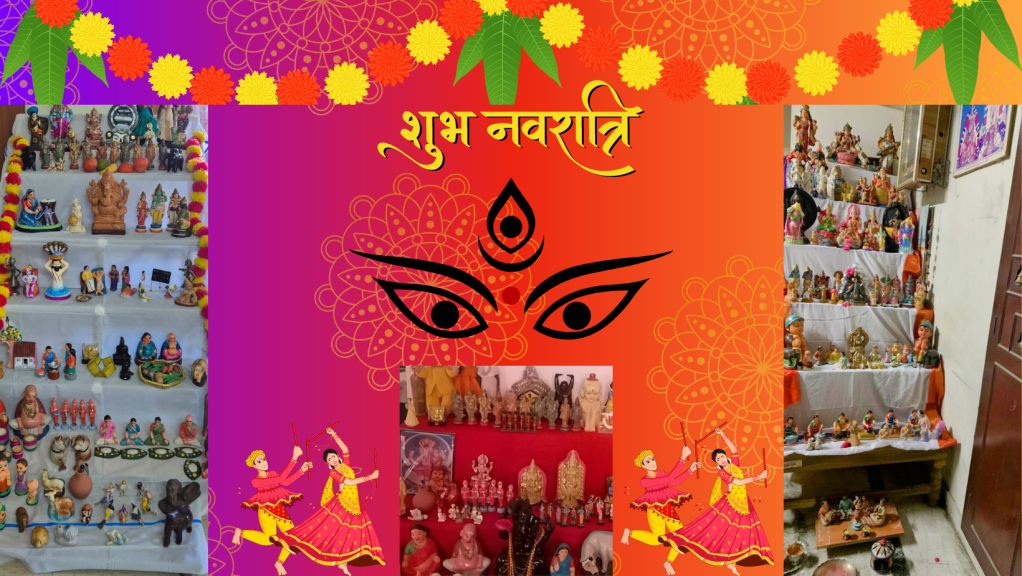
Happy Navaratri to everyone celebrating!
The word Navaratri means “nine nights” in Sanskrit, nava meaning “nine” and ratri meaning “nights”.
Let me introduce you all to this awesome festival celebrated over 9 days !
Navaratri is an annual Hindu festival observed in honor of the goddess Durga, the supreme goddess. It spans over nine nights (and ten days). It is observed for different reasons and celebrated differently in various parts of the Hindu Indian Cultural Sphere. This festival is celebrated post monsoon/ Autumn , just when the days start to get a nip in the air.
In the eastern and northeastern states of India, the Durga Puja is synonymous with Navaratri, wherein goddess Durga battles and emerges victorious over the buffalo demon Mahishasura to help restore dharma. In southern states, the victory of Durga or Kali is celebrated. In the western state of Gujarat, Navaratri celebrations are constituted by arti, followed by garba. In all cases, the common theme is the battle and victory of good over evil.
I come from one of the southern states and here we arrange our prized dolls on specially erected steps. Growing up, we used tables , trunks and sometimes even books and magazines to create the illusion of steps.
Nowadays we have modular steps that can be folded and put away when not in use or converted to a book shelf:)
This is the time for socializing! The women folk invite their friends and family to visit their homes , sing hymns in praise of the various Gods and Goddesses and in return they offer prasadam called sundal that is made at home and a gift. The boys and men at home will eagerly be waiting for their share!
We did not associate colors for the 9 days of the festival back then . However a clever journalist decided to give a color code for each day to increase the circulation of the journal!
However I love this idea and being a crafter , allows me to get into this festival in my own way!
This year the colors for the days are as follows:-
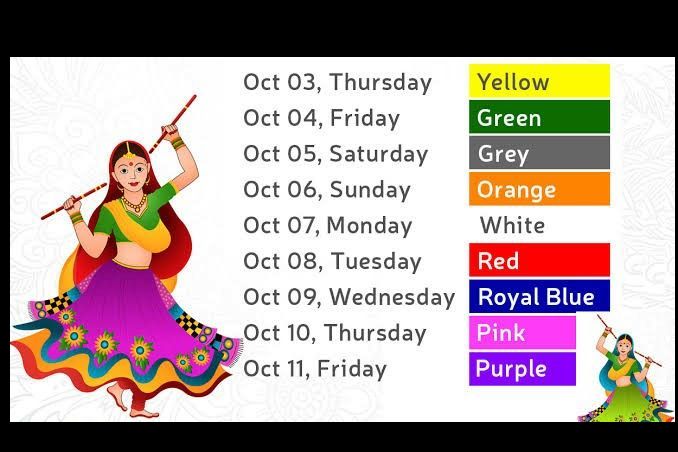
Last year I made crochet jewelry but unfortunately didn’t write the patterns ! This year I decided to make crochet purses following the color scheme mentioned above!
So let us get started with Day 1 – Yellow!

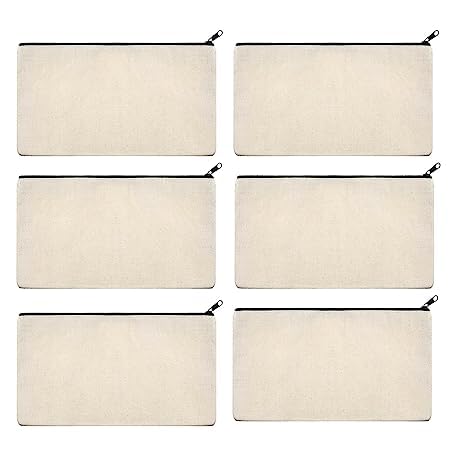
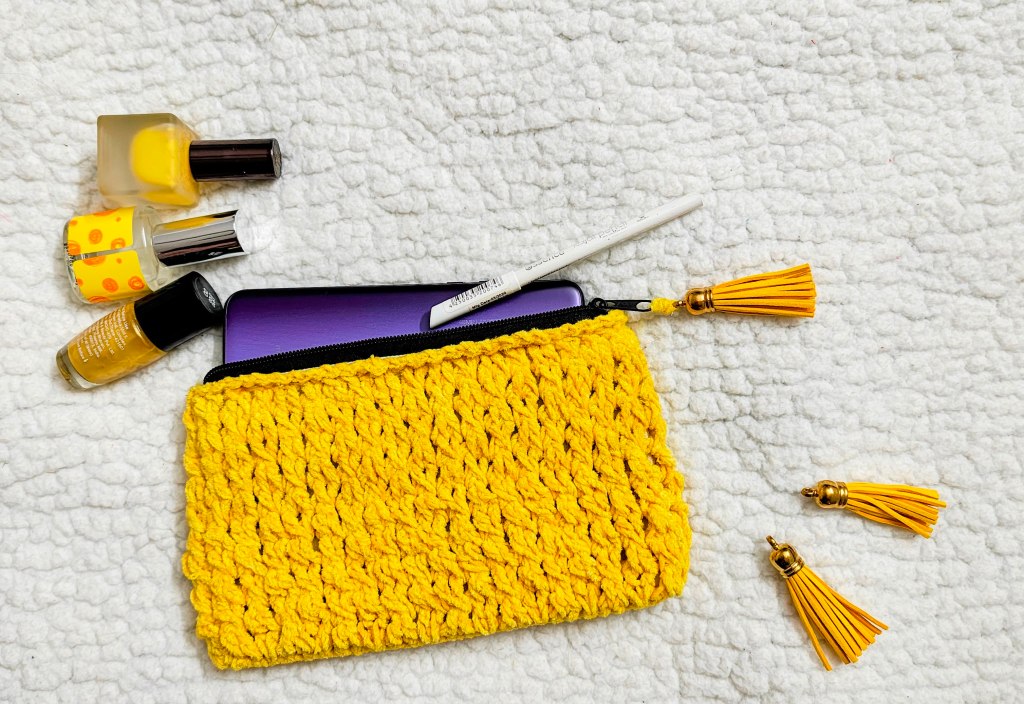
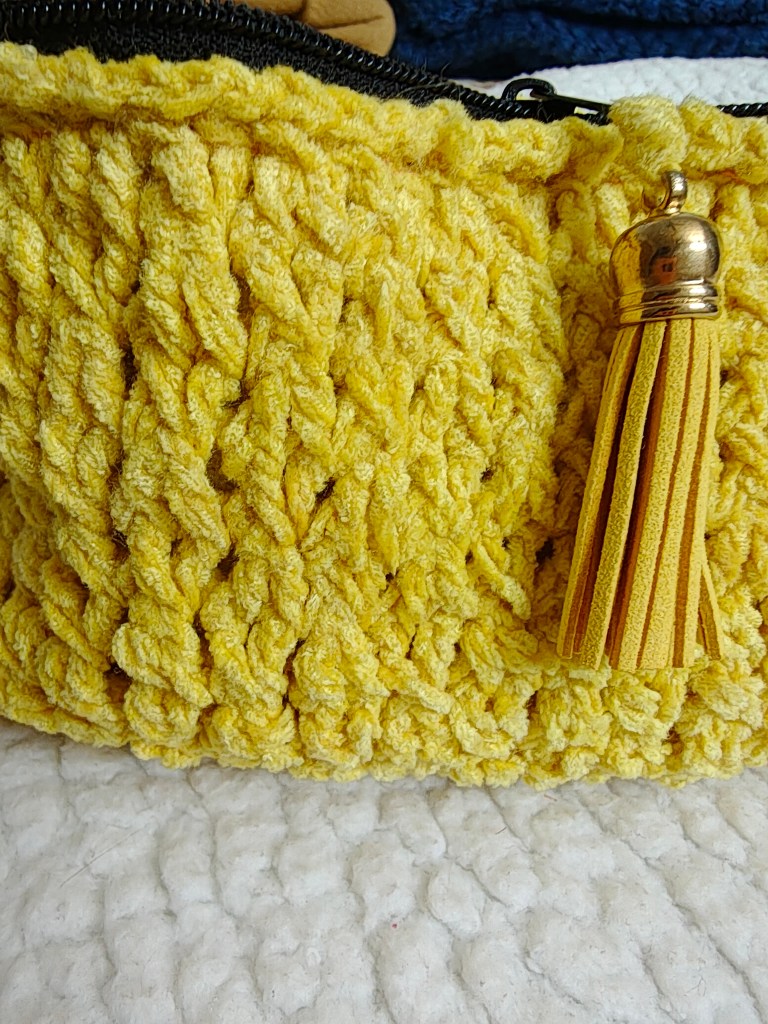
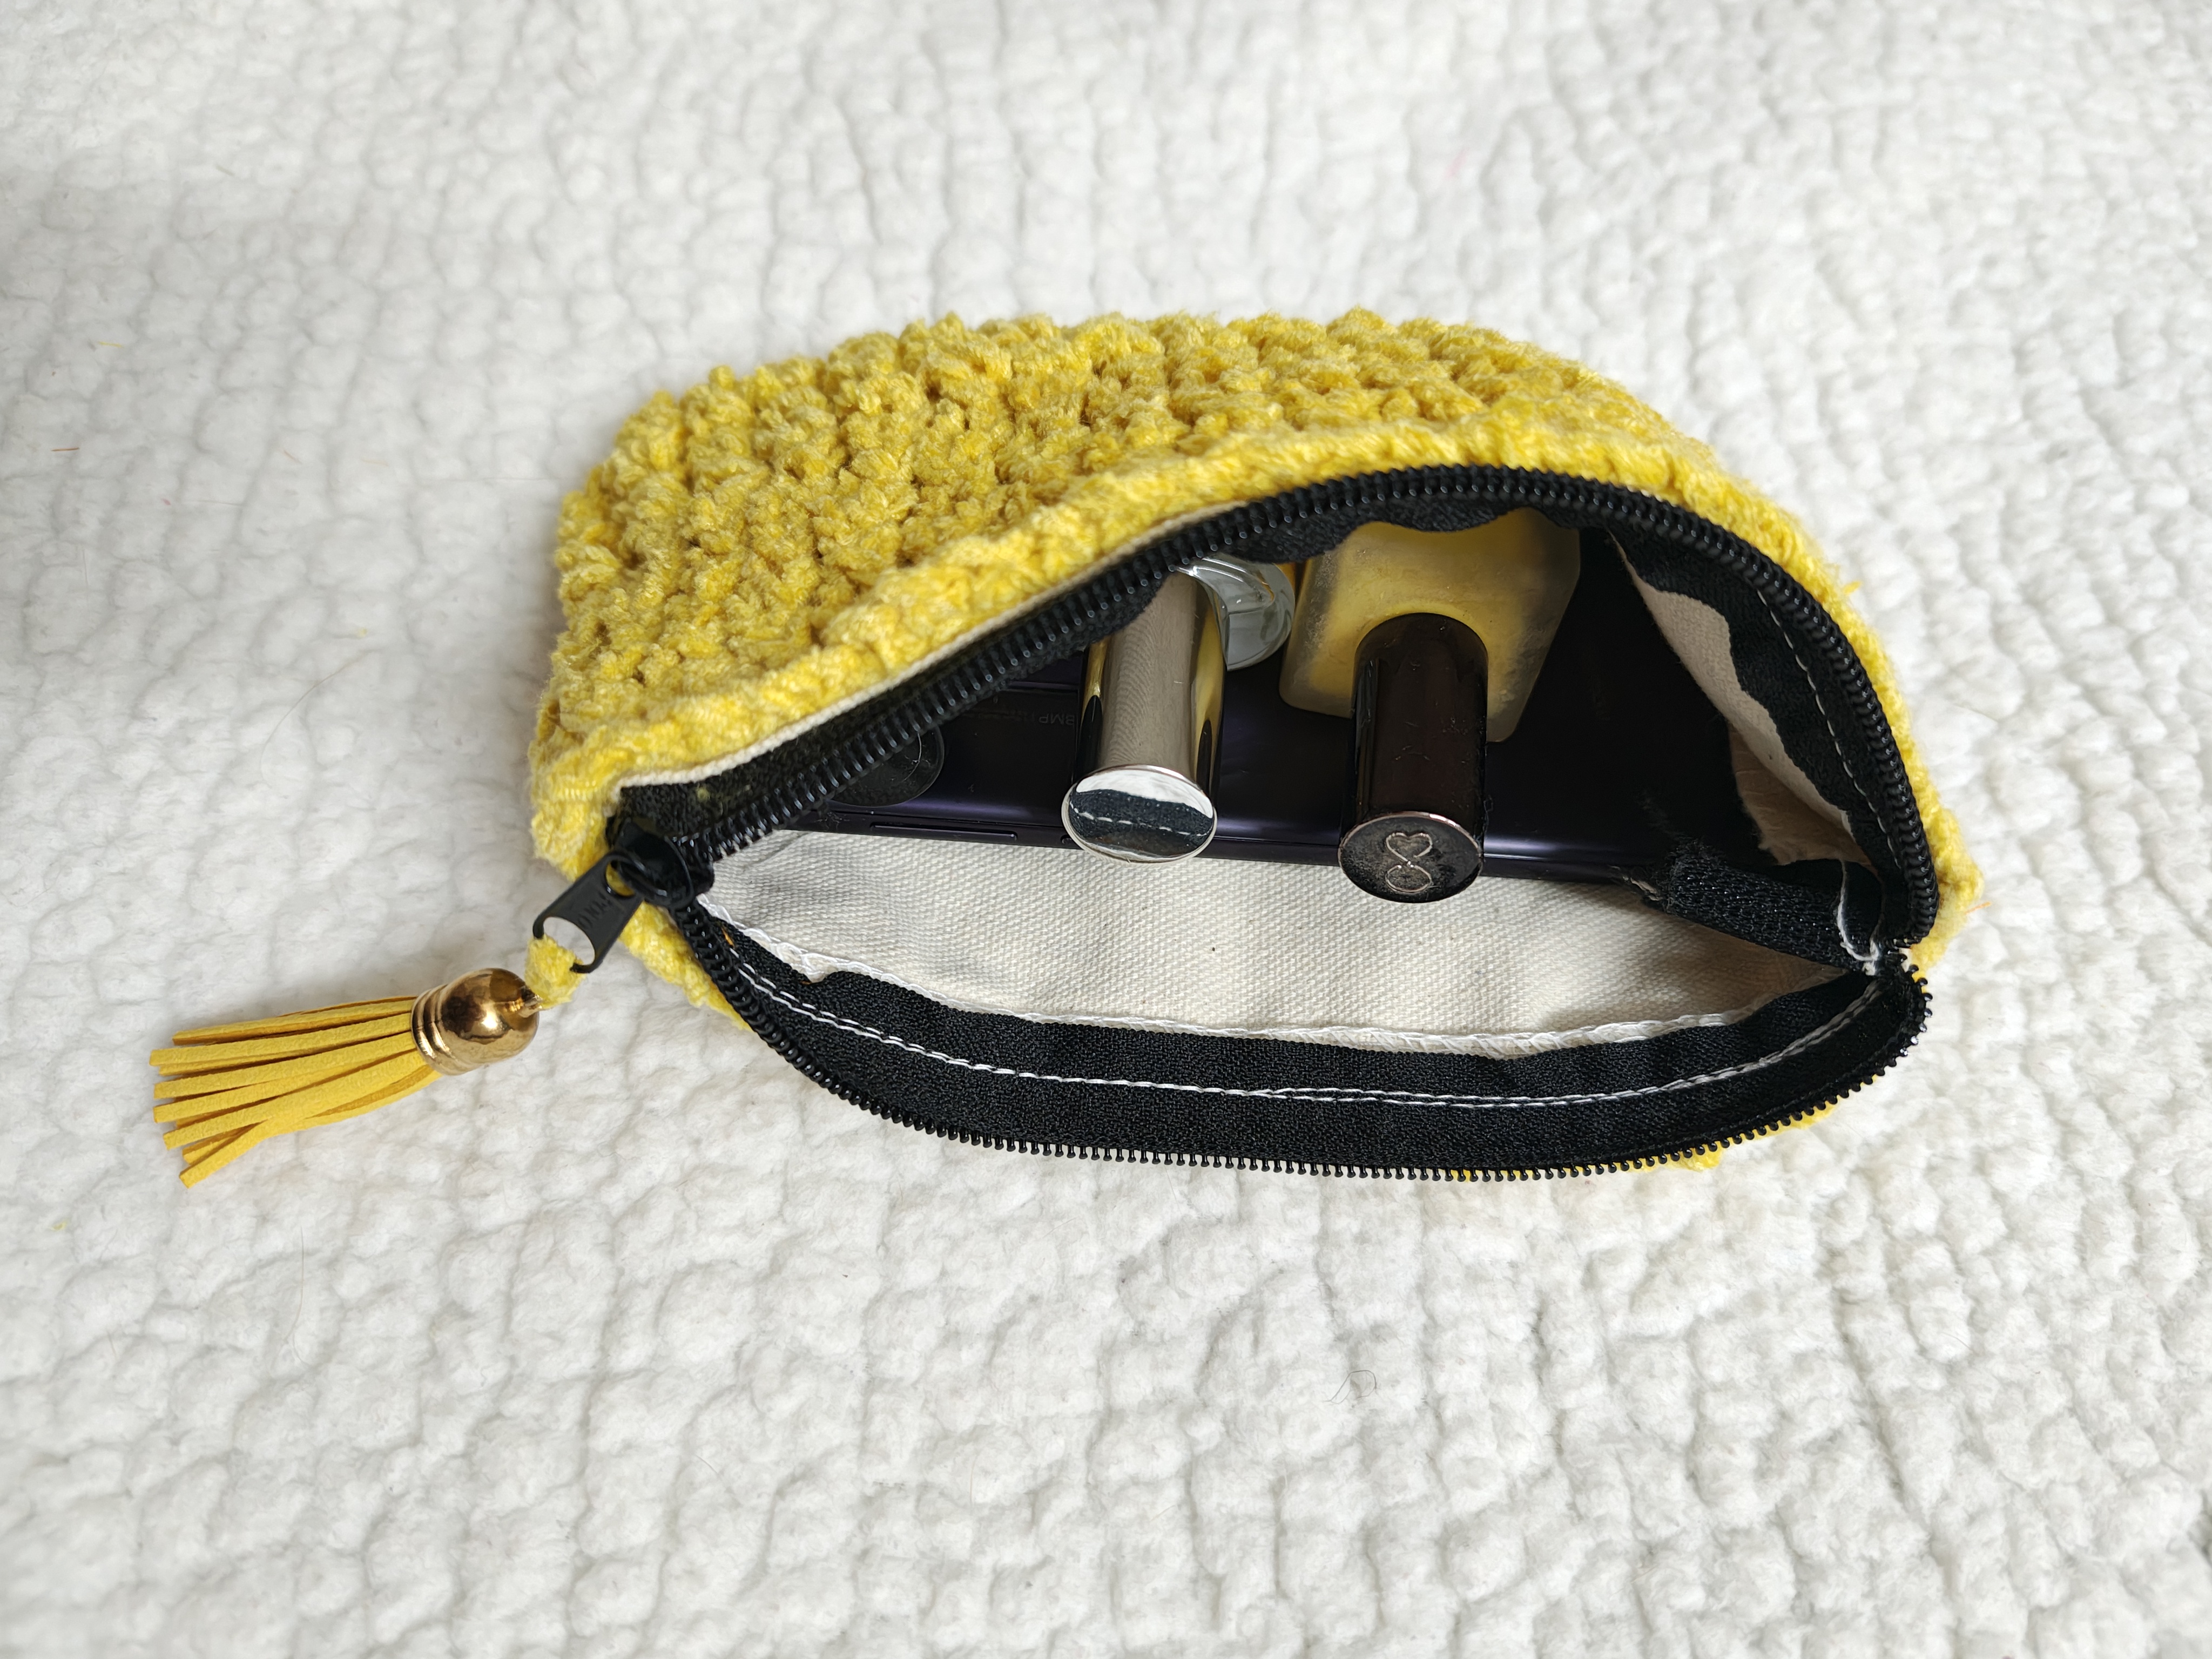
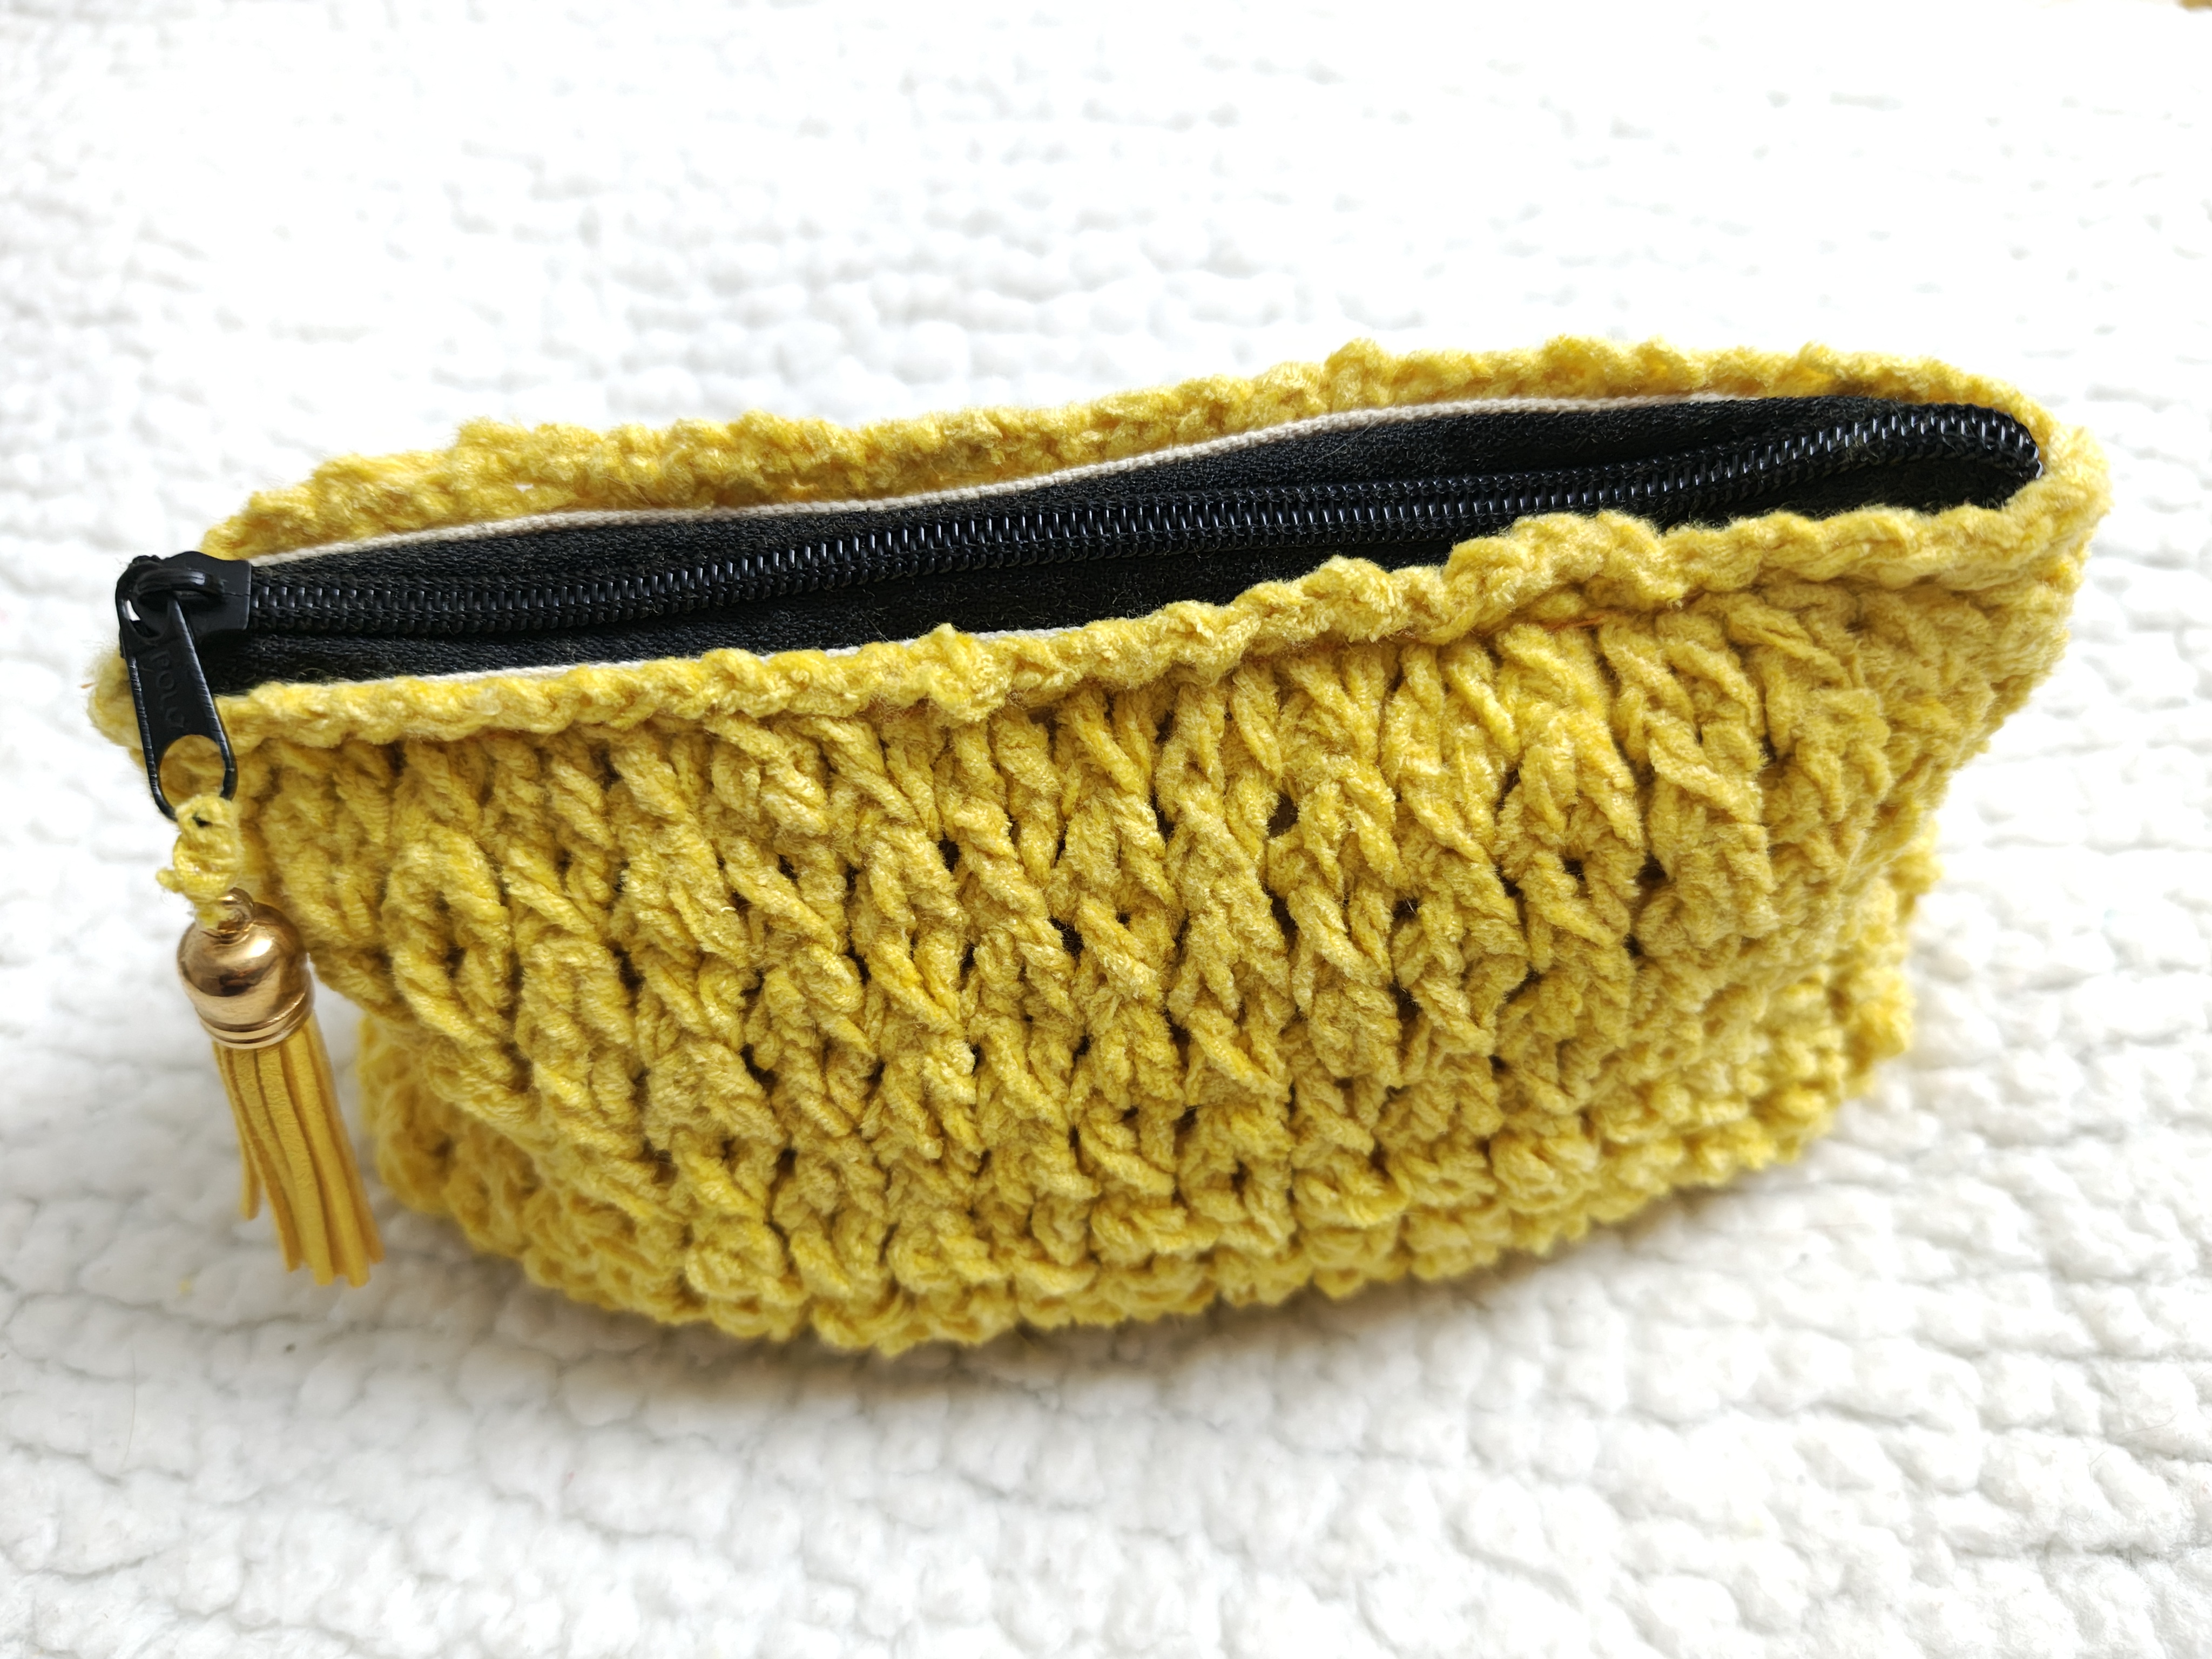
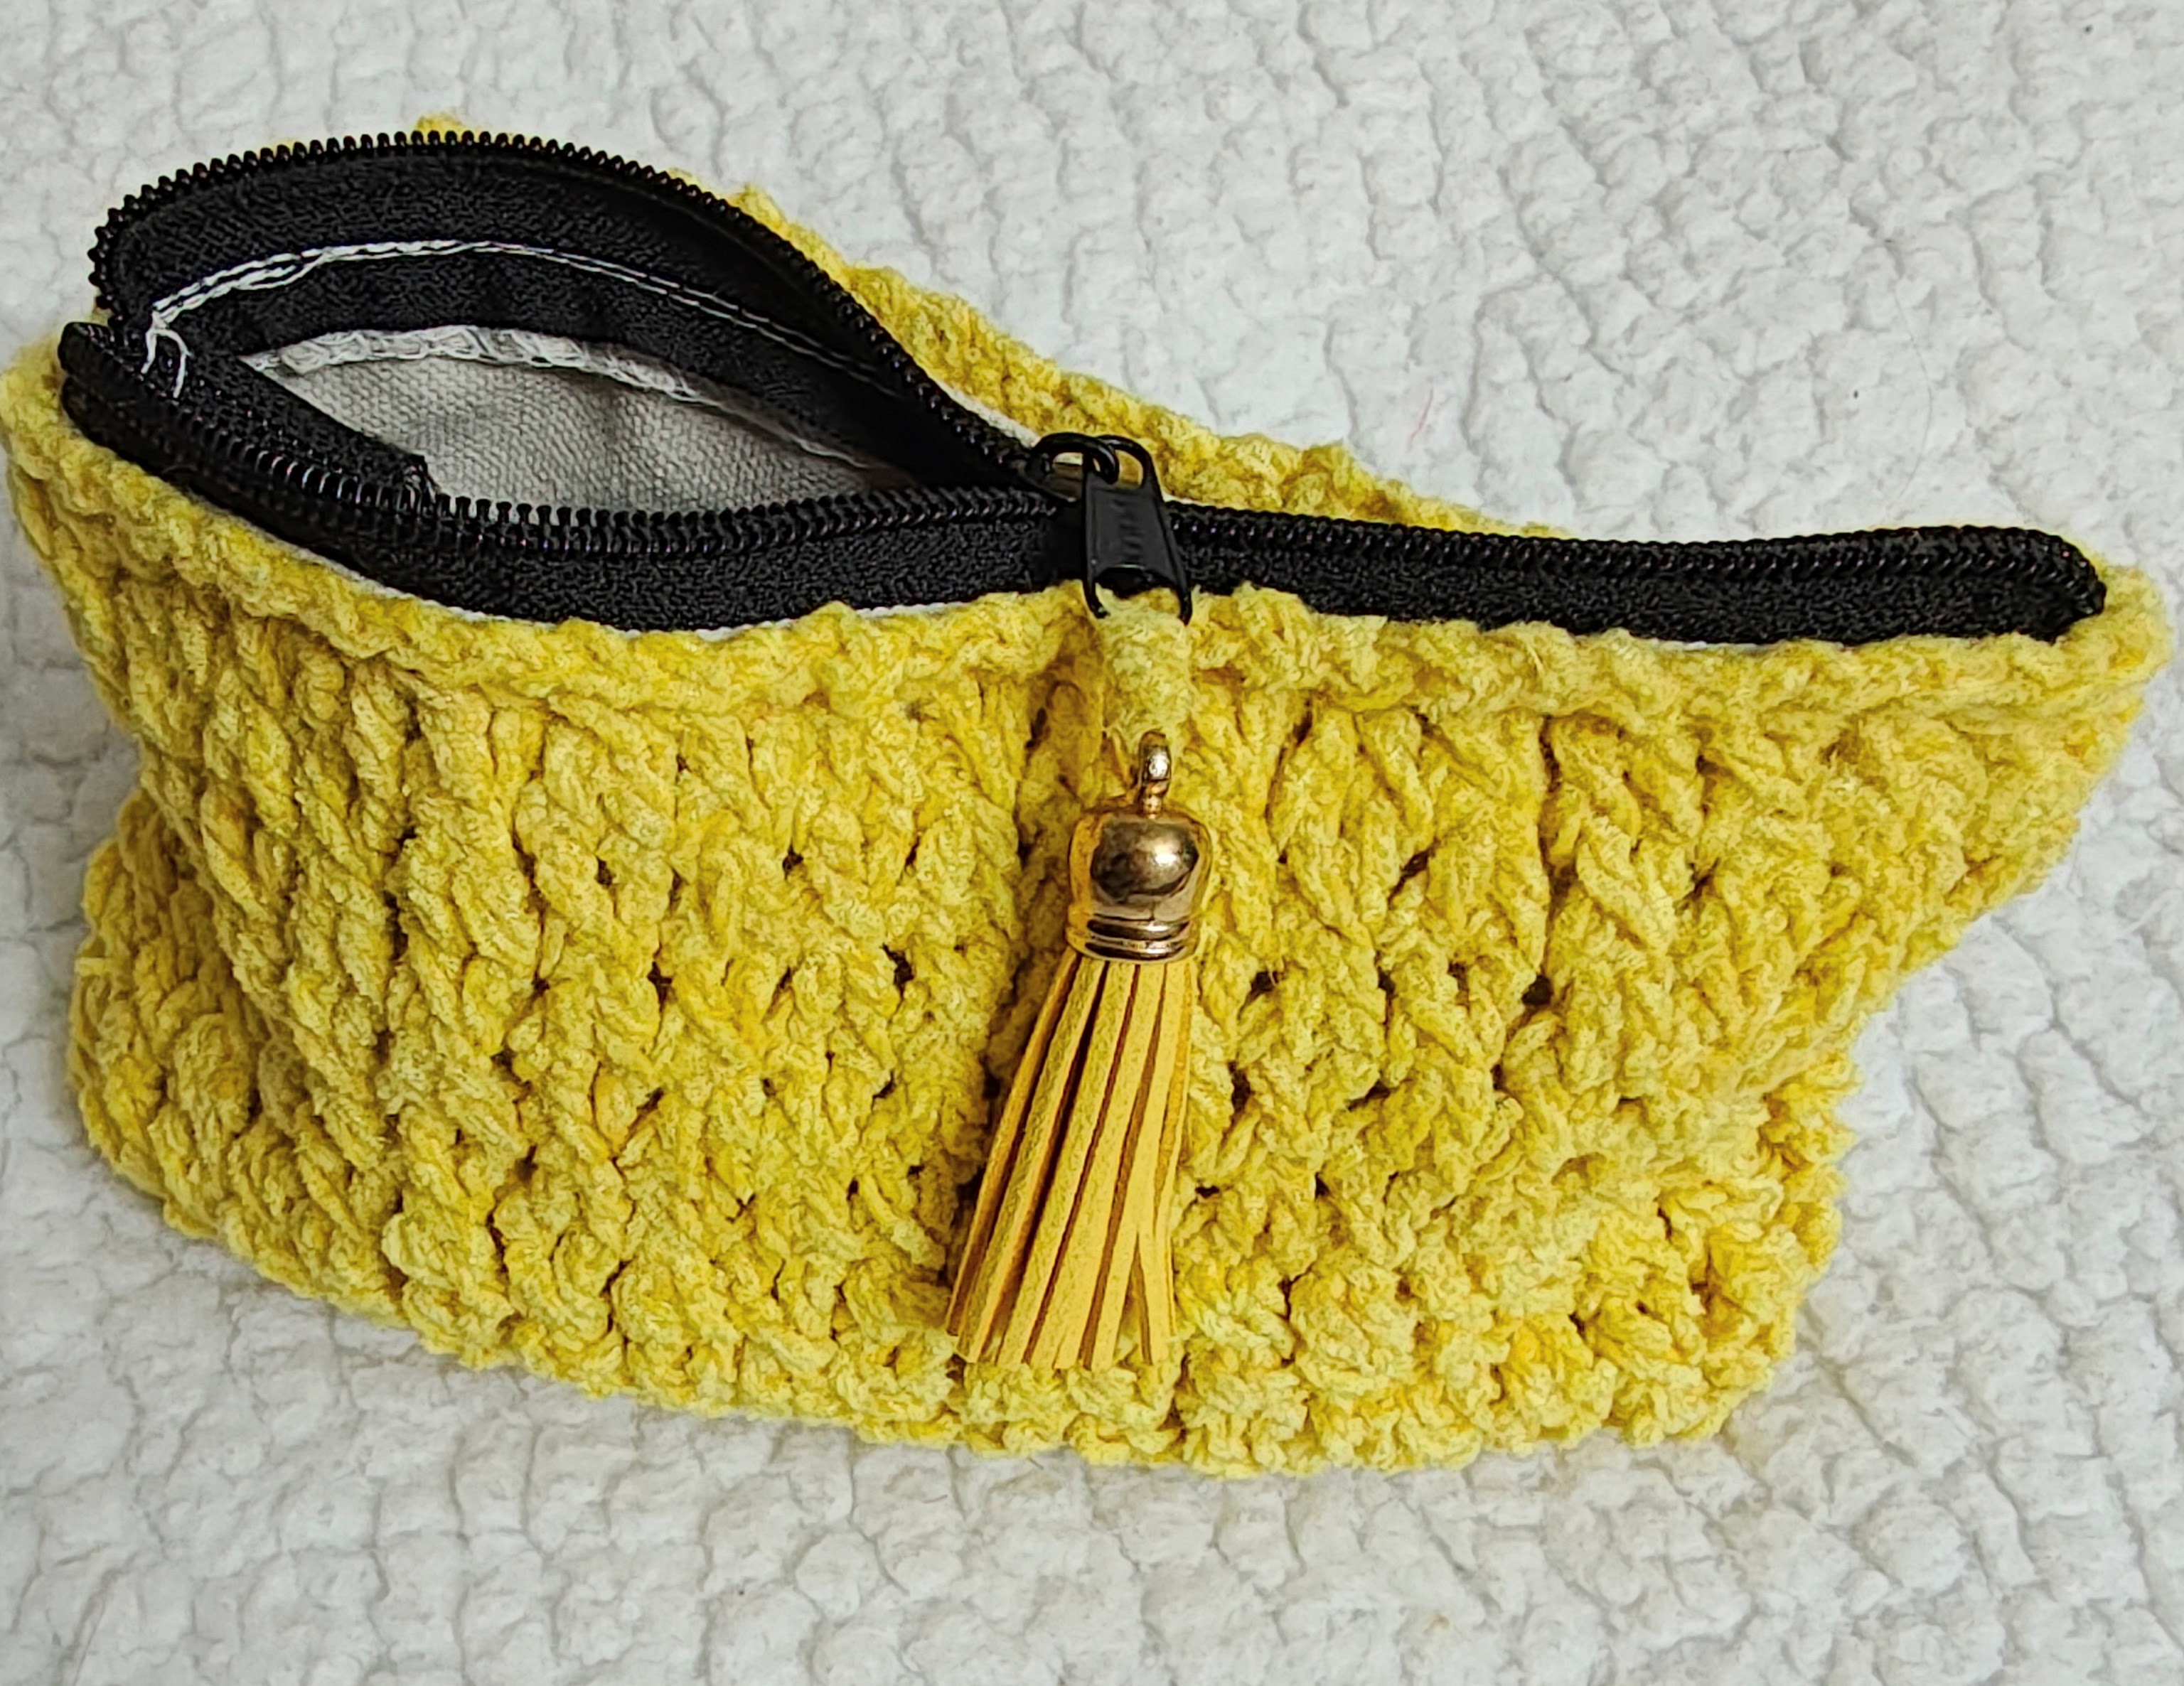
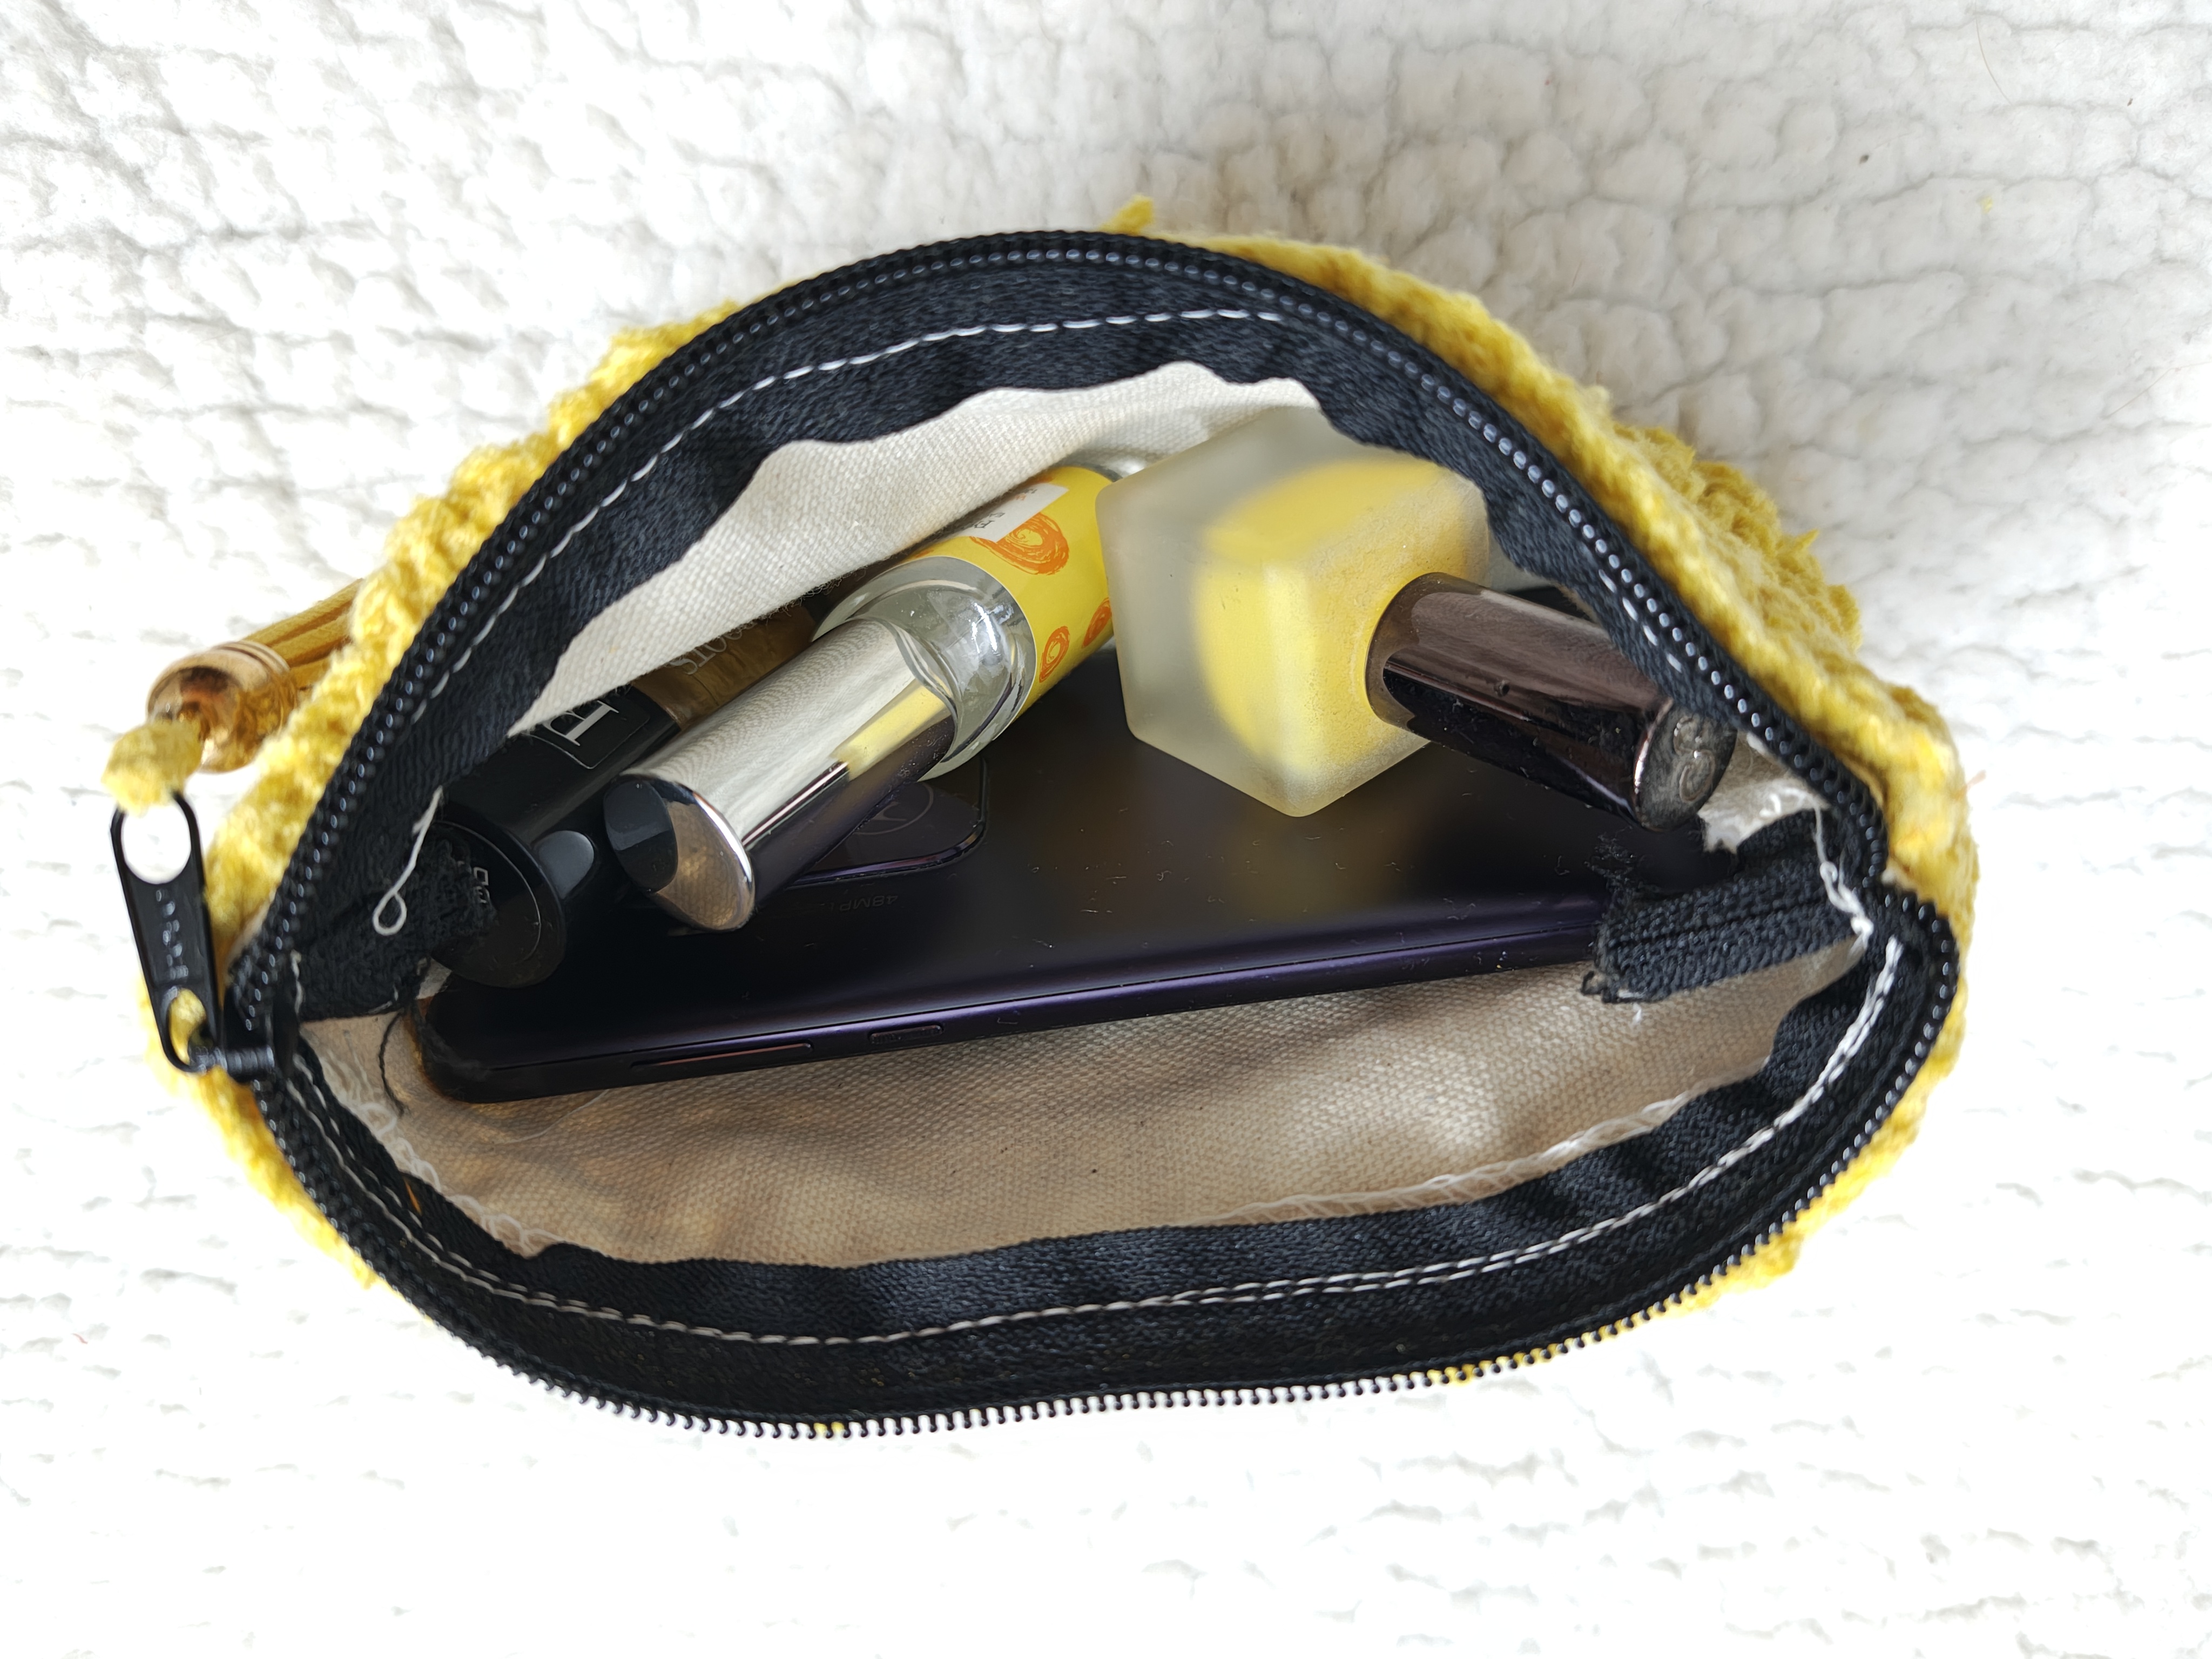
A simple 2 round repeat that could get done in a day! I used premade canvas pouch as lining. When I finished the purse , all I had to do was slip the canvas pouch and using the yarn tail stitched the crochet purse to the lining using back stitch.
The Canvas pouches such as these or these are the ones that I used. I bought them from Amazon. This is an affiliate link ! Pictures are from Amazon!
And now for the pattern!
Glowing Lamp Purse
Materials
4 Ply Yellow Cotton Chenille yarn from YarnKart (1 sample was made with 50 gms of yarn)
No affiliation here:) just loved using this yarn
Crochet hook size 3mm
Yarn needle to weave in the ends
Sewing needle and matching sewing thread to hand stitch the lining
A pair of scissors
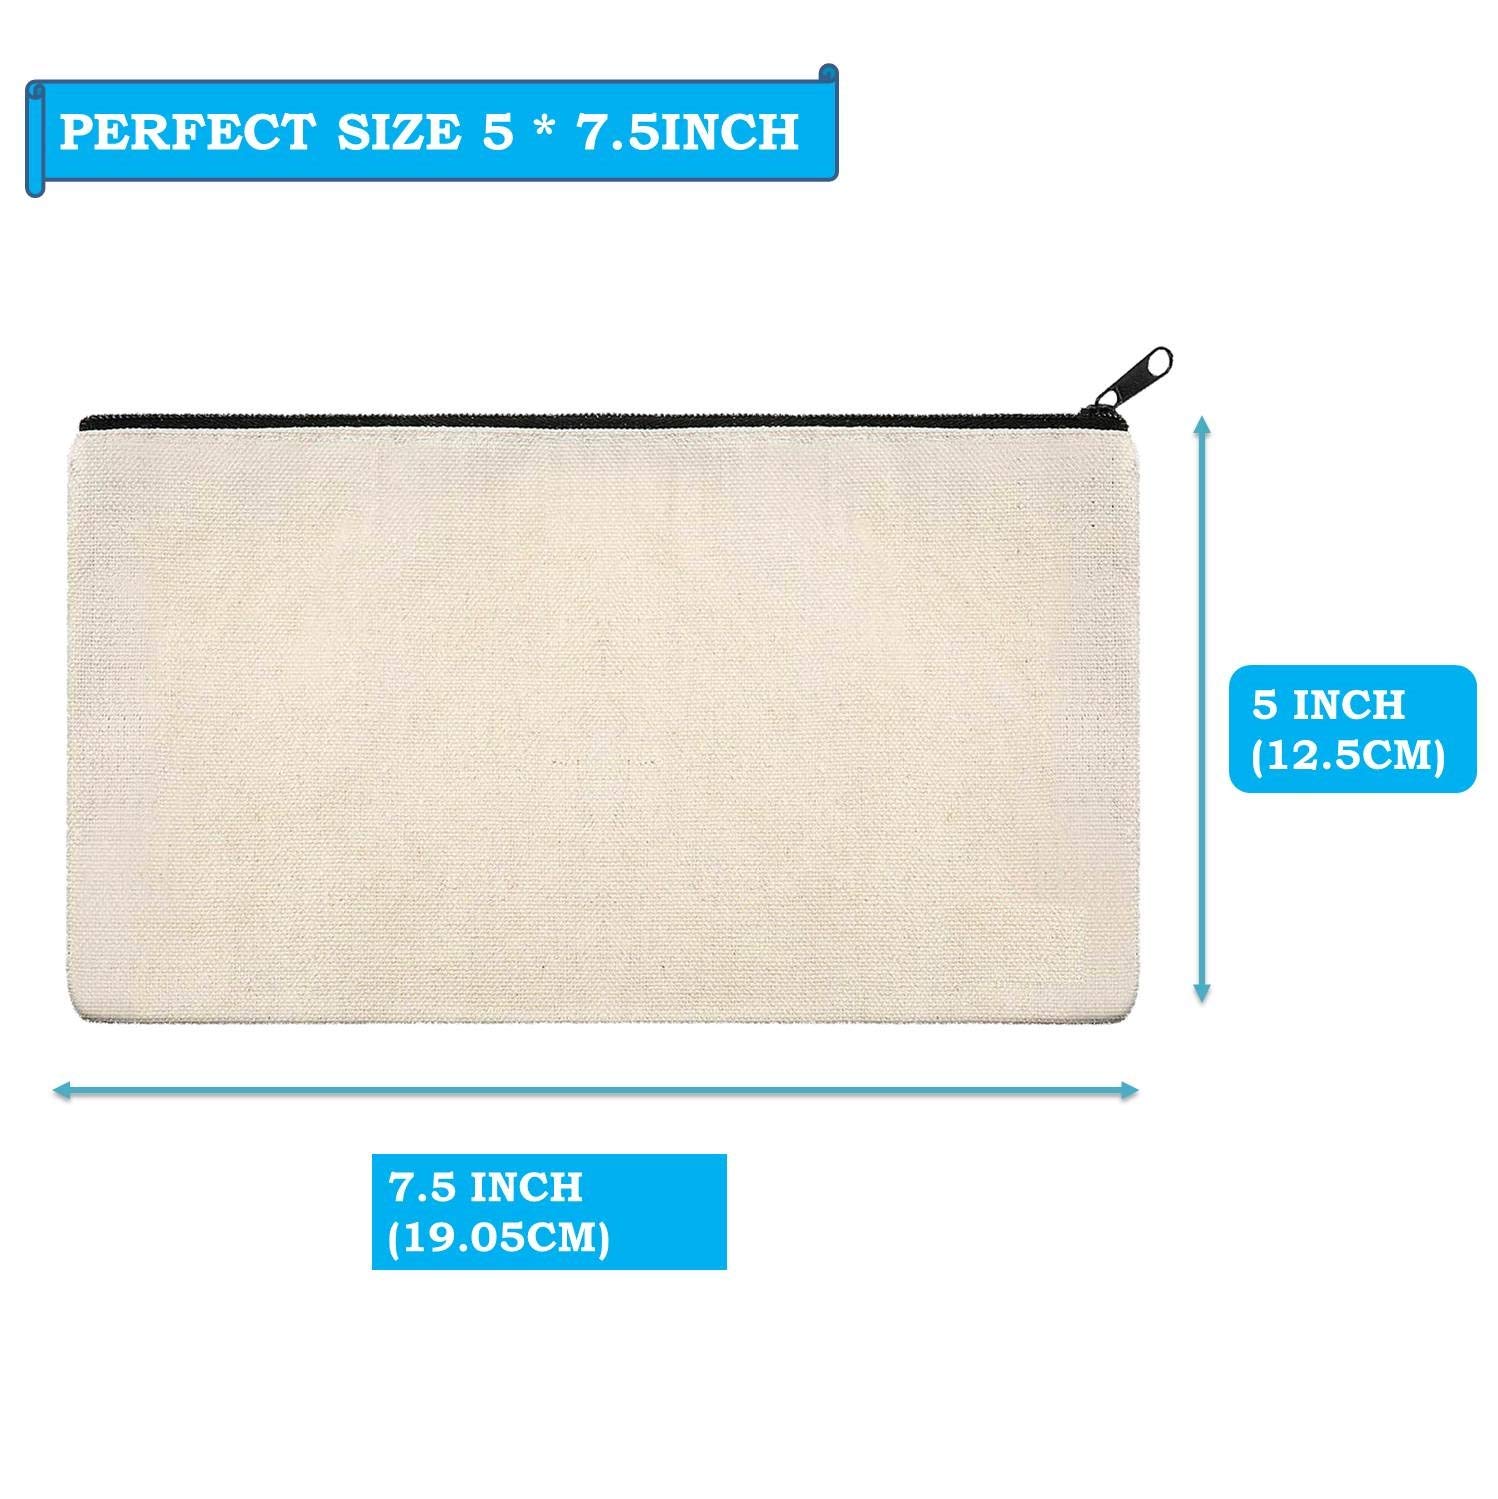
Finished size 7.5″ wide by 5″ tall
Gauge: 3 sts in pattern = 1″ 2 rows = 1″
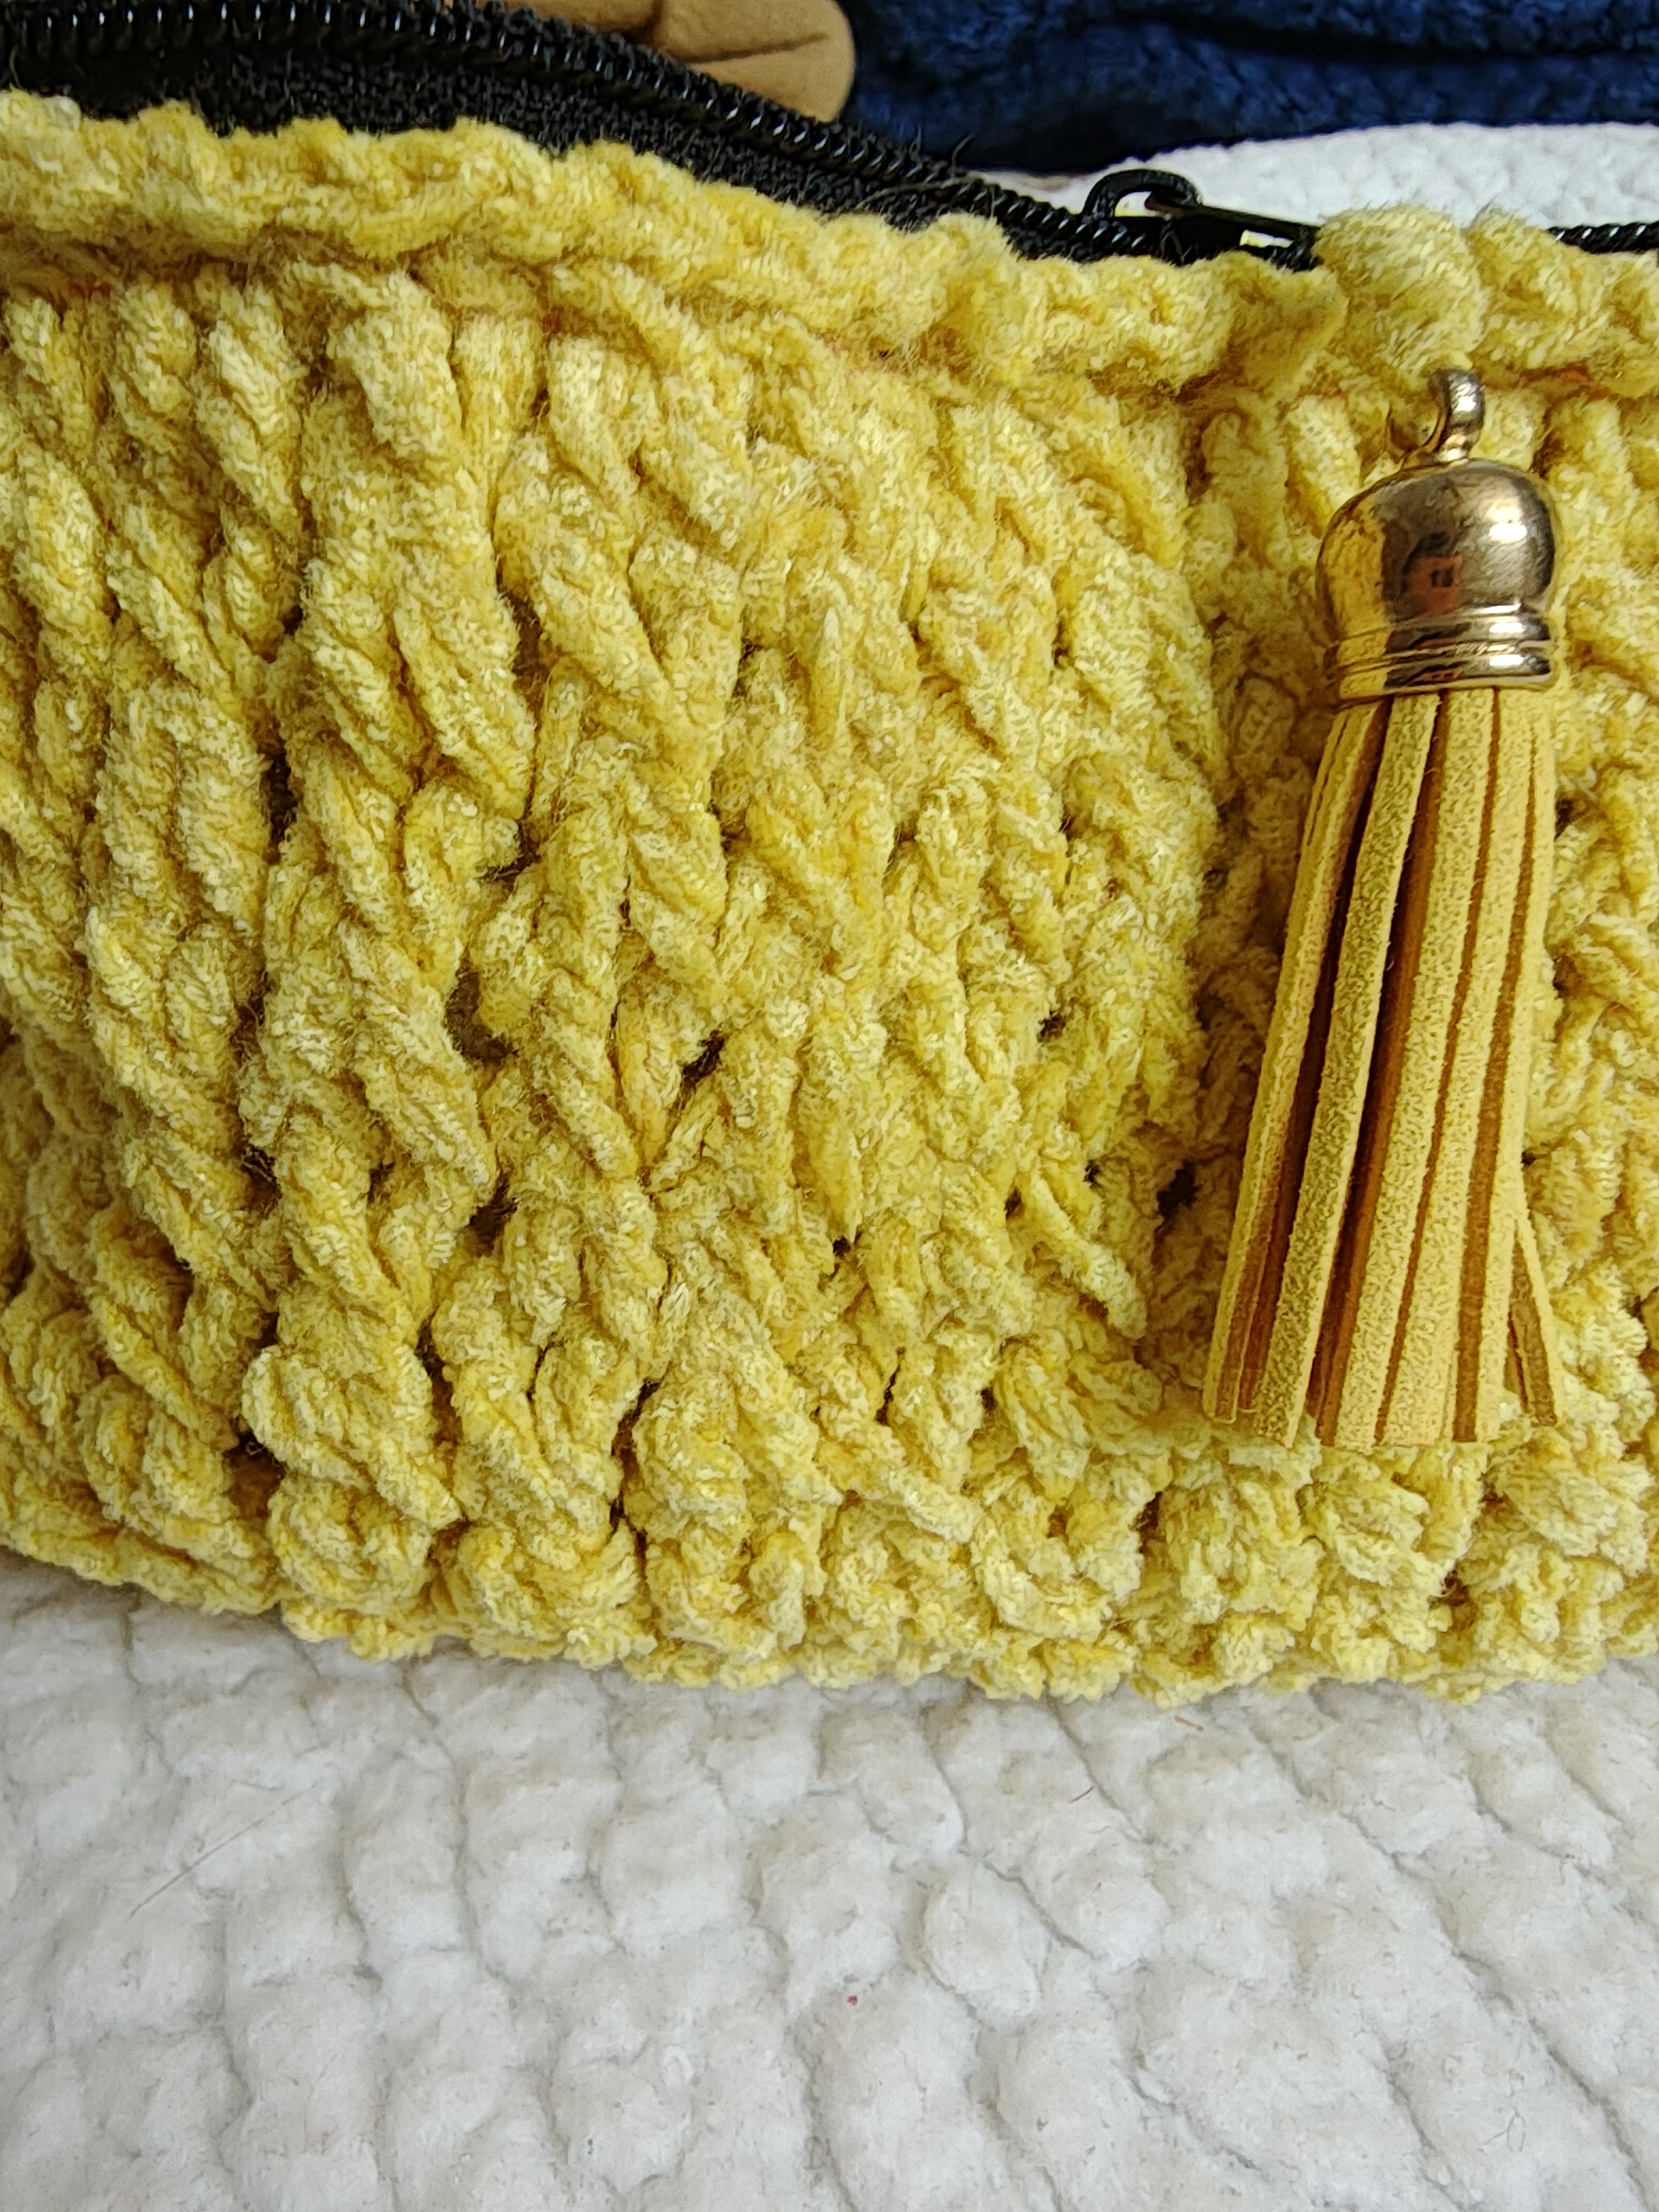
(pattern consists of alternating 2Fpdc, 1 FpDc2tog)
Stitches and Abbreviations
Yo – Yarn over
St – Stitch
Sp – space
Ch – Chain
Sl st – Slip stitch
Sc – Single crochet
Dc – Double crochet
FpDc – Front post double crochet
FpDc2tog – Front post double crochet worked 2 together
Notes
1: The instructions are given to match the canvas pouch that I used for the lining. If you are using something different or are sewing your own lining, you can change the width by changing the starting chain to have a multiple of 6 + 3 chains.
2: You can use any yarn of your choice but the final product may not fit the readymade canvas pouches.
3: The number of repeats for rounds 3 and 4 can be increased to get a taller purse.
4: Stitch count is given at the end of each round.
Difficulty level : Advanced Beginner
Instructions
Round 1: Ch 27, 2 sc in the second chain from the hook (working into the back bump of the chain), 1 sc in each of the next 24 chains, 3 sc in the last chain, working on the other side of the foundation chain, 1 sc in each of the next 24 chains, 1 sc in the same st as the first 2 sc. Join with sl st to the first sc – 54 sc.
Round 2: Ch1(does not count as st), 2 FpDc around the first sc, * FpDc2tog around the next 2 sc **, 2 FpDc around the next sc, repeat from * around ending the last repeat at **. Join with sl st to the first FpDc – 18 FpDc2tog, 36 FpDc.
Round 3: Ch1 (does not count as st), FpDc2tog using the first two FpDc, * 2 FpDc around the next FpDc2tog **, FpDc2tog using the next 2 FpDc, repeat from * around, ending the last repeat at **. Join with sl st to the first FpDc2tog – 18 FpDc2tog, 36 FpDc.
Round 4: Ch1 (does not count as st), 2 FpDc around the first FpDc2tog, * FpDc2tog using the next two FpDc **, 2 FpDc around the next FpDc2tog, repeat from * around ending the last repeat at **. Join with sl st to the first FpDc – 18 FpDc2tog, 36 FpDc.
Repeat Rounds 3 and 4 three times more.
Edging round: Ch1, sl st in the next FpDc, [ch1, sl st in the next FpDc2tog, (ch1, sl st in the next FpDc) 2 times] repeat the instructions between [..] around. Fasten off.
Finishing
Weave in the starting end if you haven’t already done so while working the first round of the purse.
Insert the pre-made canvas pouch into the crochet purse , making sure to line up the pouch just below the slip stitch round. Thread a sewing needle with matching sewing thread and back stitch the lining and the crochet purse. I also made sure to stitch under the zipper so that the stitches are not visible when you open the purse.
Weave all ends and you are done!
Optional : you can add a tassle to the zipper pull to make it more attractive.
That’s it for Day 1 ! Come back tomorrow for Day 2!
Enjoy the celebrations!
PS I edited this post to remove the stitching of the lining with the Chenille cotton as I found that it breaks easily. I reinforced the stitching with matching sewing thread.


Leave a comment