Welcome back to our Crochet Along! We are working the Belly of the Beast tote pattern ! This design is made with Tunisian Crochet technique!
Last week we worked on the body of the bag and now it is time to start working on the decrease section! Once this part is done , you will be ready to line your bag and have it ready for converting this shape into a bag!
We had mentioned having a zipper as a means of closure for the bag but we have found out that this bag will be better if a) we leave it open to treat it like your project bag or b) we can have a button closure if you really need a closure:)
We had promised to share the bag pictures and we will not disappoint you all this time!
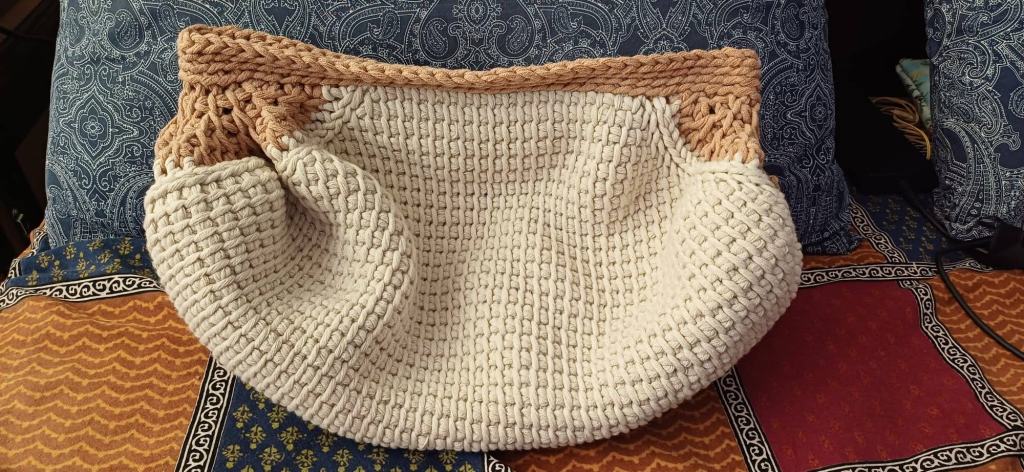
Belly of the Beast version 1
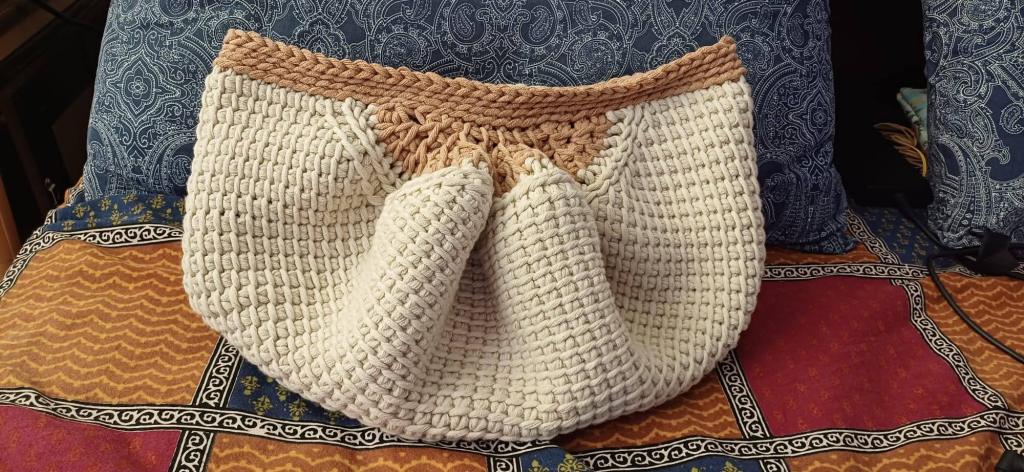
Belly of the Beast version 2
And having showcased both versions here, we have decided not to go with either of them 🙂 We are 100% sure that you will agree with us by the time we show the new and improved finished bag:)
Let us get on then with the decrease section of the bag:-
You might want to have a stitch marker to help you with the placement of the decrease at the end of the row.
Continuing from last week, we are now on Row 45. The above picture shows the last few rows you will be working.
We need a few more abbreviations for this week
Beg Dec : Beginning Decrease
End Dec : End Decrease
PM : place marker
Beg Dec is made by inserting the hook front to back, into both the 3rd and 4th vertical bars, yo, pull up a loop.
The End Dec is made by inserting the hook front to back , into both the vertical bars of stitches that are 4th and 3rd from the Edge stitch respectively. That is, the two stitches before the Tunisian Knit Stitch will be decreased.
Row 45
FP : 1 TKS in the second st, 1 Beg Dec, 1 TSS in each of the next 46 stitches, 1 End Dec, 1 TKS, pm in the TKS just made, 1TES – 52 loops on the hook
RP : Yarn over pull through 1 loop, yarn over pull through 2 loops till you have just one loop left on the hook. 52 stitches.
Row 46
FP : 1 TKS in the second st, 1 Beg Dec, 1 TSS in each of the stitches until you reach 2 stitches before the TKS, 1 End Dec, 1 TKS, move the marker to the TKS just made, 1TES – 50 loops on the hook
RP : Yarn over pull through 1 loop, yarn over pull through 2 loops till you have just one loop left on the hook. 50 stitches.
Row 47 – Row 61 : Repeat Row 46.
Each time you complete the RP , you will be decreasing 2 stitches. Keep moving the stitch marker every row to the TKS at the end of the row. This will help you in placing the decrease at the correct spot.
At the end of RP of Row 61 you should have 20 sts.
Now you will Bind off as follows: Insert hook under the next vertical bar, yarn over , pull up loop, yarn over pull through two loops) repeat (..) until all stitches are bound off. Fasten off and weave in the ends.
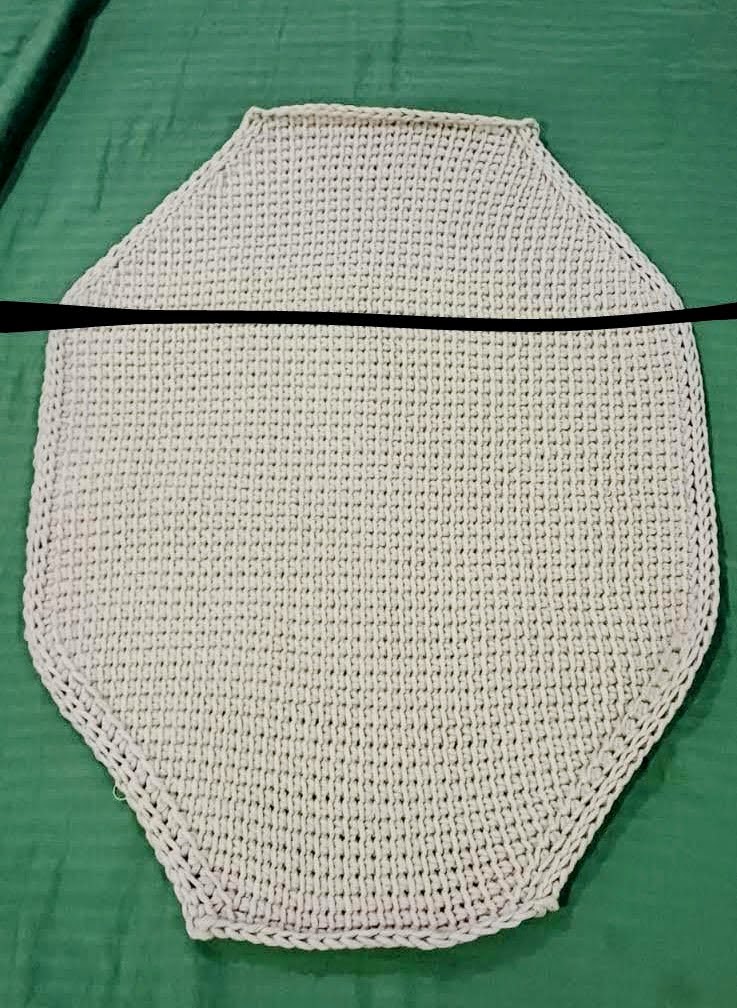
Your piece should look like the pic below:- We have steamed the crochet piece to even out the edges.
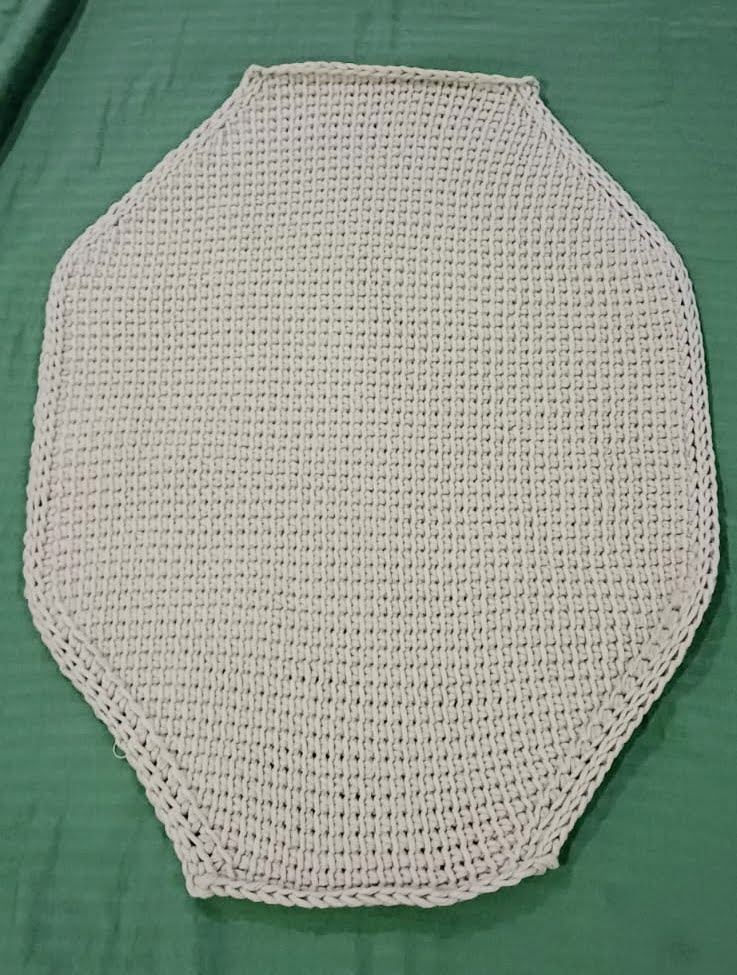
We chose to line the bag and used a fabric bit that measured 35″ long by 22″ wide.

As the yarn is bulky we sewed the lining by hand. If you are well versed in sewing you can pockets too if you wish:)
That’s it for this week! Hoping to see a few more projects , now that you can see the shape of the bag!
Oh Yes ! We have to show you the final look of the bag! Like I said earlier we ditched both versions shown earlier and went with this look!
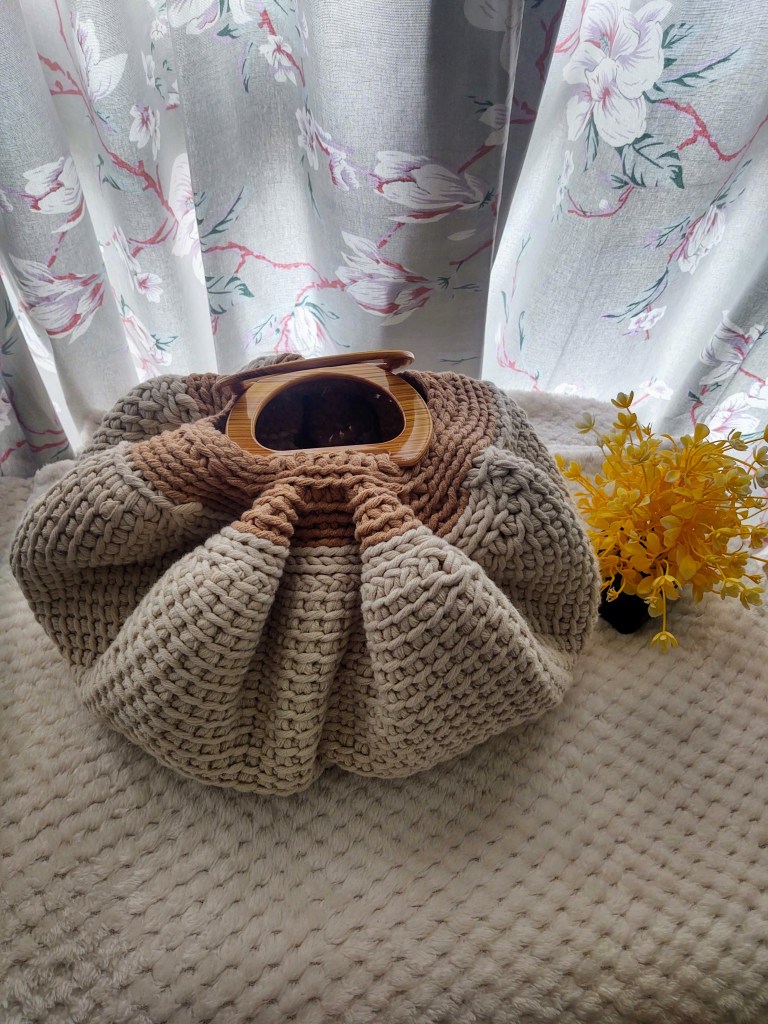
My husband immediately said ” Oh a Pumpkin bag!” Come to think of it , it does remind us of those cute crocheted pumpkins that pop up during Fall!
And yes the bag can hold a lot! Time to test it out by going yarn shopping, n’est-ce pas? 😉
Have a lovely week , everyone and Happy crocheting!


Leave a comment