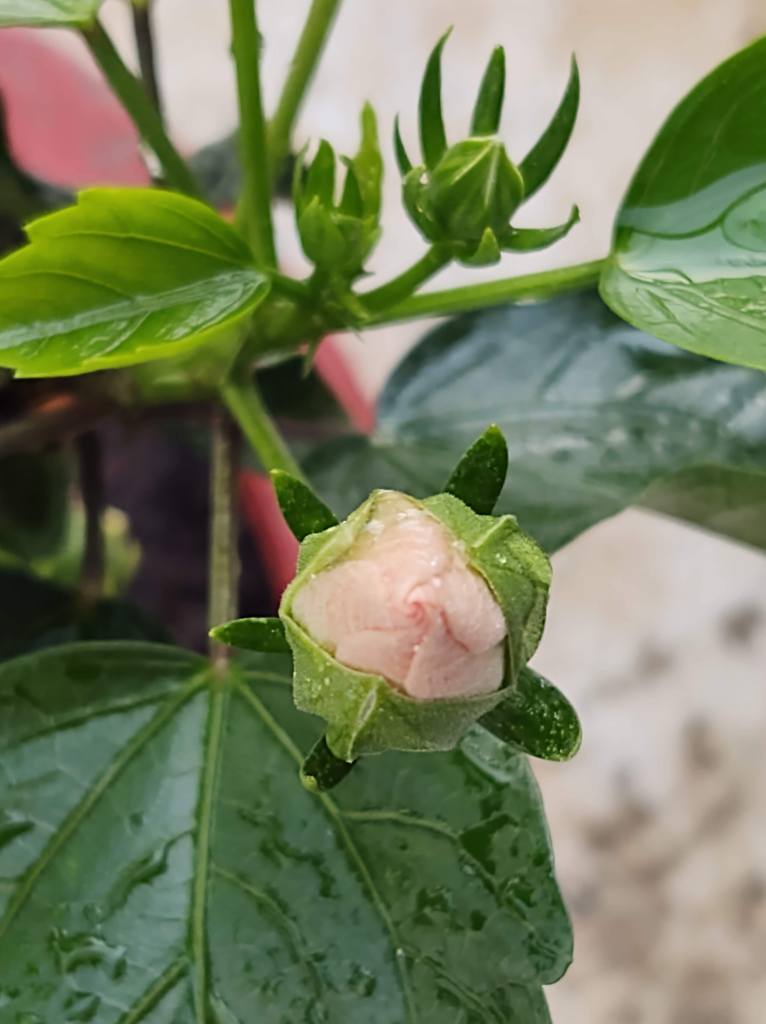
Life is beautiful when you see the earth covered with a fresh green coat! After the harsh bare winter , we are ready to welcome Spring! Nothing says Spring better than the birth of new living things in the world!
Let’s celebrate Spring by welcoming the new born babies into the world and swathe them in our pretty handmades!
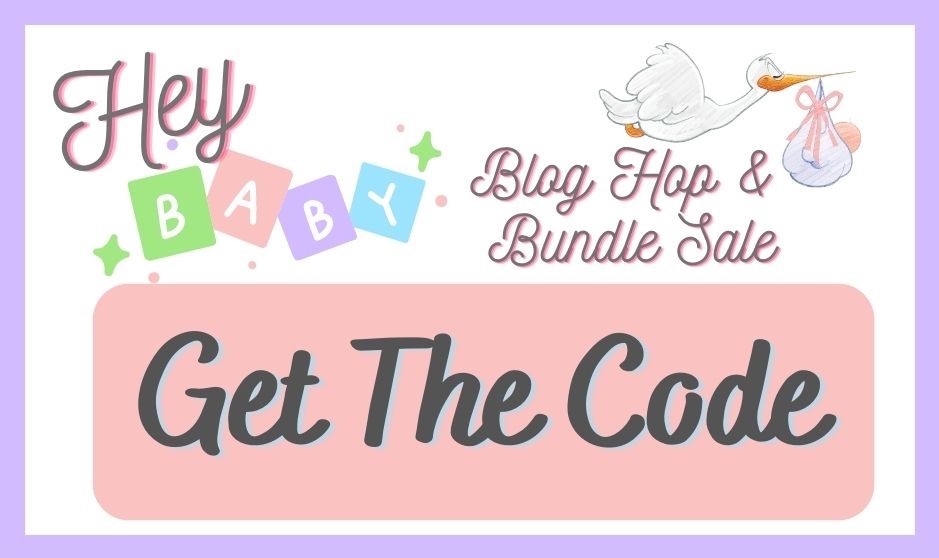
This time the blog hop hosted by Regina , focuses on baby makes! Do check her blog here to see what the designers have put together for you all!

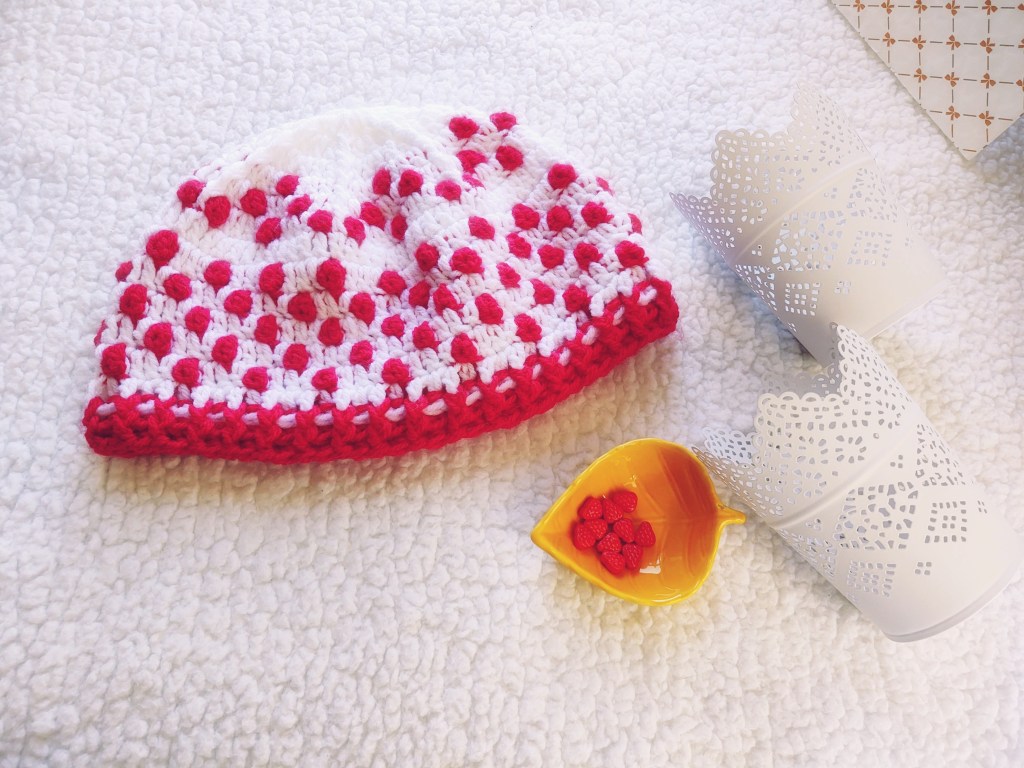
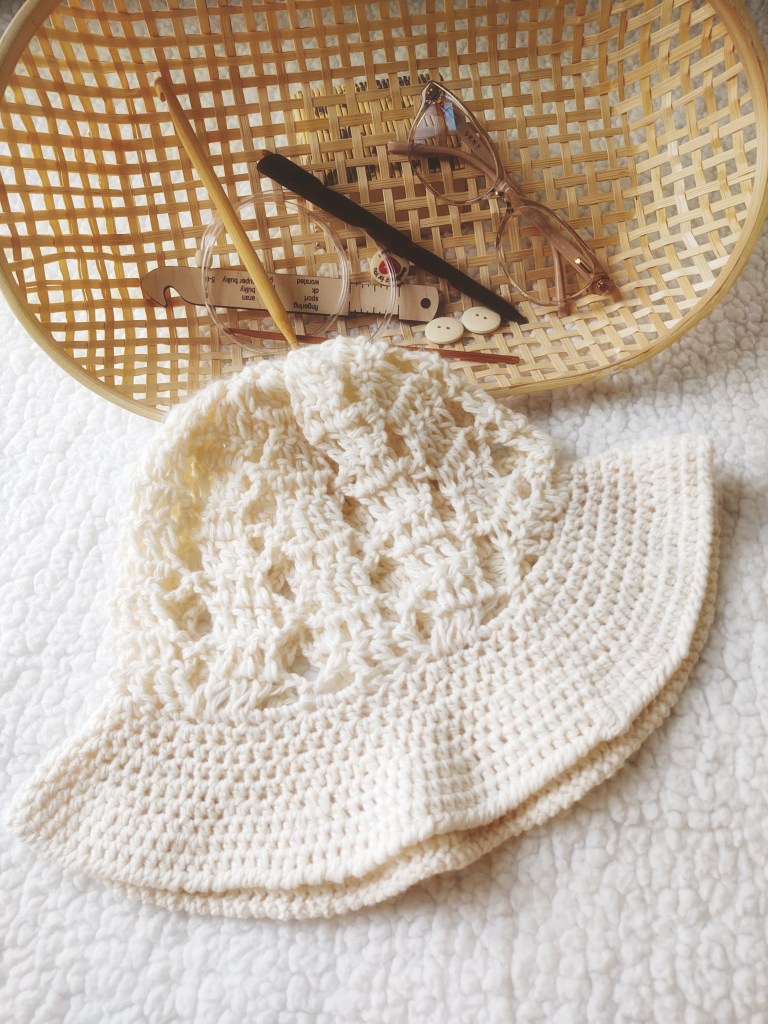
When I jumped on this bandwagon , I wanted to make something cozy and comfy , something that will keep the baby warm and toasty! Yes!! You guessed it right! I designed a beanie ! I love designing hats and this time I was attempting to try a bottom up design! Starting from the brim and working your way up to the crown! I went checking in my repertoire and found that 99% of the time I was designing top down hats! Would you like to see some of the other hats I have designed?? Do drop in a comment as to which one is your favorite!
These hat patterns are available to download from Ravelry and my PayHip Store! Clicking the image will take you to the patterns!
The baby hat I am bringing to you as part of the Hey baby , blog hop is designed using two colors of worsrted weight yarn and 5 mm crochet hook.
This pattern will be free here on my blog always! If you would like to download the pdf file , you can get it from Ravelry or PayHip . The pattern is available for free download on April 22 2023 EDT.
All you have to do to get the free pattern from Ravelry , is to click the image below . This will take you to Regina’s Blog where you will find the code for my pattern.
Next click on the Download button. This will take you to my Ravelry Store . Add the pattern to the cart and key in the code and Voila! The pattern is free for you!

If you would rather get the pattern from PayHip then click here (The code is already added and pattern discounted for download)
And there’s more!!!! If you have missed any of the previous days patterns or would like to have the entire bundle in your library, click the button below to get 30 patterns plus bonus printables worth over 100$ for just 9.99$

Let’s get started with the pattern!
Greenhorn Beanie

Materials:
Yarn : 2 colours of Soft Worsted weight yarn CYC 4 (50-100 gms depending on size made)
Hook : 5 mm
Sample was made using Ganga Dezire yarn in two colours light green MC – 30 gms and dark green CC – 22 gms
Additional materials
Pair of Scissors
Yarn needle
Blocking mat
Blocking pins
Gauge: 10scblo by 8 rows = 2.5” by 2.5”
Finished size: 6” in height and 14“ in circumference as per the sample made. Refer notes for customization.
Stitches and Abbreviations:
beg – Beginning
ch – Chain
sp – Space
st – Stitch
sk – Skip
sl st – Slip stitch
sc – Single crochet
scblo – Single crochet back loop only
dc – Double crochet
mc – Main colour
cc – Contrast Colour
hdc- Half double crochet
hdc2tog – Half double crochet 2 together to make a decrease. This is worked as follows: (yo, insert hook in the st indicated, yo pull up a loop, yo, insert hook in the next st, yo pull up a loop) Yo pull through all loops.
dc2tog – Double crochet 2 together to make a decrease. This is worked as follows: (yo, insert hook in sp or st indicated, yo pull up a loop, yo pull through 2 loops) twice, yo , pull through all loops.
Difficulty: Intermediate
Notes:
The Hat is made bottom up.
The pattern instructions are given to fit one year old.
To make it smaller in circumference crochet fewer number of rows while making the brim. (Make sure that the number of rows in the brim is a multiple of 4)
To make it shorter , crochet fewer repeats of the body.
To make the hat bigger in circumference, crochet a greater number of rows while making the brim. (Make sure that the number of rows in the brim is a multiple of 4)
To make the hat taller, crochet a greater number of repeats while making the body.
Either of these changes will mean you have to accordingly adjust the stitches in the decrease section.
While crocheting the body, you will be working with only one colour in each round. Drop the unused colour to the wrong side and pick it when you sl st at the end of the round.
Pattern Instructions
Brim
Round 1: With MC,Ch 11, 1 sc in the back bump of the 2nd chain from the hook, 1 sc in each of the next 9 chains, turn – 10 sc.
Round 2 – 48 : Ch1, 1 scblo in each of the 10 sts , turn – 10 scblo.
At the end of row 48, sl st the starting chain and the last row(using the back loop of the stitches) to form a band. Turn the brim inside out.
Set-Up Round: Ch1(does not count as st), 1 hdc in each st at the edge of the rows that made up the brim. Using CC join with sl st to the first hdc – 48 hdc.
Do not cut MC, drop it to the wrong side.
Body
Round 1: Ch3(counts as dc), 2 dc in the same st, ch1, sk 3 sts, *3dc in the next st, ch1, sk 3 sts, repeat from * around. Join with sl st to the top of beginning ch3. Sl st in the next 2 sts pulling up MC in the second sl st – 36 dc 12 ch1 sp.
Do not cut yarn, drop CC to wrong side.
Note: For Round 2, you will be working dc into the sts that were skipped in the set up round and sc will be worked in the sts of round 1.
Round 2: Ch1(does not count as stitch)Dc in the first st that was skipped in the previous round, ch2, sk next skipped st of previous round, 1 dc in the next skipped st of previous round, ch1 , sk next dc, sc in the next dc , ch1, sk next dc, (1dc in the next skipped st of previous round, ch2, sk the next skipped st in previous round, 1 dc in the next skipped st of previous round ch1, sk next dc, sc in the next dc, ch1, sk next dc)11 times. Using CC, join with sl st to the first dc, sl st into next sp -24 dc, 24 ch1 sp, 12 ch2 sp, 12 sc.
Do not cut yarn, drop MC to the wrong side.
Round 3: Ch3(counts as dc), 2 dc in same space, sk next (ch1, sc, ch1 and dc), [3dc in next ch2 sp, sk next (ch1, sc, ch1 and dc)] repeat […] around. Join to top of beginning ch3 with sl st. Using MC sl st in next st.
Do not cut yarn, drop CC to the wrong side 36dc.
Round 4: ch1(does not count as st), sc in same st, ch1, sk next st, [1dc in next ch1 sp one round below, ch2, sk next sc one round below, 1 dc in next ch1 sp one round below, ch1, sk next dc*, sc in next dc, ch1, sk next dc] repeat [.. ] around, ending the last repeat at *. Join with sl st to first sc, sl st in next ch1 sp, next dc, sl st into ch2 sp using CC – 24 dc, 24 ch1 sp, 12 ch2 sp, 12 sc.
Do not cut yarn, drop yarn to wrong side.
Round 5: ch3(counts as 1 dc), 2 dc in same space, sk next (ch1, sc, ch1 and dc), [3dc in next ch2 sp, sk next (ch1, sc, ch1 and dc)] repeat around, join to top of beginning ch3, sl st in next st using MC – 36 dc.
Do not cut yarn, drop yarn to wrong side.
Round 6: Repeat round 4.
Round 7: Repeat round 5 ending the round by joining to the top of beginning ch3 with sl st using MC. Fasten off CC.
Round 8: Ch1(does not count as st), 1 hdc in same st, 1 hdc in each of the next 2 sts, 1dc2tog in the ch1 sp of round 4 (the ch1 sps are before and after the sc of that round), [1hdc in each of the next 3 sts, 1dc2tog in the ch1 sp of round 4 (the ch1 sps are before and after the sc of that round)] repeat […] around. Join with sl st to the first hdc – 36 hdc, 12dc2tog.
Crown
Note
The number of rounds to work the decrease will depend on number of rows of ribbing. If you have increased the number of rows in the ribbing section , you will have more rounds in the crown section.
Round 1: ch1(does not count as 1 st), 1 hdc in same st, 1 hdc in next st, 1 hdc2tog, *1 hdc in each of the next 2 sts, 1 hdc2tog, repeat from * around, join with sl st to the first hdc – 36 sts.
Round 2: Ch1 (does not count as st), 1 hdc in same st, 1hdc2tog, *1 hdc in next st, 1 hdc2tog, repeat from * around, join with sl st to the first hdc – 24 sts.
Round 3: Ch1 (does not count as st), 1hdc2tog, repeat around, join with sl st to the first hdc2tog – 12 sts.
Fasten off leaving a long tail. Using Yarn needle, thread the tail through the sts in the last round and cinch the opening close. Add a pompom if you like. Weave in the ends and keep baby’s noggin toasty😊
I do hope you enjoy making this cute little beanie for your baby and do tag @vivacr0chet @vimalavignesh on Instagram ! Would love to see your take on the pattern! If an error or two has slipped through or if you find the instructions not clear, please don’t hesitate to email me !
Wishing you all a wonderful day and an awesome week ahead!


Leave a comment