
We don’t have seasons in India !! Especially in the southern regions we only have hot, hotter or hottest climes:). However the months of December and January see a dip in temperatures and give us some respite from the Sun!
Today I am bringing you all the Tunisian Purl Stitch abbreviated as TPS.
This stitch looks a bit messy to try for the first time but once you get the hang of it , it will be a breeze!
I like to combine this stitch with the Tunisian Simple Stitch and the resulting fabric shows off a lovely honeycomb texture. Earlier , before I found the joy of using bigger hooks , I used to alternate Tunisian Simple Stitch(TSS) and TPS to help with the curling of the piece. Just one row of this would suffice to help reduce the curl! I would also use it as a border around my piece.
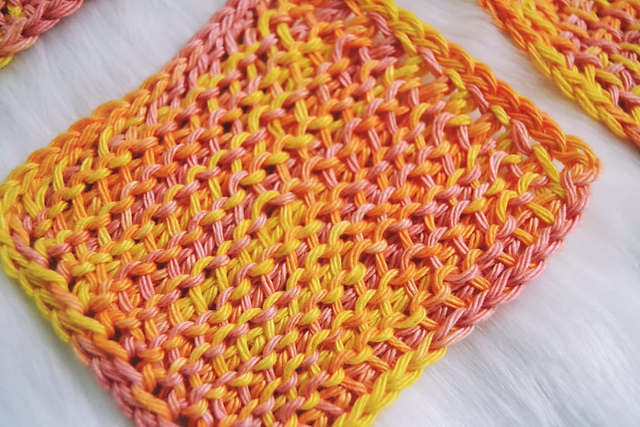
Tunisian Purl stitch coaster

TSS alternating with TPS to produce a honeycomb texture
Last year I had designed a neck warmer using these two stitches and was featured in Elisabeth’s Blog . She’s a wonderful person and a versatile crocheter ! She inspires me to be better at what I do !!

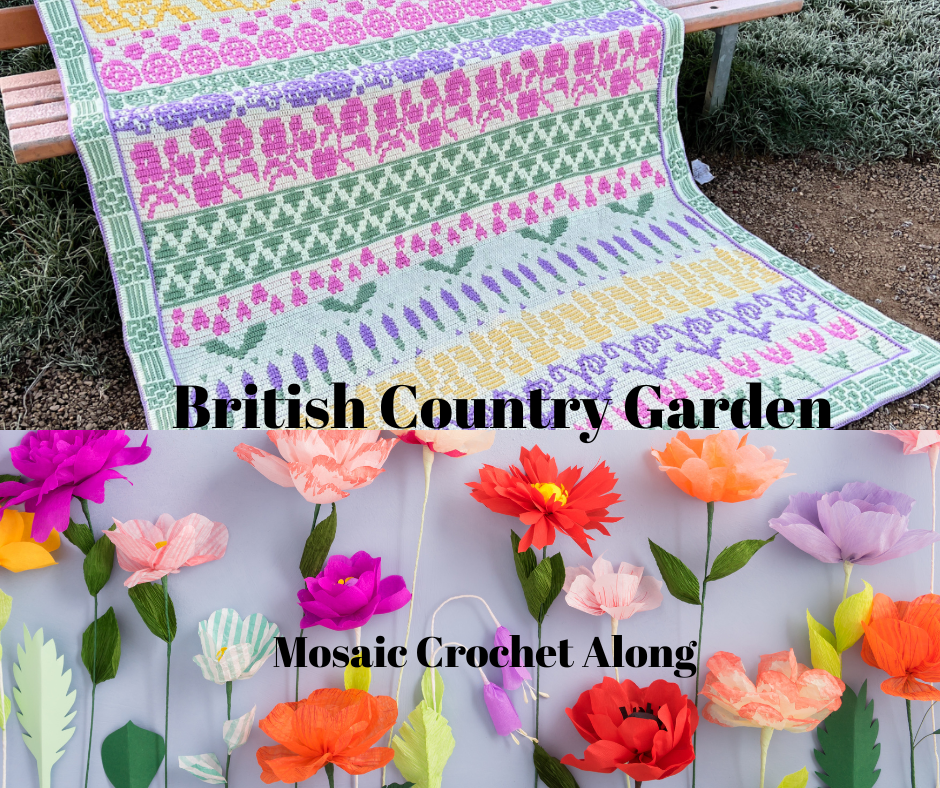
This pattern is available to download for a fee from Ravelry or Payhip
For today’s post however, I am not combining these two stitches. We will be using the stitch to form a square using the short row technique , making two triangles and seaming the diagonal ! This time the short row technique we are going to use is to leave the last stitch unworked.
Ready? Here we go!
Connect A Square

Materials
Cotton DK weight yarn
Regular crochet hook 5.5 mm
Yarn needle
Blocking pins
Blocking mat
Finished size: 7″ square
Stitches and Abbreviations (US terms)
Chain Ch
Stitch – St
Edge St ESt Insert hook through two loops, yarn over and pull up a loop.
Tunisian Purl Stitch TPS (explanation for one stitch)
Forward Pass FP Bring yarn to the front of the hook, insert the hook from right to left in the vertical bar, bring the yarn back behind the hook, yarn over and pull up a loop
Sharing a few pics to show how the TPS is worked.
Step 1 : bring the yarn in front
Step 2: Insert hook from right to left of the vertical bar

Step 3: bring the yarn behind, yo , pull up a loop through the vertical bar

1 TPS completed.
Return Pass (for all rows) RP Yarn over pull through 1 loop, yarn over pull through 2 loops till you have just one loop left on the hook
Bind off is done by following the same stitch pattern , (bring yarn to the front, insert hook in next vertical bar, bring yarn to the back, yarn over , pull up loop through the vertical bar and loop on the hook) repeat (..) until the end of row.
Note:
The loop on hook is always counted as the first stitch. The last st of each row is always worked as the Edge St.
RP is same for all rows.
Instructions
First Triangle
Foundation
Row 1
Chain 26
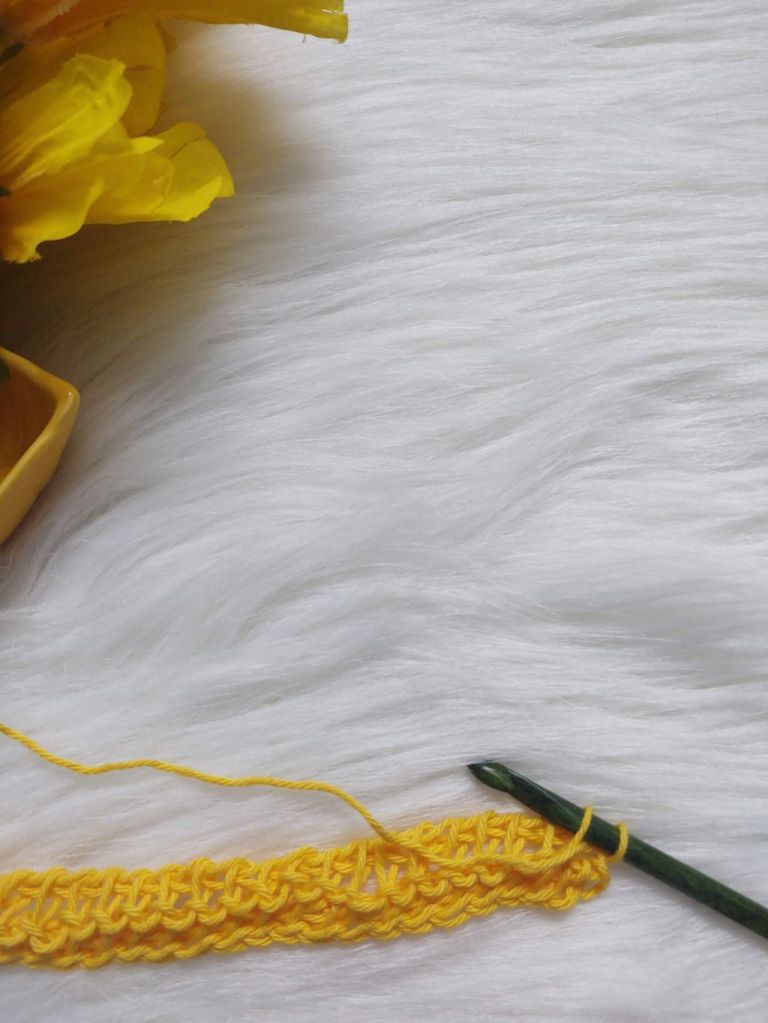
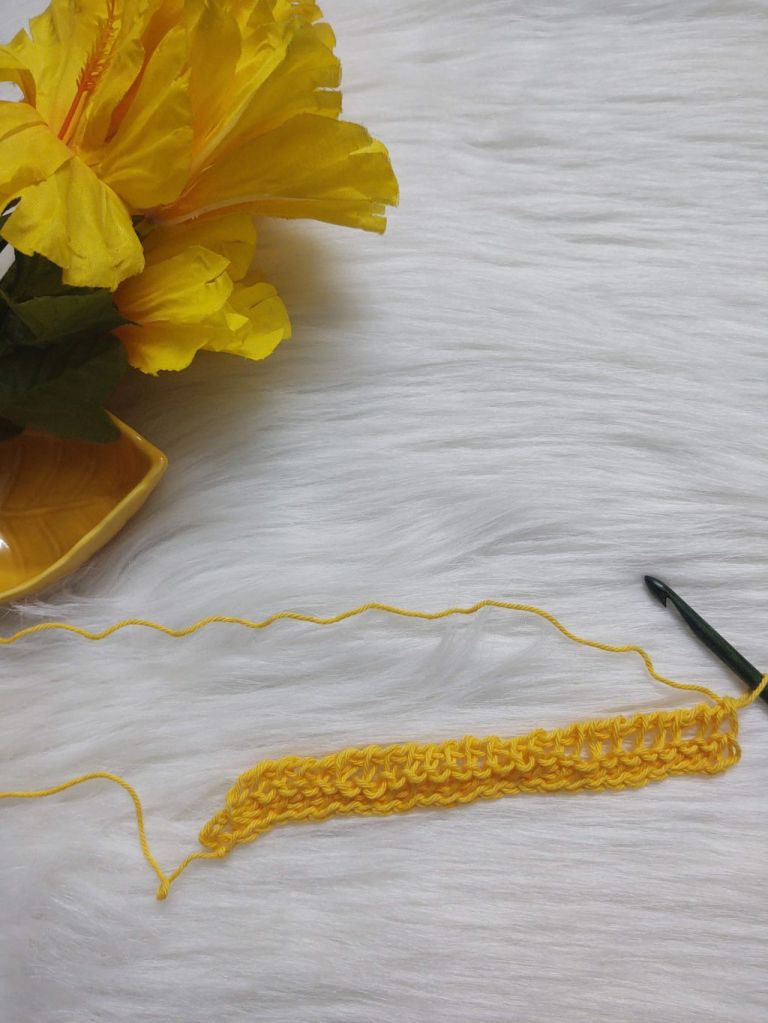
Work FP as follows: Work 1 TSS in the second bump of the chain from the hook, *1 TSS in next bump, repeat from * until the last stitch. Work Edge st in the last st.
Work RP
Pattern starts from here
Row 2
FP : Work 1 TPS in each of the first 23 sts, 1 E St in the next st, leave the last st unworked – 25 loops on hook.
RP Return Pass (for all rows) Yarn over pull through 1 loop, yarn over pull through 2 loops till you have just one loop left on the hook
Row 3
FP : Work 1 TPS in each of the first 22 sts, 1 E St in the next st, leave the last st unworked – 24 loops on hook
RP Return Pass (for all rows) Yarn over pull through 1 loop, yarn over pull through 2 loops till you have just one loop left on the hook
Row 4- Row 25: repeat FP and RP of row 3. At the end of each row you will have one stitch less than the previous row.
At the end of FP of row25 you will have 2 loops on hook, Work RP.
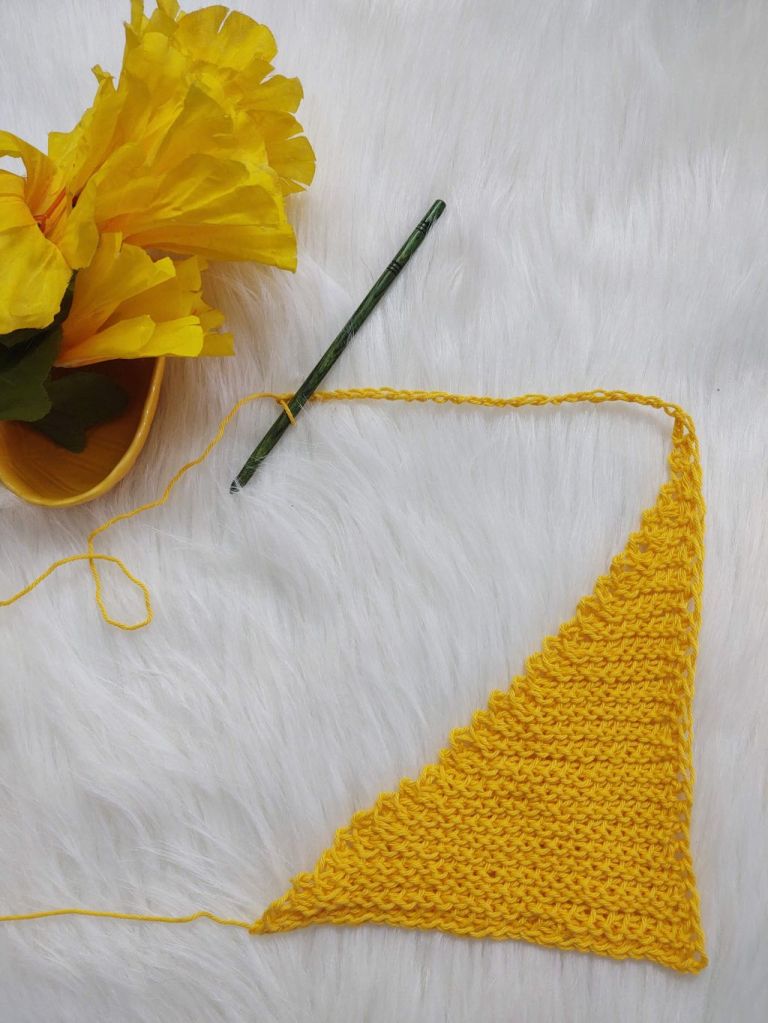
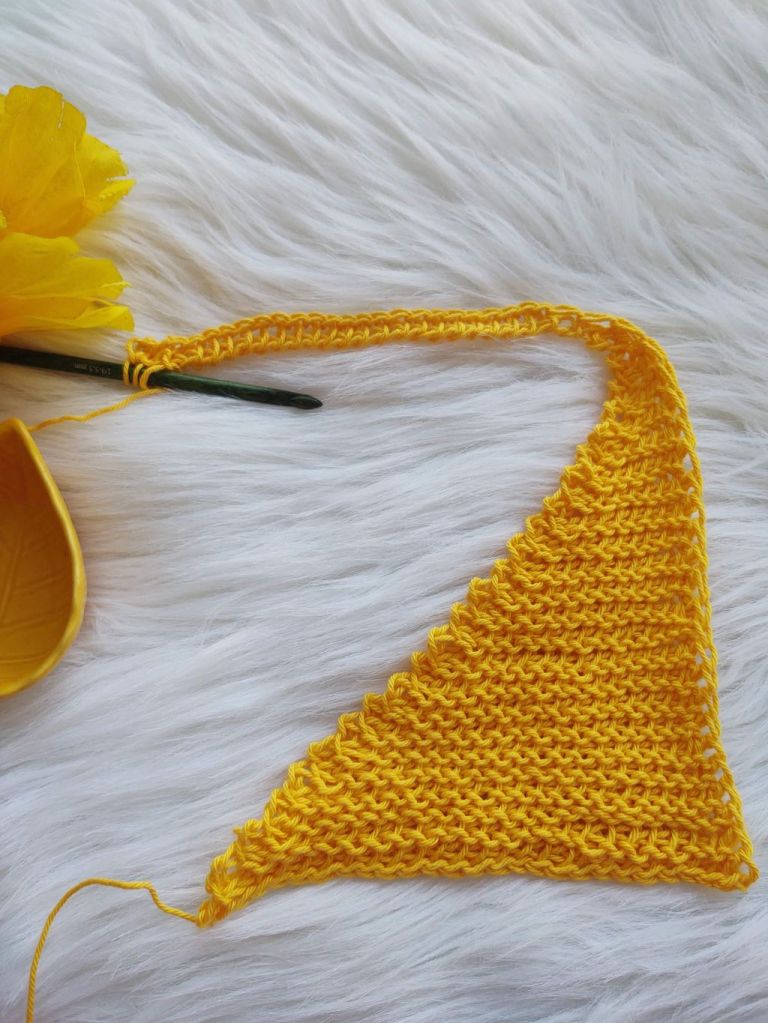
First triangle is completed.

Do not fasten off . We are now going to work from the top of the square and go down to the starting point.
Second Triangle
Foundation
Row 1
Ch26
Work FP as follows: Work 1 TSS in the second bump of the chain from the hook, *1 TSS in next bump, repeat from * until the last stitch. Work Edge st in the last st.
Work RP
Row 2 – Row 25 Repeat first Triangle.
Picture of Row 2 of second triangle
Pic of Row 2 with all loops on the hook

Pic of Row 4 in progress
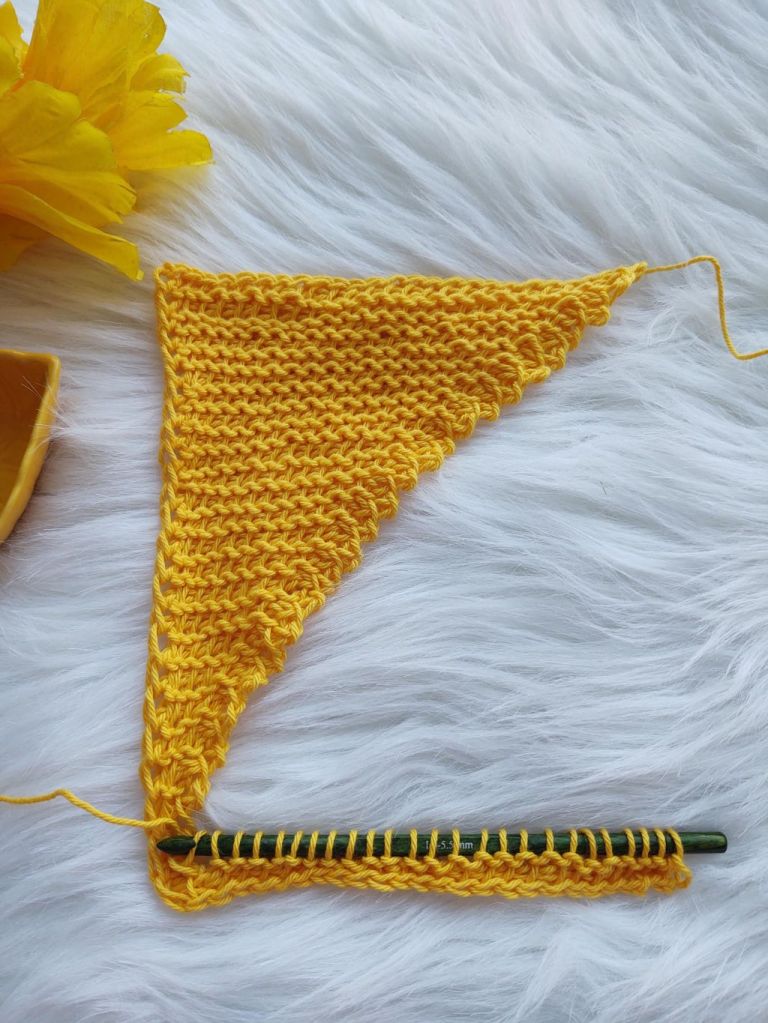
Second Triangle is completed. Do not fasten off.
First Diagonal
For working the FP of the diagonal , you will work 1 TPS in each of the ESts of all the rows of Second Triangle. 1 E St in the last ESt which is the E St of the Foundation row for the second triangle.

RP Yarn over pull through 1 loop, yarn over pull through 2 loops till you have just one loop left on the hook
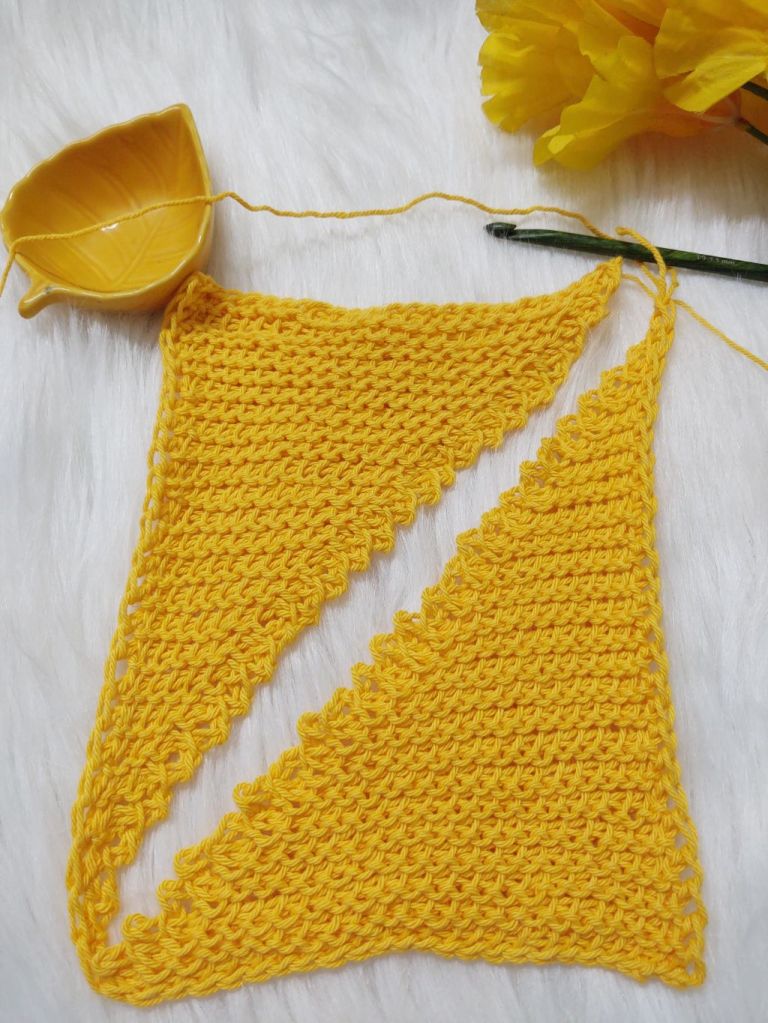
Bind Off First Diagonal. Do not fasten off. Continue to Second Diagonal.
Second Diagonal
For working the FP of the diagonal , you will work 1 TPS in each of the ESts of all the rows of first Triangle. 1 E St in the last ESt which is the E St of the foundation row for the first triangle.
RP Yarn over pull through 1 loop, yarn over pull through 2 loops till you have just one loop left on the hook
Bind Off Second Diagonal. Do not fasten off. Continue to Edging

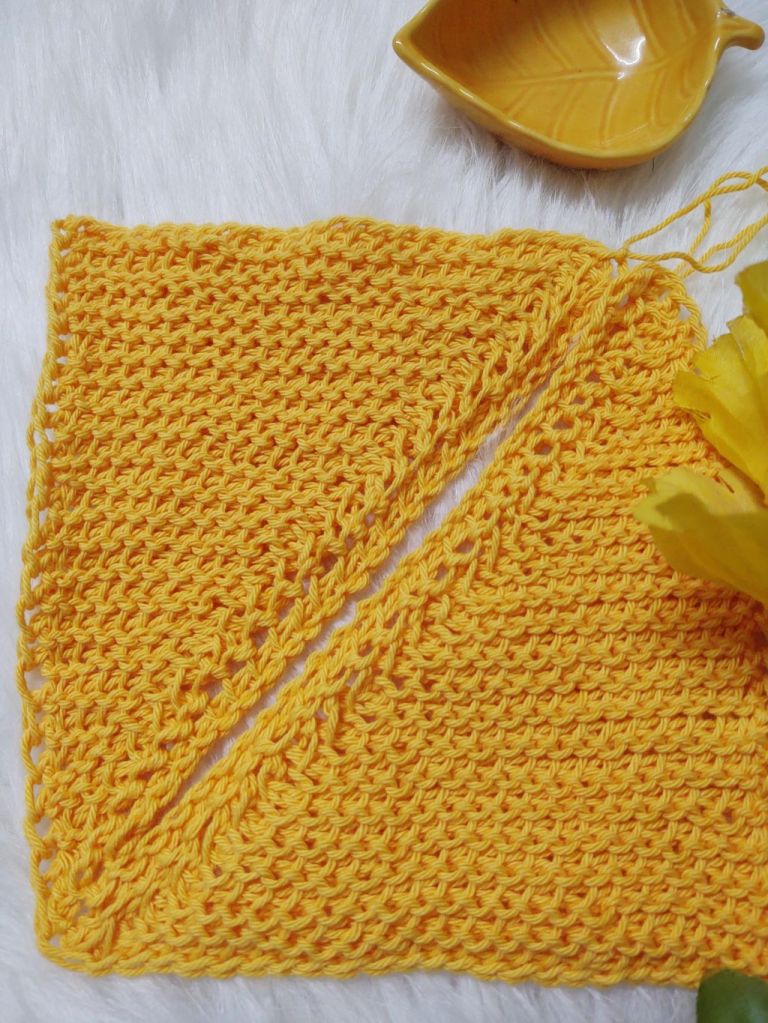
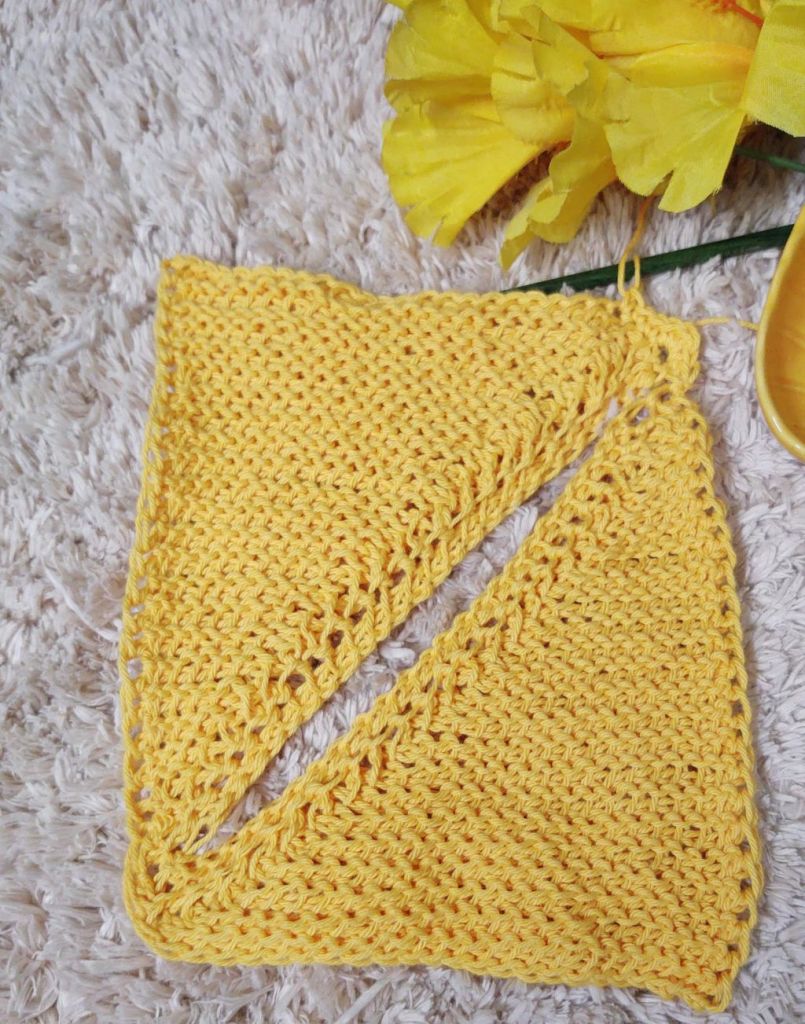
Pic before edging
Edging
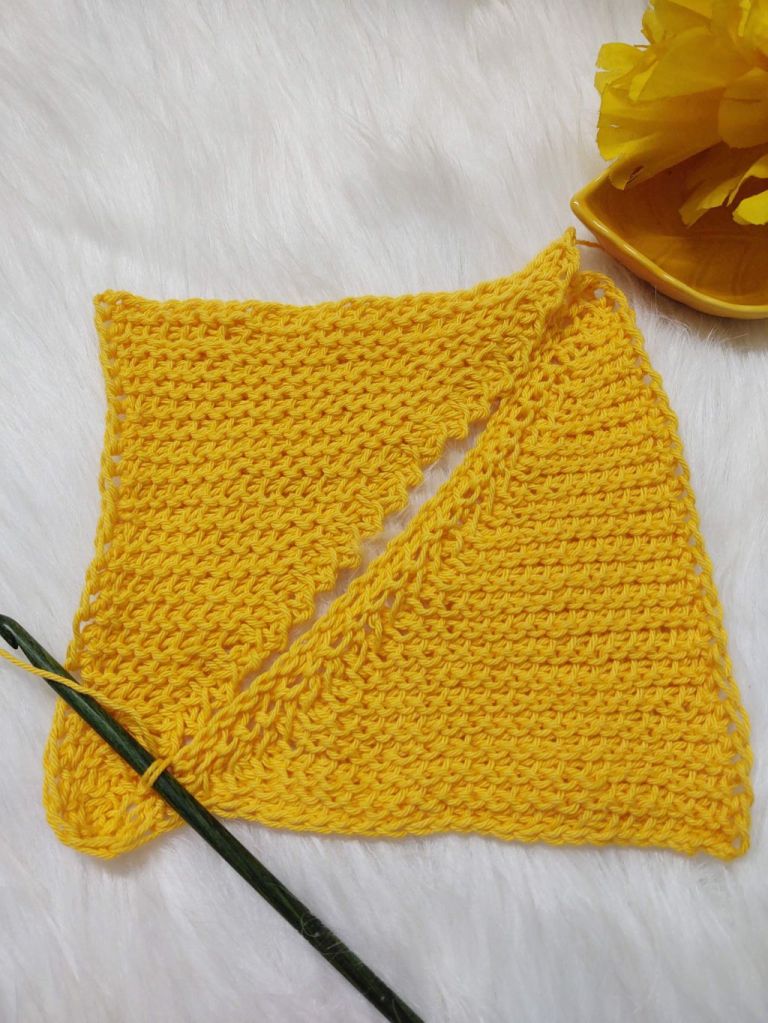
ch1,(sc,ch2 sc) in the last st just made, 1 sc in each of the next 24 chains of the foundation row of triangle 1, (sc, ch2, sc) in next chain, 1 sc in each st up the triangle 1 till you reach the top, (sc,ch2,sc) in the top right corner, 1 sc in each of the next 24 chains of foundation row of Second triangle, (sc, ch2, sc) in the next chain, 1 sc in each st going down the second triangle till you reach the first sc. Join to the first sc. Fasten off leaving a long tail to sew the diagonal seam.
Seam the diagonal!

Seaming in progress:)

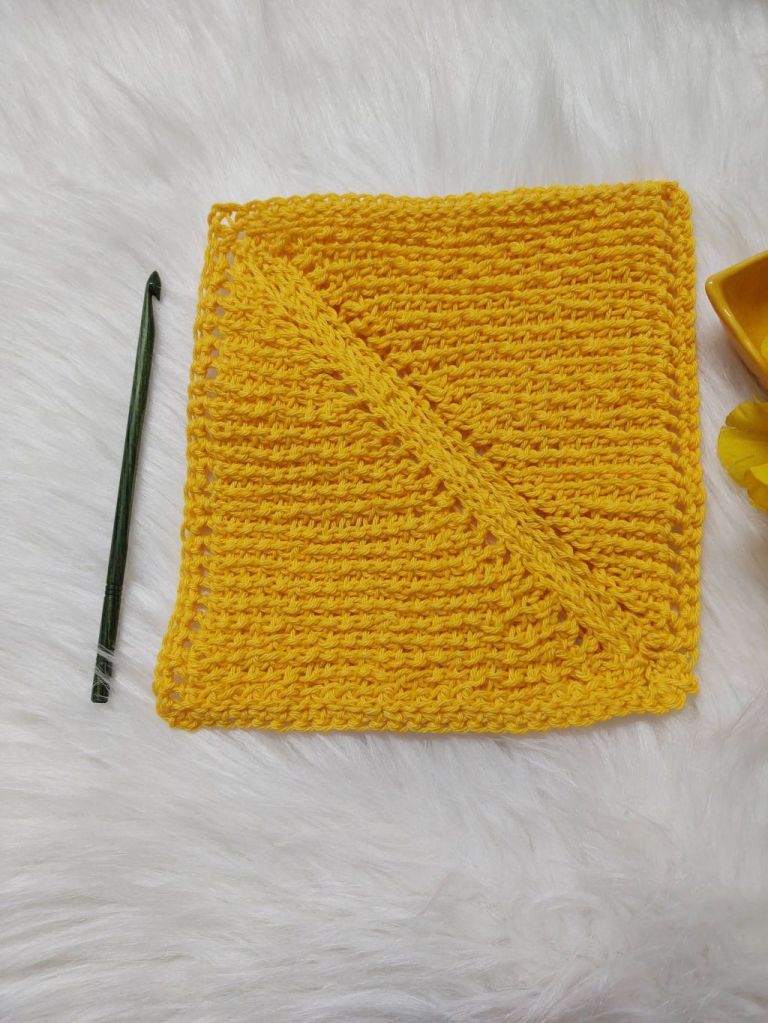
Weave in the ends. Block and enjoy the square! We can make the squares in two colors, each half being a color and use these blocks as quilt blocks and get a myriad different combinations of patterns!
As I was getting ready to seam , my furbaby decided that I had done enough work and demanded cuddles! On a whim I put the unseamed piece around his neck and he seemed to enjoy it!
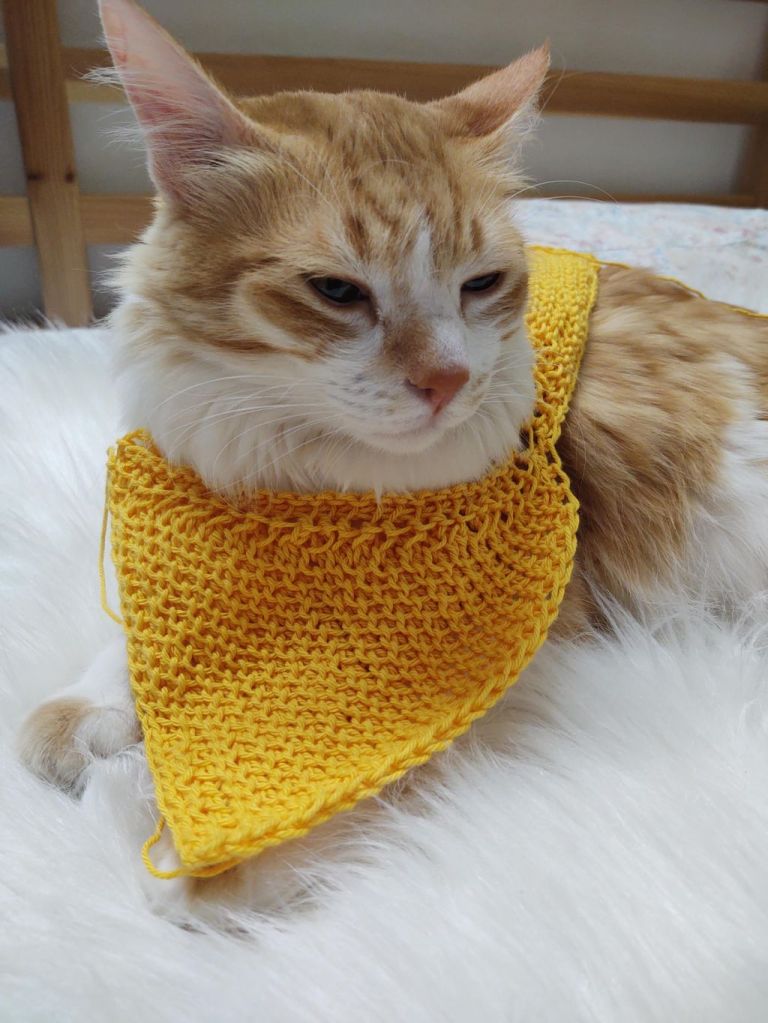
This led me to think of some uses for this piece without having to seam:)
- Continue to work the edging without increases and use it to have a diagonal opening for a purse(Ofcourse we have to seam the bottom once we reached the requires body height)
- Make a pet collar/ bandana by leaving out the second triangle , working just the first diagonal and adding ties:)
Can you think of something else to make with this without having to seam?? Do drop me a line! I would love to know !
If, like my daughter , you like the wrong side better, do you know we can create a piece with a different Tunisian stitch that will be the opposite of this fabric? Any guesses which stitch that is??? Perhaps that stitch should be for next week 😉
As always I am just an email away in case you have any difficulty understanding my words:)
Till next time , so long! Have a wonderful week!


Leave a comment